Tree Care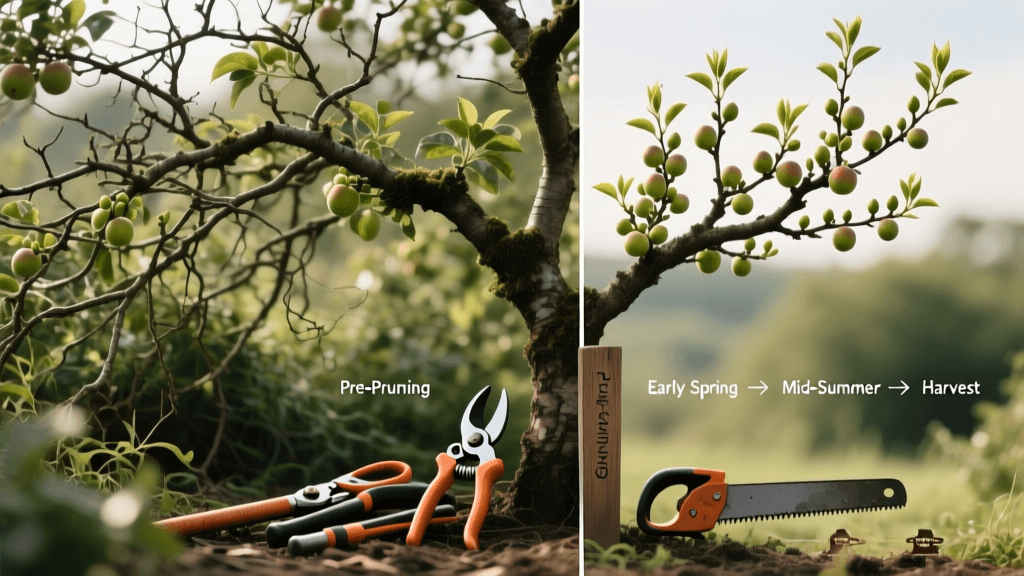
Transforming Neglected Fruit Trees: A Before and After Pruning Guide
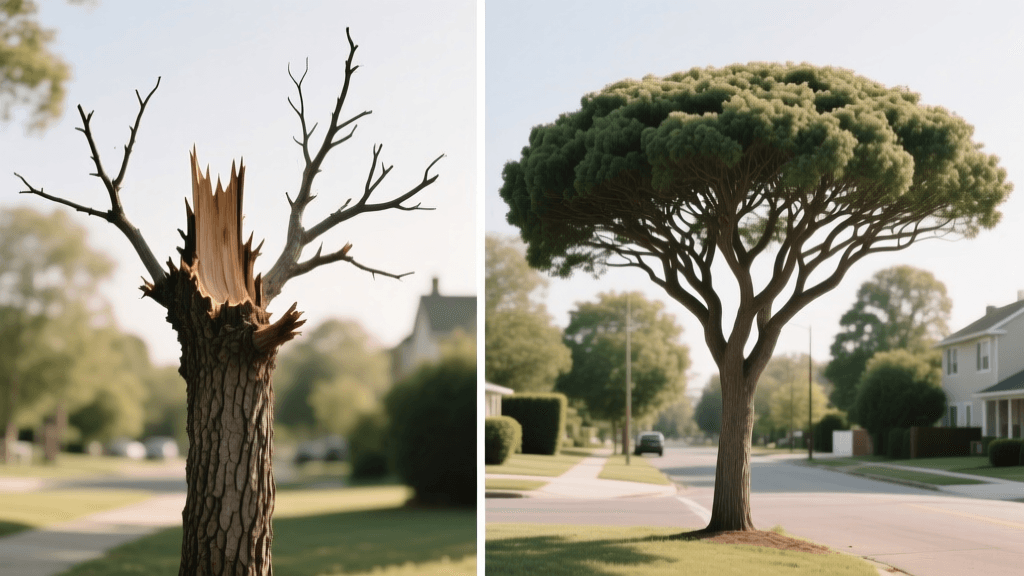
The 'Before' State: Identifying a Neglected Fruit Tree
Every neighborhood has at least one: the legacy fruit tree. Perhaps it is an old apple, peach, or pear tree planted decades ago by a previous homeowner. In its current 'before' state, it likely resembles a tangled, overgrown thicket rather than a productive orchard specimen. The canopy is choked with upright water sprouts, crossing branches rub against each other creating open wounds, and the fruit it manages to produce is small, bitter, and hidden deep within the shaded interior. Neglected fruit trees are highly susceptible to fungal cankers, pest infestations like codling moths, and structural failure during heavy wind or snow loads. However, with a strategic, multi-year approach, you can achieve a stunning before and after transformation, turning a dying liability into the crown jewel of your landscape.
Is Your Tree Worth Saving? The Assessment Phase
Before picking up a saw, you must objectively assess the tree's baseline health. Not every neglected tree is a candidate for rejuvenation. Inspect the main trunk for signs of advanced heart rot, deep longitudinal cracks, or massive fungal conks (mushrooms growing directly from the bark). If the trunk is structurally compromised, removal is the only safe option. Next, locate the graft union—the swollen bump near the base of the trunk where the fruiting scion was joined to the rootstock. If the tree has been neglected, you will likely see aggressive rootstock suckers growing from below this union. These must be removed immediately, as they steal vital energy from the fruiting canopy. If the trunk is solid and the graft union is intact, your tree is an excellent candidate for a before and after pruning transformation.
The Golden Rule of Transformation: The Three-Year Plan
The most common mistake homeowners make when tackling an overgrown tree is attempting to fix years of neglect in a single afternoon. According to experts at Penn State Extension, removing more than 25% of a tree's living canopy in a single year triggers severe stress responses. This shock causes the tree to push out thousands of vigorous, non-fruiting water sprouts in a desperate attempt to replace lost foliage, ultimately leaving you with a denser, more unmanageable mess than you started with. A true before and after transformation requires patience, spread out over three dormant seasons.
| Transformation Phase | Canopy Reduction | Primary Focus | Expected 'After' Result |
|---|---|---|---|
| Year 1: The Reset | 15% - 20% | Dead wood, water sprouts, structural hazards | Improved safety, basic structure visible |
| Year 2: Light & Air | 15% - 20% | Thinning cuts, opening the center, spur development | Sunlight reaches inner branches, better fruit bud set |
| Year 3: The Polish | 10% - 15% | Fine-tuning, height reduction, crossing branches | Manageable height, high-yielding, beautiful form |
Year 1: Clearing the Chaos (Before & After)
The Before: The tree is a dark, impenetrable dome. Dead branches snap under their own weight, and vertical water sprouts shoot straight up from horizontal limbs, shading out the fruiting spurs below.
The Action: Your first year of pruning should occur in late winter, just before the spring bud break. Start by removing the 'Three Ds': Dead, Diseased, and Damaged wood. Next, identify and remove all rootstock suckers and the most aggressive water sprouts. When removing heavy, dead limbs, use the three-cut method recommended by the Arbor Day Foundation to prevent the heavy wood from tearing the living bark down the trunk as it falls. Do not attempt to lower the overall height of the tree in Year 1; focus solely on cleaning the interior.
The After: Stepping back, the tree will look somewhat sparse, but the underlying scaffold structure (the main structural branches) will finally be visible. Airflow through the canopy is dramatically improved, reducing the humidity that fosters fungal diseases like apple scab and powdery mildew.
Year 2: Sculpting for Sunlight (Before & After)
The Before: Following Year 1, the tree will have likely responded by pushing out a new flush of moderate water sprouts. The remaining horizontal branches are still too crowded, and the center of the tree remains shaded.
The Action: Year 2 is all about light penetration. Fruit trees need direct sunlight to develop high-quality, sweet fruit and to set next year's flower buds. Focus on making 'thinning cuts'—removing an entire branch back to its point of origin or to a lateral branch that is at least one-third the diameter of the branch being removed. Avoid 'heading cuts' (snipping the tips off branches), as these stimulate dense, bushy growth. According to the Royal Horticultural Society, maintaining an open center or modified leader structure ensures that sunlight reaches the inner fruiting spurs. Aim to create a shape where a bird could easily fly through the canopy without touching its wings to the branches.
The After: The transformation becomes strikingly apparent. The tree's silhouette is now balanced and aesthetically pleasing. Sunlight dapples the trunk and inner branches, signaling the tree to convert vegetative growth nodes into productive fruiting spurs.
Year 3: The Final Polish and Harvest (Before & After)
The Before: The tree is healthy and structurally sound, but it may still be slightly too tall for safe harvesting, and some branches may be growing inward or crossing over one another.
The Action: In the final year of the rejuvenation cycle, you can safely reduce the overall height of the tree by cutting back the central leader and tall scaffold branches to outward-facing lateral branches. This lowers the canopy to a manageable 8 to 12 feet, allowing you to harvest fruit and perform future maintenance from a standard orchard ladder. Remove any remaining crossing branches that rub together, and thin out the fruiting spurs if they are overly congested (a rule of thumb is to leave one strong spur every 4 to 6 inches along a branch).
The After: The tree has been completely reborn. What was once a towering, neglected giant is now a compact, highly productive, and visually stunning landscape feature. The fruit is larger, sweeter, and beautifully colored due to optimal sun exposure.
Essential Tools and Estimated Costs
Achieving a professional-level before and after result requires sharp, high-quality tools. Dull tools crush plant tissue, leaving jagged wounds that take years to compartmentalize and invite wood-boring insects and decay fungi.
| Tool | Recommended Specification | Estimated Cost | Primary Use |
|---|---|---|---|
| Bypass Pruners | Skip-action, replaceable blade (e.g., Felco 2) | $50 - $70 | Cuts up to 3/4 inch thick |
| Bypass Loppers | 24-inch to 30-inch handles, geared | $40 - $60 | Cuts up to 2 inches thick |
| Pole Pruner/Saw | Telescoping 8-14 ft, bypass blade + saw | $60 - $100 | Reaching high scaffold branches safely |
| Sanitizing Agent | 70% Isopropyl Alcohol or 10% Bleach solution | $5 - $10 | Sterilizing blades between trees to prevent disease spread |
| Pruning Sealer | None (Avoid commercial sealants) | $0 | Research shows trees heal faster when left to callous naturally |
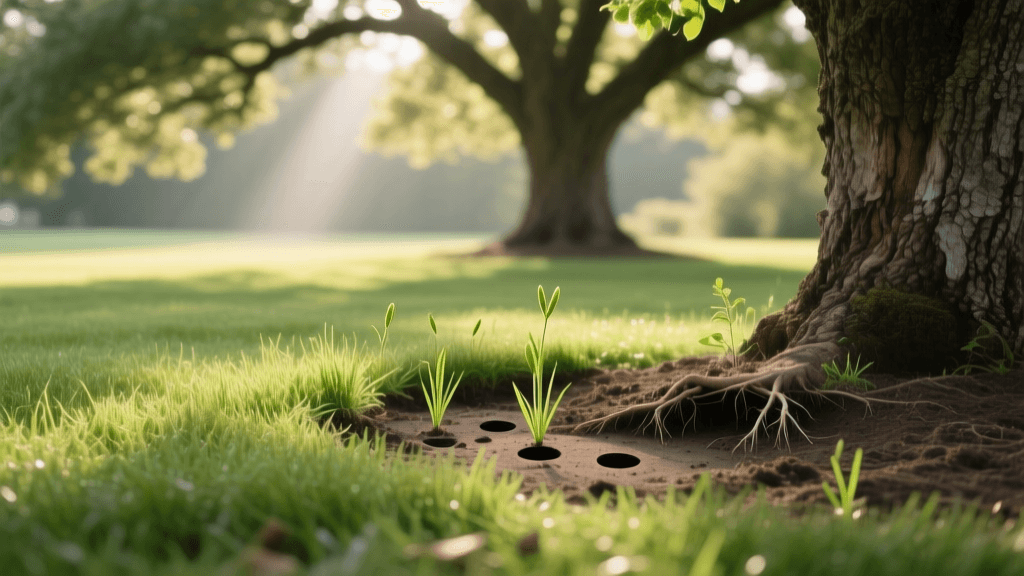
Post-Transformation Care: Mulching and Watering
The aftercare is just as critical as the pruning itself. A newly rejuvenated tree has lost a significant portion of its root-to-shoot ratio balance and needs supportive care to recover. Apply a layer of high-quality organic mulch around the base of the tree to retain soil moisture, regulate temperature, and suppress competing grass. Use the '3-3-3 Rule' for mulching: apply a 3-inch deep layer of arborist wood chips, in a 3-foot wide radius around the trunk, but keep it 3 inches away from the actual bark to prevent collar rot and rodent damage. Never pile mulch against the trunk in a 'volcano' shape.
Regarding fertilization, resist the urge to apply high-nitrogen fertilizers in the first year after a heavy pruning. Excess nitrogen will only stimulate the exact problem you are trying to fix: an explosion of vegetative water sprouts. Instead, rely on a slow-release, balanced organic compost applied in early spring, and ensure the tree receives 1 to 1.5 inches of water per week during the growing season, especially during the critical fruit-sizing period in early summer.
Expert Insight: 'The transformation of a neglected fruit tree is not a weekend project; it is a multi-year conversation with the tree. Observe how it responds to your cuts each spring, and adjust your strategy accordingly. Patience yields the sweetest fruit.'
Conclusion
Restoring an overgrown fruit tree is one of the most rewarding projects a homeowner can undertake. By respecting the tree's biology, adhering to the three-year rejuvenation timeline, and utilizing proper thinning cuts, you can achieve a remarkable before and after transformation. Not only will you reclaim the aesthetic beauty of your yard, but you will also be rewarded with bushels of crisp, delicious fruit for decades to come.