
Gardening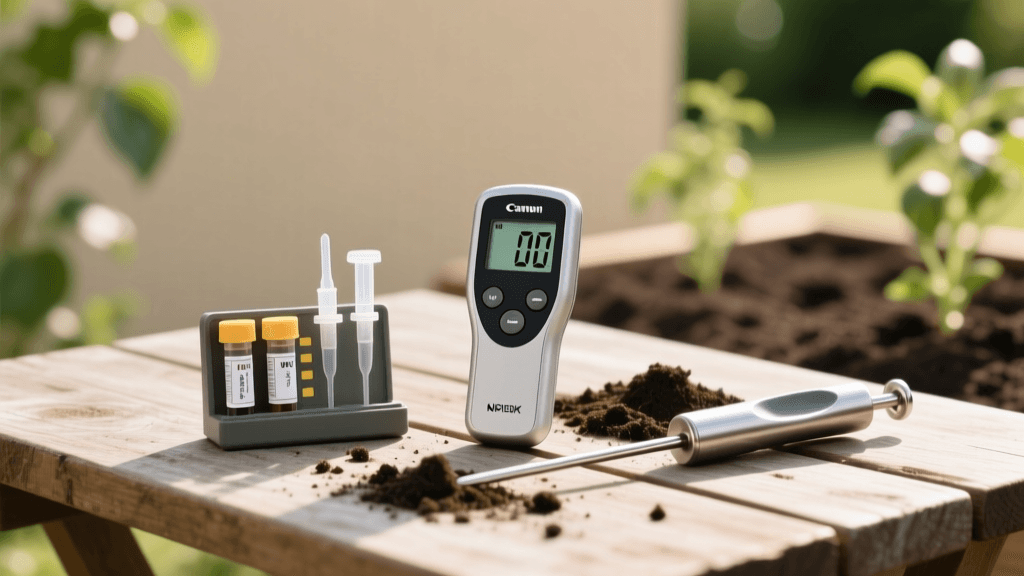
Essential Soil Testing Tools and Kits for Home Gardeners
Every thriving vegetable patch and vibrant flower bed begins beneath the surface. While many gardeners focus heavily on selecting the right seeds, designing raised beds, or mastering companion planting, the true foundation of a successful garden lies in its soil. Without a clear understanding of your soil's chemical and physical properties, you are essentially gardening blind. Applying fertilizers without knowing your baseline nutrient levels can lead to nutrient runoff, wasted money, and even plant toxicity. This is where high-quality soil testing tools and equipment become indispensable. In this comprehensive tools and equipment guide, we will explore the essential gear every home gardener needs to accurately assess soil health, from basic pH meters to professional-grade soil probes.
Why Soil Testing is the Foundation of Garden Health
Soil is a complex, living ecosystem composed of minerals, organic matter, water, air, and billions of microorganisms. The availability of essential nutrients—specifically the primary macronutrients Nitrogen (N), Phosphorus (P), and Potassium (K)—is heavily dictated by the soil's pH level. According to Penn State Extension, soil pH acts as a master variable that controls nutrient solubility. If your soil is too acidic (below 6.0), essential nutrients like phosphorus become bound to aluminum and iron, rendering them inaccessible to plant roots. Conversely, in highly alkaline soils (above 7.5), micronutrients such as iron, manganese, and zinc become locked out, leading to chlorosis and stunted growth.
By investing in the right soil testing equipment, you can make data-driven decisions about which amendments to add, such as elemental sulfur to lower pH or agricultural lime to raise it. This targeted approach not only saves you money on unnecessary fertilizers but also protects local waterways from nutrient pollution.
Essential Soil Testing Tools for the Home Gardener
The market is flooded with soil testing gadgets, ranging from cheap novelty items to highly accurate scientific instruments. To build a reliable gardening toolkit, you need to understand the different categories of soil testing equipment and their specific applications.
1. Analog Chemical Test Kits (Colorimetric)
Analog chemical kits, such as the widely popular Luster Leaf Rapitest, use colorimetric analysis to estimate NPK levels and pH. These kits typically include small plastic vials, color charts, and capsules filled with chemical reagents. To use them, you mix a soil sample with water and the contents of a capsule, shake the vial, and wait for the color to develop. You then match the resulting hue to the provided chart.
- Pros: Inexpensive, requires no batteries, and provides a general baseline for macronutrients.
- Cons: Subjective color matching can be difficult for those with color vision deficiencies. They provide a range (e.g., medium, high) rather than exact parts-per-million (PPM) measurements.
- Best For: Beginners and casual gardeners who want a quick, seasonal snapshot of their garden beds.
2. Digital pH and Moisture Meters
Digital or analog-dial soil probes that measure pH and moisture are staples in the tool sheds of experienced growers. Devices like the Sonkir 3-in-1 Soil Meter use a galvanic cell created by two different metal prongs (usually zinc and copper) inserted into the soil. The moisture and hydrogen ions in the soil create a micro-voltage that moves the dial or digital display.
- Pros: Instant readings, reusable indefinitely, and excellent for monitoring moisture levels in container gardens and raised beds.
- Cons: Inaccurate in dry, sandy, or heavily compacted clay soils. They do not measure NPK levels at all.
- Best For: Container gardening, monitoring watering schedules, and getting a quick pH reading in established beds.
3. Professional Soil Probes and Augers
A soil probe is arguably the most important physical tool for collecting accurate samples. While you can use a garden trowel or shovel, these tools often contaminate the sample or only capture the top inch of soil. A high-quality stainless steel soil probe, such as the AMS Tile Probe or a standard 12-inch core sampler, extracts a uniform cylinder of soil from the root zone.
- Pros: Extracts a consistent core sample, minimizes cross-contamination, and reaches deep into the root zone (6 to 12 inches).
- Cons: Higher initial cost and requires physical effort to push into dry or rocky soils.
- Best For: Collecting samples to send to a professional laboratory and assessing soil compaction.
Comparison Chart: Top Soil Testing Tools
| Tool Category | Example Model | Target Metric | Accuracy Level | Estimated Cost |
|---|---|---|---|---|
| Chemical Kit | Luster Leaf Rapitest | pH, N, P, K | Moderate (Ranges) | $15 - $25 |
| Dial Meter | Sonkir 3-in-1 | pH, Moisture, Light | High (pH only) | $10 - $20 |
| Soil Probe | AMS Stainless Steel | Physical Core Sample | N/A (Collection Tool) | $40 - $80 |
| Lab Mail-In Kit | University Extension | Full Macro/Micro + CEC | Scientific (Exact) | $15 - $30 |
How to Collect a Proper Soil Sample
Even the most expensive laboratory equipment will yield useless data if the sample collected is not representative of the garden. The University of Minnesota Extension emphasizes that a single scoop of dirt from the surface is entirely inadequate. Follow this structured protocol to ensure accuracy:
- Clear the Surface: Remove mulch, grass clippings, and debris from the sampling area without removing the topsoil.
- Determine Depth: For lawns and shallow-rooted vegetables, sample to a depth of 6 inches. For deep-rooted perennials, shrubs, and fruit trees, sample to a depth of 12 inches.
- Take Multiple Cores: Use your soil probe to take 5 to 10 sub-samples from different areas of the specific garden bed. Walk in a zig-zag pattern to capture the natural variation in your yard.
- Mix in a Clean Bucket: Place all sub-samples into a clean plastic bucket. Never use a galvanized metal bucket, as the zinc coating can leach into the soil and skew micronutrient test results.
- Prepare the Final Sample: Mix the soil thoroughly, break up any large clods, and remove stones or roots. Place about one pint of the mixed soil into the collection bag provided by your testing lab.
When to Send Samples to a Professional Lab
While home kits are excellent for quick pH checks and moisture monitoring, they cannot replace the comprehensive analysis provided by a university or private soil laboratory. You should always send a sample to a professional lab at least once every three years, or whenever you are establishing a new vegetable garden or orchard.
'A professional soil test measures not just NPK and pH, but also the Cation Exchange Capacity (CEC), organic matter percentage, and base saturation. These metrics reveal the soil's actual ability to hold and release nutrients over time, which home kits simply cannot measure.'
Furthermore, if you are gardening in an urban environment or an older property, testing for heavy metals is a critical safety step. Urban soils can harbor dangerous levels of lead from historical paint or vehicle emissions. Home test kits do not reliably detect lead. Institutions like the UMass Amherst Soil and Plant Nutrient Testing Laboratory offer specialized screening for lead and other heavy metals, ensuring your homegrown vegetables are safe for consumption.
Maintaining Your Soil Testing Equipment
Proper maintenance of your tools ensures longevity and prevents cross-contamination between different garden zones. After using a soil probe, wash it with a brush and plain water. Avoid using harsh soaps or detergents, as the phosphates and surfactants can leave a residue that will ruin future samples. Dry the metal components immediately with a towel and apply a light coat of mineral oil to prevent rust.
For digital and dial pH meters, the metal prongs must be wiped clean with a damp cloth and dried after every single use. Leaving soil packed against the prongs will cause oxidation, which permanently degrades the sensor's ability to read electrical currents. Store all testing equipment indoors, away from extreme freezing temperatures and direct UV sunlight, which can warp plastic vials and fade the color charts on analog kits.
Conclusion
Equipping yourself with the right soil testing tools transforms gardening from a guessing game into a precise science. By combining a reliable stainless steel soil probe for accurate collection, a basic moisture meter for daily garden monitoring, and periodic professional laboratory analysis, you build a comprehensive soil management strategy. Understanding your soil's unique chemistry allows you to amend with purpose, cultivate healthier plants, and ultimately harvest a more abundant, vibrant garden year after year.

