
Gardening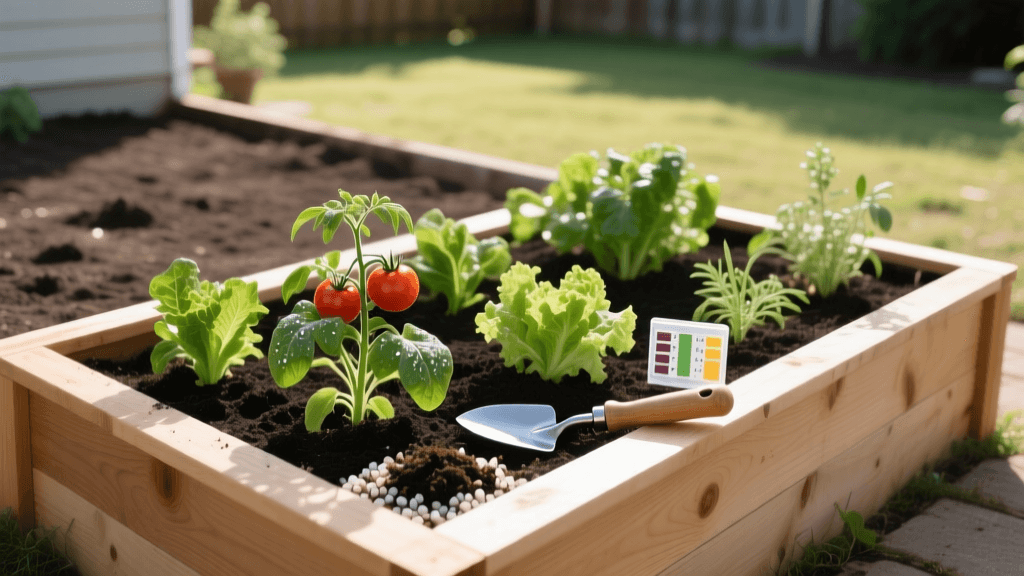
Transforming Compacted Clay Into Thriving Raised Beds
Gardening in heavy, compacted clay soil often feels like an exercise in futility. Water pools on the surface after a light rain, roots struggle to penetrate the dense earth, and the soil warms up agonizingly slowly in the spring. For years, the back corner of our property—a 12-foot by 16-foot patch receiving only four hours of dappled afternoon sunlight—was a barren wasteland of cracked clay and stubborn weeds. This is the story of how we transformed that neglected, compacted clay corner into a highly productive, visually stunning raised bed vegetable garden. By leveraging the principles of raised bed construction, precise soil engineering, and shade-tolerant companion planting, we turned a gardening liability into our most productive growing space.
The "Before": Assessing the Compacted Clay Wasteland
Before any physical transformation could begin, we had to understand exactly what we were working with. A comprehensive soil test revealed a pH of 5.2, an organic matter content of less than 1%, and a clay composition that exceeded 60%. Previous attempts to grow root vegetables directly in this native soil resulted in stunted, deformed carrots and rampant root rot due to severe waterlogging. The soil structure was so dense that a standard garden fork could barely penetrate the top three inches. Furthermore, the area's partial shade—created by a mature oak tree on the neighboring property—meant that traditional sun-loving crops like tomatoes and peppers would fail to thrive. We needed a complete separation from the native soil profile and a strategic shift in our planting methodology.
Phase 1: Site Preparation and Bed Construction
The first step in our transformation was clearing the area of existing weeds and leveling the ground. Rather than tilling the clay, which can destroy what little soil structure exists and bring dormant weed seeds to the surface, we opted for a no-dig sheet mulching approach. We laid down overlapping layers of heavy-duty corrugated cardboard directly over the clay, thoroughly soaking it with water to kickstart the decomposition process. This layer would eventually break down, inviting earthworms and beneficial microbes while suppressing existing weeds.
For the raised beds themselves, we chose untreated, rough-sawn cedar due to its natural rot resistance and longevity. We constructed three beds, each measuring 4 feet wide by 8 feet long, and 11 inches deep. The 4-foot width is crucial, as it allows a gardener to reach the center of the bed from either side without ever stepping on and compacting the soil. To protect our future crops from burrowing pests like voles and gophers, we stapled a half-inch galvanized hardware cloth to the entire bottom footprint of each bed before setting them in place. According to The Old Farmer's Almanac, raised beds warm up much faster in the spring than ground-level soil, allowing for earlier planting and an extended growing season, which was vital for our shaded microclimate.
Phase 2: Engineering the Perfect Raised Bed Soil
Filling the beds was the most critical phase of the transformation. According to the University of Minnesota Extension, filling raised beds with a specialized, lightweight soil mixture is critical because native garden soil will quickly compact in a confined space, suffocating plant roots. We needed a mix that offered exceptional drainage, high moisture retention, and a rich nutrient profile. We bypassed cheap "topsoil" bags and instead created a modified, high-performance bio-intensive mix.
Our custom soil recipe was designed to maximize the cation exchange capacity (CEC), ensuring that nutrients remain available to plant roots rather than washing away during heavy watering. Below is the exact breakdown of our soil amendment strategy:
| Soil Component | Volume Percentage | Primary Purpose | Approximate Cost (per cu. ft.) |
|---|---|---|---|
| Organic Compost Blend | 40% | Provides essential macro and micronutrients; introduces beneficial soil biology. | $1.50 - $2.50 |
| Coconut Coir | 30% | Retains moisture while preventing soil compaction; sustainable alternative to peat moss. | $1.00 - $1.80 |
| Coarse Vermiculite | 20% | Improves aeration, drainage, and nutrient retention within the soil matrix. | $2.50 - $3.50 |
| Worm Castings | 10% | Acts as a gentle, slow-release organic fertilizer and microbial inoculant. | $3.00 - $5.00 |
Mixing these components thoroughly created a dark, crumbly, and incredibly fragrant loam that was a stark contrast to the heavy, lifeless clay sitting just inches beneath the hardware cloth barrier.
Phase 3: Strategic Planting for Partial Shade
With the soil in place, we had to address the lighting constraints. The oak tree limited our direct sunlight to roughly four to five hours of dappled light in the late afternoon. While fruiting crops require a minimum of six to eight hours of direct sun, many leafy greens and root vegetables thrive in partial shade, often benefiting from the protection against harsh midday heat.
We implemented a dense companion planting strategy to maximize yields and naturally deter pests. In the first bed, we interplanted 'Bloomsdale' spinach with 'Cherry Belle' radishes. The radishes germinate quickly and break up the topsoil, while the spinach provides a living mulch that shades the soil and retains moisture. In the second bed, we grew 'Danvers' carrots alongside dense borders of chives. The strong scent of the alliums effectively masks the aroma of the carrots, confusing and deterring the dreaded carrot rust fly. The third bed was dedicated to a cut-and-come-again salad mix, Swiss chard, and bush peas, which were trained up a simple trellis netting to utilize vertical space without casting excessive shade on neighboring plants.
Phase 4: Irrigation and Mulching
Because raised beds drain significantly faster than in-ground gardens, consistent moisture management was essential. We installed a comprehensive drip irrigation system using 1/4-inch inline drip tubing spaced every 6 inches. This system was connected to a digital timer, delivering a slow, deep soak directly to the root zone every morning at 6:00 AM. To further lock in moisture and suppress any opportunistic weeds, we applied a 2-inch layer of seed-free straw mulch over all exposed soil surfaces. This not only conserved water but also kept the shallow roots of our leafy greens cool during unexpected late-spring heatwaves.
The "After": Harvest, Costs, and Maintenance
Fast forward three months, and the transformation was nothing short of miraculous. The barren, cracked clay patch was now a lush, vibrant oasis of edible greenery. The partial shade, which we initially viewed as a detriment, actually extended the harvest window for our spinach and salad greens, preventing them from bolting prematurely as the summer temperatures climbed. We harvested over 40 pounds of root vegetables and an endless supply of daily salad greens from an area that previously supported nothing but bindweed.
"The true magic of a raised bed transformation isn't just in the aesthetic upgrade; it's in the complete control you gain over your soil ecology. You are no longer fighting your native dirt; you are cultivating a living, breathing ecosystem."
For those considering a similar backyard transformation, transparency regarding costs is essential. While the upfront investment is higher than traditional in-ground gardening, the long-term yields and drastic reduction in weeding and soil amending make it highly cost-effective. Here is the exact financial breakdown of our project:
- Untreated Cedar Lumber (3 beds, 4x8x11 inches): $450.00
- Hardware Cloth & Galvanized Staples: $65.00
- Corner Brackets & Exterior Screws: $45.00
- Custom Soil Blend (Approx. 72 cubic feet total): $380.00 (purchased in bulk from a local landscape supplier)
- Drip Irrigation Kit & Timer: $110.00
- Organic Seeds & Transplants: $40.00
- Total Project Investment: $1,090.00
Maintenance in the "after" phase has been remarkably minimal. Because we used a sterile, high-quality soil mix and mulched heavily, weeding takes less than ten minutes a week. Each spring, we simply top off the beds with a fresh two-inch layer of organic compost and worm castings to replenish the nutrients consumed by the previous year's heavy harvests. Transforming a challenging, compacted clay site into a raised bed garden requires upfront labor and investment, but the reward of a predictable, highly productive, and visually stunning harvest makes every single hour of preparation entirely worthwhile.

