
Lawn Care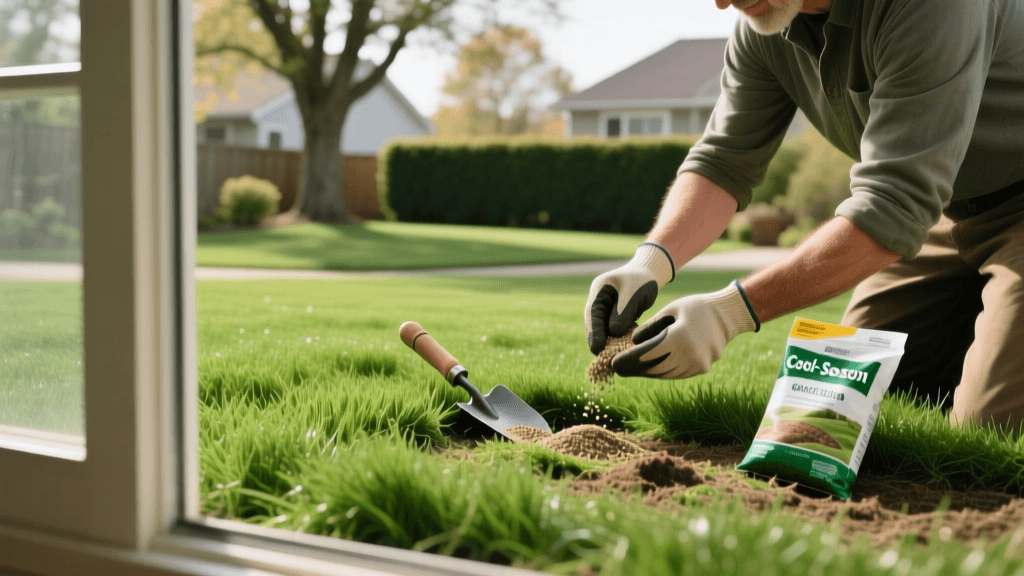
How to Renovate and Overseed a Damaged Cool-Season Lawn
A thin, patchy, or weed-infested lawn can be a homeowner's worst nightmare, but it is rarely a permanent problem. Cool-season grasses like Kentucky Bluegrass, Tall Fescue, and Perennial Ryegrass possess incredible recuperative potential when given the right conditions. Whether your turf has been ravaged by summer drought, grubs, or heavy foot traffic, a strategic lawn renovation and recovery plan can transform your yard into a dense, vibrant carpet of green.
Assessing Lawn Damage: Repair vs. Full Renovation
Before purchasing seed and renting equipment, you must evaluate the current state of your turf. Agronomists and turfgrass experts generally recommend the '50% Rule' to determine your approach. If your lawn consists of more than 50% healthy, desirable grass, you only need to perform overseeding and spot repair. However, if your lawn is more than 50% weeds, bare dirt, or dead thatch, a full renovation—which involves killing the existing vegetation and starting from scratch—is the most viable path to long-term success.
The Ideal Timing for Cool-Season Recovery
Timing is the single most critical factor in cool-season lawn renovation. According to Penn State Extension, the optimal window for seeding cool-season grasses is late summer to early fall (typically August 15 to September 15 in most northern hardiness zones). During this period, warm soil temperatures promote rapid seed germination, while cooler autumn air reduces heat stress on young seedlings. Furthermore, fall seeding allows the new grass to establish deep root systems before the following summer's heat arrives, and it naturally outcompetes most annual summer weeds.
Step-by-Step Guide to Overseeding and Bare Patch Recovery
Step 1: Soil Testing and Weed Eradication
Begin your recovery process 4 to 6 weeks before seeding by conducting a comprehensive soil test. Cool-season grasses thrive in a soil pH between 6.0 and 7.0. If your soil is too acidic, apply pelletized lime; if it is too alkaline, apply elemental sulfur. If you are performing a full renovation, apply a non-selective herbicide like glyphosate to kill existing weeds and poor grass. If you are overseeding, manually pull large weeds or use a selective herbicide. Note: Never apply a standard pre-emergent herbicide like prodiamine before overseeding, as it will prevent your new grass seed from germinating.
Step 2: Mowing, Dethatching, and Core Aeration
Prepare the seedbed by mowing your existing lawn as short as your mower will allow, ideally down to 1.5 inches, and bag the clippings to expose the soil. Next, check your thatch layer. If the spongy layer of dead organic matter between the soil and the green grass exceeds 0.5 inches, you must dethatch using a power rake. Finally, perform core aeration. Rent a walk-behind core aerator and make two to three passes over the lawn in different directions. Pulling 3-inch soil plugs relieves compaction and creates perfect micro-environments for seed-to-soil contact, a vital step highlighted by Rutgers University Extension.
Step 3: Selecting the Right Seed and Starter Fertilizer
Invest in high-quality, certified weed-free seed. Avoid cheap 'contractor blends' that are filled with annual ryegrass and weed seeds. For a durable, high-traffic lawn, a mix of 80% Turf-Type Tall Fescue and 20% Kentucky Bluegrass is an industry favorite. Pair your seed with a high-phosphorus starter fertilizer (such as a 10-18-10 or 18-24-12 NPK ratio) to stimulate aggressive root development in new seedlings.
Step 4: Seeding and Topdressing
Use a broadcast spreader to apply your seed evenly, splitting the application into two perpendicular passes to ensure uniform coverage. For bare spots, apply seed at the higher end of the recommended rate; for general overseeding, use the lower end. After seeding, apply your starter fertilizer. To maximize germination and retain moisture, topdress the seeded areas with a 1/4-inch layer of finely screened compost or peat moss. This protects the seed from birds and prevents it from washing away during heavy rains.
Step 5: The Critical Watering Schedule
Grass seed must remain consistently moist to germinate. For the first 14 to 21 days, water the lawn lightly 2 to 3 times per day for about 5 to 10 minutes per zone. The goal is to keep the top inch of soil damp, not soggy. Once the new grass reaches 2 inches in height, gradually reduce the frequency of watering but increase the duration to encourage deep root growth. Transition to a standard 1 inch of water per week schedule once the lawn is fully established.
Cool-Season Grass Seed Selection Chart
Choosing the right grass species for your specific microclimate is essential for long-term recovery. Refer to the chart below to match your lawn's conditions with the appropriate seed.
| Grass Type | Sun/Shade Tolerance | Traffic Tolerance | Overseed Rate (lbs/1000 sq ft) | Bare Spot Rate (lbs/1000 sq ft) | Germination Time |
|---|---|---|---|---|---|
| Kentucky Bluegrass | Full Sun / Light Shade | High | 1 - 2 lbs | 2 - 3 lbs | 14 - 30 Days |
| Turf-Type Tall Fescue | Full Sun / Moderate Shade | Very High | 5 - 8 lbs | 8 - 10 lbs | 7 - 14 Days |
| Perennial Ryegrass | Full Sun / Light Shade | High | 5 - 7 lbs | 9 - 10 lbs | 5 - 10 Days |
| Fine Fescue | Heavy Shade | Low | 3 - 5 lbs | 5 - 7 lbs | 7 - 14 Days |
Estimated Cost Breakdown for a 5,000 Sq. Ft. Lawn
Budgeting is a key component of any landscape project. Here is a realistic cost estimate for a DIY fall overseeding and aeration project on a standard 5,000 square foot cool-season lawn:
- Soil Test Kit: $15 - $30
- Core Aerator Rental (Half Day): $60 - $90
- Premium Grass Seed (50 lbs): $150 - $220
- Starter Fertilizer: $40 - $60
- Topdressing Compost (2 cubic yards): $80 - $120
- Mesotrione (Liquid Tenacity) for Weed Control: $25 - $40
- Total Estimated DIY Cost: $370 - $560
While professional lawn care services may charge between $800 and $1,500 for a full aeration and overseeding package of this size, the DIY route offers substantial savings and allows you to meticulously control the quality of materials used.
Common Renovation Mistakes to Avoid
Pro Tip: If you are using mesotrione (Tenacity) for weed control during seeding, be aware that it is safe for Kentucky Bluegrass, Tall Fescue, and Perennial Ryegrass, but it will cause severe bleaching and damage to Fine Fescues. Always read the active ingredient label carefully.
Even with the best intentions, homeowners often sabotage their lawn recovery efforts by making a few common errors. The first is burying the seed. Grass seed requires sunlight to trigger germination. If you cover it with more than 1/4 inch of soil or compost, it will rot before it ever sprouts. The second mistake is stopping water too early. Just because you see green sprouts does not mean the roots are established. Missing even one day of watering during the first three weeks can kill thousands of vulnerable seedlings. Finally, avoid mowing too early. Wait until the new grass is at least 3 to 3.5 inches tall before giving it its first haircut, and ensure your mower blades are razor-sharp to prevent tearing the young, tender blades of grass.
Conclusion
Lawn renovation and recovery require patience, physical effort, and strict adherence to seasonal timing. By properly preparing the seedbed, selecting high-quality genetics, and maintaining a rigorous watering schedule, you can successfully rescue a failing cool-season lawn. For further reading on regional turfgrass management, consult the comprehensive guides provided by the University of Minnesota Extension. With the right strategy, your damaged yard will soon recover into the lush, resilient landscape you envisioned.

