
Lawn Care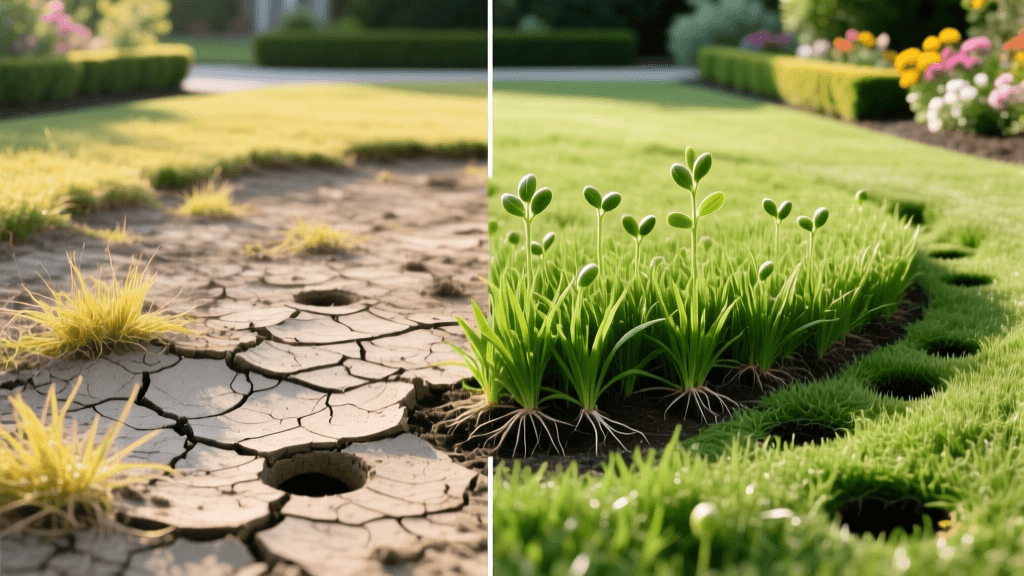
Dead to Dream Lawn: A Before and After Renovation Guide
The "Before" State: Diagnosing a Failing Lawn
Every homeowner dreams of a thick, emerald-green carpet of grass, but the reality of a neglected yard often looks more like a patchwork quilt of brown dirt, stubborn crabgrass, and compacted soil. The journey from a "before" state of despair to an "after" state of neighborhood envy is entirely possible. This comprehensive before and after transformation guide will walk you through a 90-day lawn renovation process. We will cover the exact products, measurements, and timelines required to resurrect a dead lawn using core aeration, strategic overseeding, and targeted soil amendments.
Before you buy a single bag of seed, you must understand why your lawn failed. The most common culprits are severe soil compaction, excessive thatch buildup, and an imbalance in soil pH. When soil is compacted, water and nutrients cannot penetrate the root zone, leading to shallow, weak grass roots that die off during summer heat. Furthermore, a failing lawn leaves open niches for invasive weeds like dandelions, clover, and crabgrass to take over. According to the University of Minnesota Extension, attempting to simply throw grass seed over a compacted, weed-choked lawn will result in a near-zero germination rate. True transformation requires starting from the ground up.
Phase 1: Eradication and Soil Testing (Days 1–14)
The first step in any dramatic before and after lawn transformation is clearing the canvas. If your lawn is more than 50% weeds and bare dirt, a complete renovation is necessary.
Weed Eradication
Apply a non-selective herbicide containing Glyphosate to kill all existing vegetation. For an organic alternative, you can use a pelargonic acid-based herbicide or employ soil solarization using clear plastic sheeting during the hottest weeks of summer. Wait 7 to 10 days for the vegetation to completely brown and die. Once dead, mow the lawn as short as your mower will allow (around 1.5 inches) and bag the clippings to remove dead organic matter and expose the soil.
Soil Testing
Never guess your soil's needs. Purchase a comprehensive soil test kit from a reputable lab like Logan Labs or your local university extension office. The UMass Amherst Extension highly recommends testing for pH, phosphorus, potassium, and organic matter content before any major renovation. Most turfgrasses thrive at a pH between 6.0 and 7.0. If your test reveals a pH below 6.0, apply pelletized lime at the rate of 50 lbs per 1,000 square feet to raise it.
Phase 2: Core Aeration and Soil Amendment (Day 15)
This is the most labor-intensive but rewarding phase of the transformation. Core aeration involves pulling out small plugs of soil (typically 0.5 to 0.75 inches in diameter and 2 to 3 inches deep) to alleviate compaction and allow oxygen, water, and nutrients to reach the root zone.
Choosing the Right Aeration Method
Not all aeration is created equal. Below is a comparison of common aeration methods to help you choose the right approach for your renovation.
| Aeration Method | How It Works | Effectiveness for Compaction | Best Used When |
|---|---|---|---|
| Core Aeration | Extracts physical plugs of soil and thatch. | High | Severe compaction, heavy clay soils, pre-seeding. |
| Spike Aeration | Pokes solid holes into the ground. | Low | Sandy soils, minor surface crusting (can worsen clay compaction). |
| Liquid Aeration | Uses surfactants (e.g., ammonium lauryl sulfate) to break surface tension. | Medium | Maintenance between core aerations, minor thatch issues. |
Topdressing with Compost
Immediately after core aeration, spread a thin layer (about 1/4 inch) of finely screened organic compost over the entire lawn. This compost will fall into the aeration holes, introducing beneficial microbes and improving soil structure. According to Penn State Extension, combining core aeration with compost topdressing significantly increases soil organic matter and improves long-term turf density.
Phase 3: Overseeding and Starter Fertilization (Day 16)
With the soil prepped and aerated, it is time to introduce your new grass. Seed selection is critical for a successful before and after result. For cool-season lawns, a mix of Turf-Type Tall Fescue and a small percentage of Kentucky Bluegrass offers excellent drought tolerance, disease resistance, and a lush, dark green color. Premium brands like Jonathan Green Black Beauty or Scotts Turf Builder Grass Seed are excellent choices.
Seeding Rates and Application
For a full renovation overseeding, apply Tall Fescue at a rate of 8 to 10 lbs per 1,000 square feet. Use a broadcast spreader for even coverage, splitting the seed into two batches and walking in perpendicular directions (north-south, then east-west) to avoid striping.
Starter Fertilizer
New grass seedlings require high levels of phosphorus to develop strong root systems. Apply a starter fertilizer with an N-P-K ratio similar to 10-18-10 or 18-24-12 immediately after seeding. Avoid standard weed-and-feed products, as the herbicides (like mesotrione, unless specifically labeled for seeding) can inhibit grass seed germination.
Phase 4: The "After" Care Routine (Days 17–90)
The difference between a successful transformation and a failed one lies entirely in the post-seeding care routine. Grass seed is a living embryo that will die if it dries out during the germination process.
The Watering Schedule
For the first 14 to 21 days, the top half-inch of soil must remain constantly moist. This typically requires watering 2 to 3 times per day for 5 to 10 minutes per zone, depending on your soil type and local climate. Once the seedlings reach 1.5 inches tall, transition to deeper, less frequent watering (e.g., 30 minutes every other day) to encourage deep root growth.
The First Mow
Resist the urge to mow too early. Wait until the new grass reaches about 3.5 to 4 inches in height. Ensure your mower blade is razor-sharp to prevent tearing the tender young grass blades. Mow the lawn down to 2.5 or 3 inches, and never remove more than one-third of the grass blade in a single pass. Leave the clippings on the lawn to return valuable nitrogen to the soil.
Common Renovation Mistakes to Avoid
- Burying the Seed: Grass seed needs light to germinate. Do not cover it with more than 1/8 inch of soil or compost. Raking it in gently is enough.
- Using Pre-Emergent Herbicides: Products containing prodiamine or dithiopyr will stop crabgrass, but they will also stop your new grass seed from sprouting. Wait at least 60 days after seeding before applying pre-emergents.
- Inconsistent Watering: Letting the seed dry out even once during the first three weeks can kill the germinating embryos, setting your transformation back by months.
- Heavy Foot Traffic: Keep pets and children off the newly seeded lawn for at least 30 days to prevent soil compaction and uprooting of delicate seedlings.
Transformation Cost Breakdown
Understanding the financial investment is crucial for planning your before and after project. Below is an estimated cost breakdown for a DIY renovation on a 5,000 square foot lawn compared to hiring a professional landscaping service.
| Renovation Step | DIY Cost (5,000 sq ft) | Professional Cost (5,000 sq ft) |
|---|---|---|
| Weed Eradication (Herbicide) | $25 - $40 | $75 - $120 |
| Core Aeration (Equipment Rental vs. Service) | $75 - $90 (Rental) | $150 - $250 |
| Compost Topdressing (Material & Delivery) | $150 - $250 | $400 - $600 |
| Premium Seed & Starter Fertilizer | $120 - $180 | $150 - $200 |
| Total Estimated Cost | $370 - $560 | $775 - $1,170 |
Conclusion: Enjoying Your New Lawn
Transforming a dead, compacted yard into a vibrant, lush landscape is a journey that requires patience, physical effort, and adherence to a strict schedule. By following this before and after renovation blueprint—testing your soil, eradicating weeds, core aerating, and meticulously watering your new seed—you will achieve a lawn that not only looks spectacular but is fundamentally healthier and more resilient. The "after" photo of your lawn will be a testament to the power of proper lawn care science and dedicated maintenance. Stick to the schedule, invest in quality seed, and prepare to enjoy the best lawn on your block.

