
Landscaping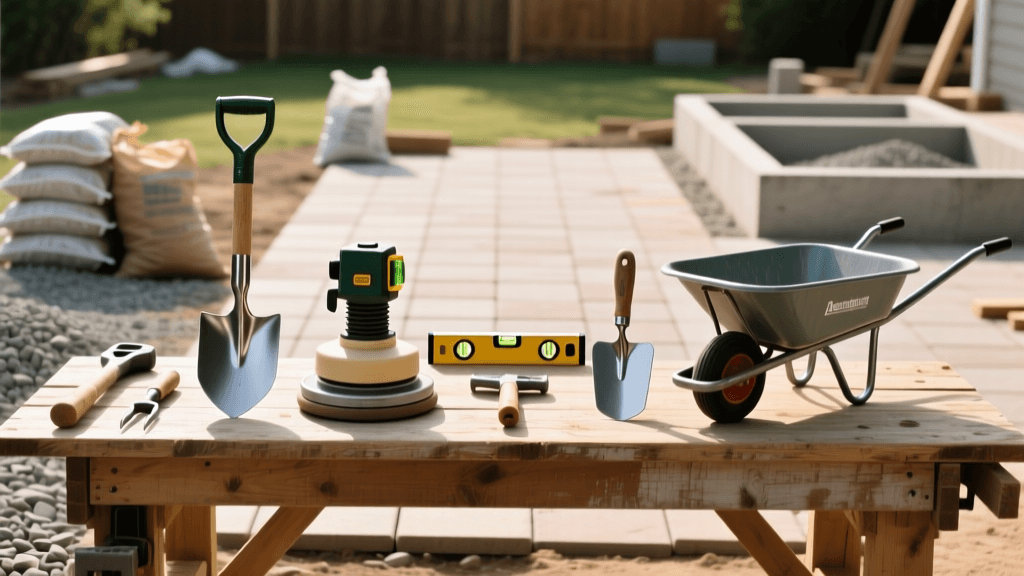
Essential Hardscaping Tools for DIY Patio Installations
Introduction to Hardscaping and Tool Selection
Transitioning from softscaping to hardscaping is one of the most rewarding upgrades you can make to your outdoor living space. Whether you are laying a classic brick patio, installing a permeable paver walkway, or building a retaining wall, the longevity and aesthetic appeal of your project depend entirely on the preparation and the tools you use. While it is tempting to rely on basic garden tools, hardscaping requires specialized equipment designed to move heavy earth, compact aggregate bases, and cut dense masonry materials with precision.
For DIY landscapers and home gardeners, investing in or renting the right hardscaping tools is the difference between a patio that shifts and sinks after one winter and one that remains perfectly level for decades. This comprehensive guide breaks down the essential tools and equipment required for every phase of a paver patio installation, providing actionable advice on measurements, equipment choices, and safety protocols.
Phase 1: Excavation and Earthmoving Equipment
The first and most labor-intensive phase of any hardscaping project is excavation. To achieve a stable base, you must dig down to the subgrade, typically removing 7 to 9 inches of topsoil to accommodate a 4-to-6-inch gravel base, a 1-inch layer of bedding sand, and the thickness of the pavers themselves.
Essential Digging Tools
- Trenching Shovel: Unlike a standard digging shovel, a trenching shovel features a narrow, pointed blade designed to break through hard, compacted soil and roots with minimal effort.
- Flat Spade: Crucial for skimming the bottom of your excavated area to ensure a flat, uniform subgrade. A sharp flat spade acts like a giant scraper, smoothing out the earth before the base material is laid.
- Cutter Mattock: When dealing with heavy clay or rocky soil, a 5-pound cutter mattock is indispensable. The wide blade chops through roots, while the pick end breaks up hardened earth.
- Steel Tray Wheelbarrow (6 cu. ft.): Hardscaping involves moving tons of dirt and gravel. Opt for a 6-cubic-foot steel tray wheelbarrow with pneumatic tires. The pneumatic tires absorb the shock of heavy loads, saving your wrists and back over rough terrain.
Phase 2: Base Preparation, Leveling, and Compaction
A paver patio is only as strong as its base. The industry standard for residential patios is a 4-to-6-inch layer of crushed angular gravel (often called CR-6 or 3/4-inch minus gravel), which locks together when compacted to form a concrete-like sub-base. Proper compaction prevents settling and frost heave.
Plate Compactor vs. Hand Tamper
While a hand tamper is useful for small repairs or tight corners, it is entirely insufficient for compacting the gravel base of a patio. You must use a mechanical plate compactor to achieve the necessary pounds per square inch (PSI) of force.
| Feature | Vibratory Plate Compactor | Manual Hand Tamper |
|---|---|---|
| Compaction Force | 2,000 to 5,000+ lbs of centrifugal force | Approx. 100 to 150 lbs (manual impact) |
| Best Application | Gravel base layers, large surface areas, final paver settling | Trenches, small post holes, localized sand bedding |
| Cost / Accessibility | $60 - $100 per day (equipment rental) | $40 - $80 (one-time purchase) |
| Time Efficiency | High; covers 100 sq ft in minutes | Low; highly labor-intensive and slow |
Leveling and Screeding Gear
Once the base is compacted, a 1-inch layer of coarse, sharp concrete sand is added. To ensure this sand is perfectly level and sloped for drainage (a standard slope of 1/8 inch per foot away from the house), you need aluminum screed rails and a straight-edge screed board. PVC pipes can be used in a pinch, but aluminum rails will not bend under the pressure of the screed board, ensuring a flawless, even bedding layer.
Phase 3: Paver Cutting and Shaping
Very few patio layouts consist entirely of full-sized pavers. You will inevitably need to cut pavers to fit borders, curves, or obstacles like utility poles. Choosing the right cutting tool depends on the volume of cuts and the material of the pavers.
Masonry Wet Saws vs. Paver Splitters
For complex cuts, curves, and thick natural stone, a 10-inch masonry wet saw equipped with a continuous-rim diamond blade is mandatory. The water feed is not just for cooling the blade; it is a critical safety feature. According to the Centers for Disease Control and Prevention (CDC) and NIOSH, dry-cutting concrete and stone generates respirable crystalline silica, a hazardous dust that can cause severe, irreversible lung disease. Using a wet saw suppresses this dust at the source, keeping your lungs safe and your worksite clean.
For straight cuts on standard concrete pavers, a manual paver splitter (often called a paver guillotine) is an excellent, silent alternative. It uses a heavy steel blade and leverage to snap the paver cleanly along a scored line. It requires no electricity, no water, and produces zero silica dust, making it ideal for quick border cuts.
Phase 4: Bedding, Sanding, and Finishing Tools
After the pavers are laid and cut, the joints must be filled to lock the system together and prevent weed growth. This requires polymeric sand or fine jointing sand.
- Stiff-Bristle Push Broom: A heavy-duty push broom is required to sweep the jointing sand deeply into the paver crevices. You must sweep diagonally across the joints to avoid pulling the sand back out.
- Plate Compactor with Urethane Pad: After sweeping the sand, you must run the plate compactor over the finished patio to vibrate the sand deep into the joints. Crucial Tip: Always attach a urethane or rubber pad to the bottom of the compactor during this final step. Running bare steel or hard plastic over finished pavers will permanently scratch and mar the surface.
Incorporating Sustainable and Permeable Options
Modern landscaping increasingly favors sustainable practices, particularly regarding stormwater management. If you are installing a permeable paver system to reduce runoff and recharge local groundwater, your tool requirements shift slightly. Permeable systems require open-graded, washed crushed stone (like ASTM No. 8 or No. 9 stone) rather than standard gravel and sand. When designing permeable hardscapes to manage stormwater, the EPA's WaterSense program recommends consulting local environmental guidelines to ensure your base depth and aggregate sizing meet regional water management standards. You will also need specialized geotextile fabric to line the excavation bed, preventing soil migration into the clean stone voids.
Essential Safety Gear for Hardscapers
Hardscaping is rugged work that exposes you to heavy materials, loud machinery, and hazardous dust. The Occupational Safety and Health Administration (OSHA) mandates strict personal protective equipment (PPE) protocols for construction and landscaping environments to prevent acute injuries and long-term health issues. Do not skip the following gear:
- Respiratory Protection: An N95 or P100 particulate respirator is non-negotiable when sweeping polymeric sand, mixing dry concrete, or operating a dry masonry saw.
- Hearing Protection: Plate compactors and masonry saws regularly exceed 85-100 decibels. Use over-ear earmuffs with a Noise Reduction Rating (NRR) of at least 25 dB.
- Footwear and Gloves: Steel-toe or composite-toe boots protect against dropped pavers (which can weigh up to 15 lbs each). Heavy-duty leather landscaping gloves with reinforced palms prevent blisters and protect against the abrasive edges of cut stone.
- Knee Protection: You will spend hours kneeling on gravel and stone. Gel-filled knee pads or a thick foam kneeling mat will save your joints from chronic strain.
Conclusion
Successful DIY hardscaping is a blend of meticulous planning, physical endurance, and the strategic use of specialized tools. By equipping yourself with the proper excavation shovels, mechanical plate compactors, wet masonry saws, and essential safety gear, you elevate your project from a simple backyard experiment to a professional-grade outdoor living space. Renting heavy machinery like plate compactors and masonry saws keeps your upfront costs manageable while ensuring you have the commercial-grade power necessary to build a patio that will withstand the elements and enhance your home's curb appeal for decades to come.

