
Landscaping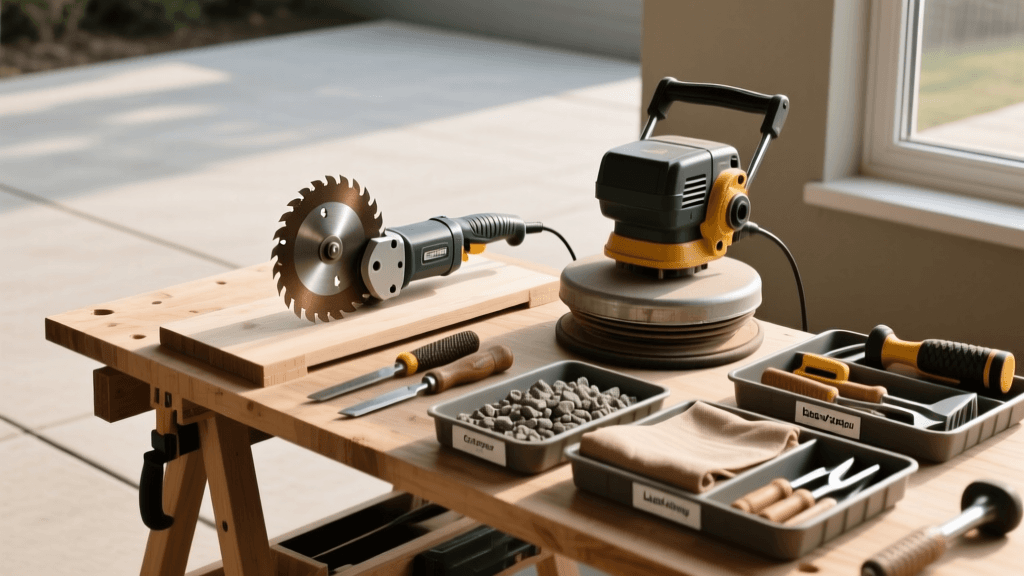
Essential Hardscaping Tools for DIY Patio and Walkway Projects
Introduction to Hardscaping and Patio Installation
Hardscaping is the backbone of any well-designed landscape. While softscaping elements like grass, shrubs, and flower beds bring life and color to your yard, hardscaping provides structure, functionality, and enduring curb appeal. Whether you are installing a modest 100-square-foot paver patio, a winding walkway, or a sprawling outdoor entertainment space, the success of your project hinges entirely on the quality of your base preparation and the precision of your cuts. For DIY enthusiasts, understanding which hardscaping tools to buy, which to rent, and how to use them safely is the difference between a professional-grade finish and a sunken, weed-infested disaster.
According to industry standards for interlocking concrete pavers, the structural integrity of a patio relies on a properly excavated and compacted sub-base. This guide will walk you through the essential hardscaping tools and equipment required for every phase of a DIY patio installation, from breaking ground to sweeping in the final layer of jointing sand.
Phase 1: Excavation and Base Preparation Tools
The most labor-intensive part of any hardscaping project is the excavation and base preparation. A standard paver patio requires a 6-inch layer of compacted crushed gravel base and a 1-inch layer of bedding sand. To achieve this, you must excavate approximately 8 to 9 inches of topsoil below your desired finish grade.
Digging and Moving Earth
- Flat-Point Spade: Essential for cutting through turf and defining the straight edges of your patio footprint.
- Trenching Shovel: Its narrow, pointed blade is perfect for digging out stubborn roots and removing loose soil from the excavated area.
- Bow Rake: Used for grading the exposed subsoil and spreading the crushed gravel base evenly across the project area.
- Heavy-Duty Wheelbarrow: You will be moving hundreds of pounds of dirt, gravel, and sand. A steel-contractor wheelbarrow with pneumatic tires is non-negotiable for saving your back and your lawn.
Compaction Equipment
Proper compaction prevents settling, which is the primary cause of uneven pavers and pooling water. While a manual hand tamper is useful for tight corners or very small projects (under 50 square feet), it is entirely insufficient for a standard patio.
- Vibratory Plate Compactor: This gas-powered or electric machine uses high-frequency vibrations to lock the crushed stone base together and later settles the pavers into the bedding sand. For DIYers, renting a plate compactor with a compaction force of at least 3,000 to 5,000 pounds of centrifugal force is highly recommended.
Phase 2: Paver Cutting and Shaping Equipment
Rarely will a patio design fit perfectly into the available space without requiring cuts. Cutting concrete pavers generates immense amounts of silica dust and requires specialized masonry blades. Choosing the right cutting tool depends on your budget, the volume of cuts required, and the complexity of your design.
Comparing Paver Cutting Tools
| Tool Type | Best For | Pros | Cons | Estimated Cost |
|---|---|---|---|---|
| Wet Tile / Masonry Saw | Precision cuts, curves, and high-volume projects | Zero dust (uses water), extremely precise, clean edges | Heavy, requires water source, expensive to buy | $400 - $800 (Buy) / $80/day (Rent) |
| Angle Grinder with Diamond Blade | Quick straight cuts, notching, and budget projects | Cheap, versatile, highly portable | Generates massive silica dust, difficult to cut perfectly straight | $60 - $150 (Tool + Blade) |
| Manual Paver Guillotine / Splitter | Rustic looks, straight cuts on thick pavers, silent work | No dust, no electricity or gas needed, very fast | Leaves a rough, chipped edge, struggles with very hard stone | $150 - $300 |
Pro Tip: If you are using an angle grinder, always score the paver on all four sides before attempting to cut all the way through. This prevents the concrete from chipping or blowing out on the back edge of the cut.
Phase 3: Screeding and Leveling Gear
Once your gravel base is compacted, you will lay down a 1-inch layer of coarse, sharp concrete sand. This sand must be perfectly level to ensure your pavers lay flat and maintain the correct drainage slope (typically a 1/8-inch drop per linear foot away from your home's foundation).
The Screeding Process
- 1-Inch OD Aluminum Pipes: These serve as your screed guides. You lay two parallel pipes on top of the compacted gravel base and fill the space between them with sand.
- Straight Edge / Screed Board: A rigid piece of aluminum or a perfectly straight 2x4 is pulled across the top of the pipes to scrape away excess sand, leaving a flawless, level 1-inch bed.
- Masonry Trowel: Used for patching any low spots or filling in the voids left behind after you carefully remove the screed pipes.
Never walk on or disturb the screeded sand bed once it is leveled. Work backward from your starting point so you are always reaching over uncompacted sand to place your pavers.
Phase 4: Finishing and Jointing Tools
After the pavers are laid and the perimeter is secured with edge restraints and spikes, the final step is locking them together. This is done using polymeric sand, which contains additives that harden when exposed to water, preventing weed growth and insect infestations.
- Stiff-Bristle Push Broom: Essential for sweeping the polymeric sand deep into the 1/8-inch joints between the pavers. You must sweep diagonally across the joints to avoid pulling the sand back out.
- Leaf Blower: A crucial, often overlooked tool. After sweeping, you must use a leaf blower on a low setting to remove all residual polymeric sand from the surface of the pavers. If left on the surface, the sand will harden into a hazy, permanent film when you activate it with water.
- Urethane Pad for Plate Compactor: Before sweeping in the final sand, run your plate compactor over the laid pavers to vibrate them into the bedding sand. You must attach a thick urethane or rubber pad to the bottom of the compactor to prevent scratching and scuffing the paver surfaces.
Crucial Safety Equipment
Hardscaping is rugged work that exposes you to heavy materials, loud machinery, and hazardous airborne particles. Adhering to OSHA's personal protective equipment standards is vital, even for residential DIY projects.
- N95 or P100 Respirator: Cutting concrete pavers with a dry saw releases crystalline silica dust, which can cause severe, irreversible lung damage (silicosis). A standard dust mask is insufficient; use a properly fitted N95 or half-face respirator with P100 cartridges.
- Heavy-Duty Knee Pads: You will spend hours kneeling on gravel and concrete. Gel-insert knee pads are an absolute necessity to prevent long-term joint damage.
- Hearing Protection: Plate compactors and gas-powered wet saws routinely exceed 95 decibels. Use over-ear earmuffs or high-quality foam earplugs.
- Steel-Toe or Composite-Toe Boots: Concrete pavers weigh between 8 and 15 pounds each. Dropping one on an unprotected foot can easily result in broken bones.
Tool Rental vs. Buying: A Cost Breakdown
One of the most common questions DIYers face is whether to purchase hardscaping tools or rent them. The answer largely depends on the scale of your current project and your future landscaping plans.
For items like shovels, rakes, screed pipes, push brooms, and safety gear, purchasing is the only logical route. These are relatively inexpensive, easily stored, and universally useful for general yard maintenance. You can find excellent project planning advice and tool checklists through resources like the Better Homes & Gardens landscaping guides.
However, for heavy machinery, renting is almost always the smarter financial choice. A commercial-grade vibratory plate compactor can cost upwards of $1,500 to purchase, but can be rented from a local home improvement center or equipment yard for roughly $75 to $100 per day. Similarly, a 14-inch gas-powered masonry wet saw is a massive investment that requires winterization and maintenance. Unless you plan on installing multiple patios or starting a side business, renting these high-ticket items for a weekend will save you hundreds of dollars and free up valuable garage space.
Conclusion
Building a DIY paver patio is a deeply rewarding landscaping project that adds significant value and usability to your outdoor living space. By investing in the right base preparation tools, selecting the appropriate cutting equipment for your specific paver material, and strictly adhering to safety protocols, you can achieve a professional, long-lasting result. Remember that hardscaping is 80 percent preparation and 20 percent installation; take your time with the excavation and screeding, and the final layout will practically assemble itself.

