
Gardening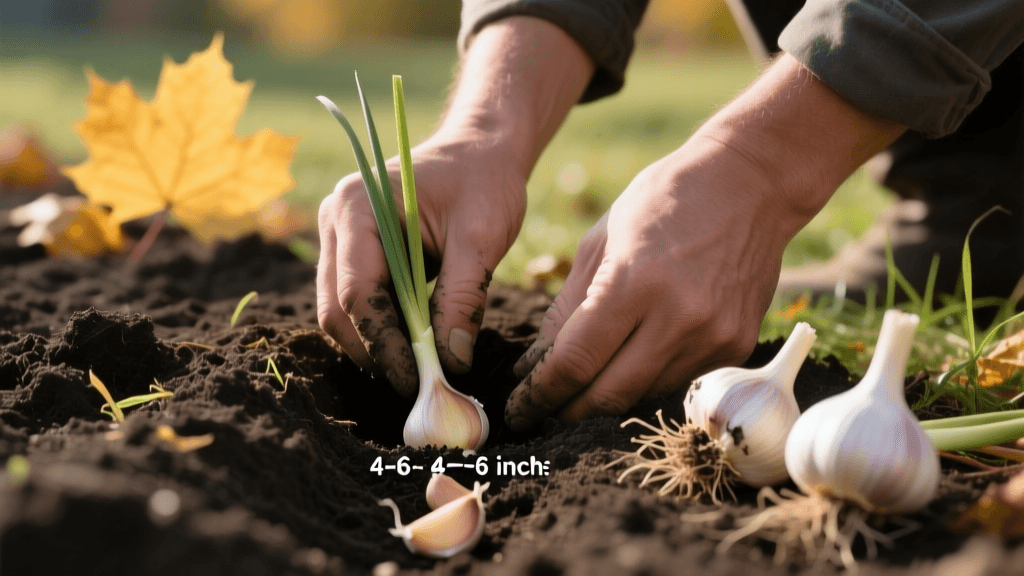
The Ultimate Fall Garlic Planting Schedule and Soil Prep Guide
Why Timing is Everything for Fall Garlic
Garlic (Allium sativum) is unique among garden vegetables because its primary planting season occurs just as the rest of the garden is going dormant for the winter. Unlike tomatoes or peppers that demand warm soil and long summer days to establish, garlic requires a prolonged period of cold to trigger proper bulb formation. This biological process, known as vernalization, is the cornerstone of a successful garlic harvest. If you plant garlic in the spring without this cold period, the plants will often produce small, single-clove bulbs known as rounds, rather than the large, multi-clove heads you desire.
According to the University of Minnesota Extension, garlic requires a cold period of at least 40 days at temperatures around 40°F to properly differentiate the cloves. Timing your fall planting correctly ensures the cloves develop a robust root system before the ground freezes, allowing them to survive the winter and explode with growth the moment spring temperatures rise.
Choosing the Right Garlic: Hardneck vs. Softneck
Before you can finalize your planting schedule, you must select the right type of garlic for your climate. Garlic is broadly divided into two main categories, each with distinct timing and care requirements:
- Hardneck Garlic (Allium sativum var. ophioscorodon): This variety produces a rigid, woody flowering stalk called a scape. Hardneck garlic is exceptionally cold-hardy, making it the preferred choice for gardeners in northern climates (USDA Zones 3 through 6). It typically produces larger cloves with complex, robust flavors but has a shorter storage life of about four to six months.
- Softneck Garlic (Allium sativum var. sativum): Softneck varieties lack the central woody stalk, making their flexible stems ideal for braiding. They are better suited for milder winter climates (USDA Zones 7 through 9) and generally produce more cloves per head. Softneck garlic also boasts a significantly longer shelf life, often lasting up to a year in proper storage.
The Fall Garlic Planting Schedule by Climate Zone
The golden rule of garlic planting is to put the cloves in the ground two to four weeks before the ground freezes solid. This window allows the roots to establish without encouraging the green shoots to emerge above the soil line before winter sets in. To pinpoint your exact schedule, consult the USDA Plant Hardiness Zone Map and refer to the table below.
| USDA Hardiness Zone | Ideal Planting Window | Soil Temperature Target | Expected Harvest Time |
|---|---|---|---|
| Zones 3-5 (Northern) | Late September to Mid-October | Below 60°F at 2-inch depth | Mid-to-Late July |
| Zones 6-7 (Mid-Atlantic) | Late October to Mid-November | Below 60°F at 2-inch depth | Late July to Early August |
| Zones 8-9 (Southern) | November to Late December | Below 60°F (may require pre-chilling) | Early to Mid-June |
Note for Southern Gardeners: If you live in Zone 8 or 9 where winters are mild, softneck garlic is your best option. You may need to artificially vernalize your seed garlic by storing it in the crisper drawer of your refrigerator for 8 to 10 weeks before planting.
Soil Preparation: Building the Perfect Bed
Garlic is a heavy feeder and highly susceptible to rot in waterlogged conditions. Proper soil preparation is just as critical as timing. The Old Farmer's Almanac recommends planting garlic in well-draining, loamy soil with a pH between 6.0 and 7.0.
Step-by-Step Soil Amendment
- Test Your Soil: Use a home testing kit or send a sample to your local cooperative extension to determine your baseline pH and nutrient levels.
- Improve Drainage: If you have heavy clay soil, amend the planting bed with coarse sand and aged compost to prevent water from pooling around the cloves during winter thaws.
- Add Organic Matter: Work 2 to 3 inches of high-quality, finished compost into the top 8 inches of soil. This improves soil structure and provides a slow-release source of nutrients.
- Fertilize: Garlic requires high nitrogen in the spring but needs a strong phosphorus and potassium base for root development in the fall. Mix in a balanced organic fertilizer (such as a 5-5-5 blend) or bone meal at a rate of 2 pounds per 100 square feet of garden bed.
Step-by-Step Planting Instructions
Once your soil is prepped and your planting window has arrived, it is time to put the cloves in the ground. Always purchase certified disease-free seed garlic from a reputable nursery or seed catalog. Grocery store garlic is often treated with sprout inhibitors and may carry soil-borne diseases like white rot.
- Crack the Bulbs: Break the garlic heads apart into individual cloves no more than 24 hours before planting. Leave the papery husk intact on each clove, as it protects against rot and pests.
- Dig the Trenches: Create furrows that are exactly 2 inches deep. Planting too shallow exposes the cloves to frost heave, while planting too deep can suffocate the emerging shoot and result in misshapen bulbs.
- Space the Cloves: Place the cloves in the furrow with the flat root plate facing down and the pointy tip facing up. Space each clove 6 inches apart within the row, and space the rows 12 inches apart to allow for adequate airflow and weeding access.
- Cover and Water: Backfill the furrows with soil and gently tamp it down to remove large air pockets. Water the bed deeply once to settle the soil and initiate root growth.
Winter Care and Spring Mulching
In northern zones, winter mulching is non-negotiable. After the ground has experienced its first hard freeze, apply a 4 to 6 inch layer of seed-free straw, shredded leaves, or pine needles over the garlic bed. This thick blanket insulates the soil, preventing the freeze-thaw cycles that can push the cloves out of the ground (frost heave) and protecting the delicate root system from extreme temperature drops.
When spring arrives and the ground begins to thaw, do not remove the mulch immediately. Wait until the threat of hard freezes has passed and the garlic shoots are a few inches tall. At this point, you can gently pull back the mulch to allow the soil to warm up, or leave it in place to suppress weeds and retain moisture. In early spring, side-dress the garlic with a high-nitrogen fertilizer, such as blood meal or fish emulsion, to fuel rapid vegetative growth.
Companion Planting and Crop Rotation
Garlic is a fantastic companion plant due to its strong scent, which deters pests like aphids, Japanese beetles, and spider mites. Plant garlic near tomatoes, peppers, brassicas, and fruit trees. However, avoid planting garlic near legumes (peas and beans), as the antibacterial properties of garlic can inhibit the nitrogen-fixing bacteria on legume roots, stunting their growth.
Furthermore, practice strict crop rotation. Never plant garlic or any other allium (onions, leeks, shallots) in the same bed more than once every three to four years. This prevents the buildup of soil-borne pathogens and nematodes that specifically target the allium family.
Common Timing and Planting Mistakes to Avoid
Even experienced gardeners can stumble when growing garlic. Avoid these common pitfalls to ensure a bountiful harvest:
- Planting Too Early: If you plant while the soil is still warm (above 60°F), the garlic may send up green shoots before winter. These tender shoots will be killed by the frost, weakening the plant and reducing your final bulb size.
- Removing Scapes Too Late: For hardneck varieties, the plant will produce a curly flower stalk called a scape in early summer. If left on the plant, the garlic will direct its energy into producing seeds rather than bulking up the underground bulb. Snip the scapes off as soon as they form one full curl to redirect energy back into the bulb.
- Harvesting at the Wrong Time: Timing the harvest is just as crucial as timing the planting. Harvest garlic when the bottom three or four leaves have turned brown, but the top five or six leaves are still green. If you wait until all the leaves are brown, the papery wrappers will have degraded, and the bulbs will not store well.
By adhering to this seasonal planting schedule and focusing heavily on soil preparation, you will set the stage for a massive, flavorful garlic harvest that will sustain your kitchen well into the following winter.

