
Lawn Care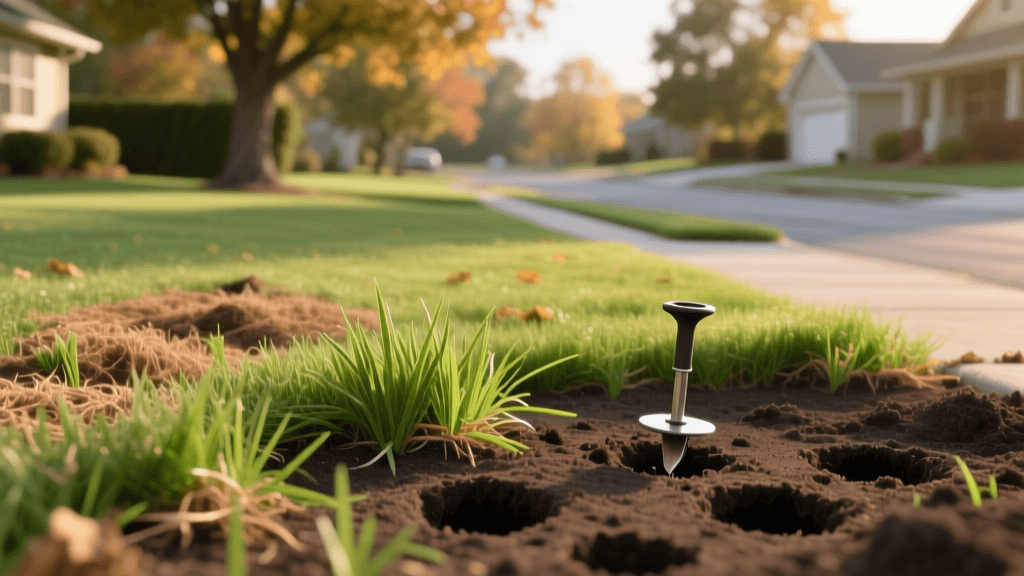
Fall Lawn Renovation: Recovering From Severe Drought Damage
The Hidden Toll of Summer Drought on Cool-Season Grasses
Summer heat and prolonged drought can push even the most resilient cool-season grasses to their absolute limits. Turfgrasses like Kentucky Bluegrass, Perennial Ryegrass, and Tall Fescue naturally enter a state of dormancy when soil moisture drops and temperatures soar above 85°F. While dormancy is a survival mechanism, extended periods without water can cause the plant's crown—the vital growing point at the base of the grass blade—to dehydrate and die. When autumn arrives and the rains return, homeowners are often greeted by patchy, thin, or completely barren areas of turf. Fall lawn renovation is not just about cosmetic improvement; it is a critical biological intervention required to reestablish root systems, replenish soil organic matter, and introduce drought-resilient cultivars before the winter freeze.
Step 1: Assess the Damage – Dead vs. Dormant
Before purchasing seed or renting equipment, you must accurately assess the state of your lawn. Dormant grass is brown but still alive; dead grass is gone for good. To perform the 'tug test,' grab a handful of brown grass and pull gently. If the grass resists and the roots hold firm, the crown is likely still alive and dormant. If the grass pulls up effortlessly with no root resistance, the crown has perished. According to turfgrass specialists at Penn State Extension, late summer to early fall is the optimal window for renovating these dead patches, as the soil is still warm enough to encourage rapid seed germination, while the cooler air temperatures reduce heat stress on young seedlings.
Step 2: Soil Testing and Strategic Amendments
Renovating a lawn without a soil test is like prescribing medication without a diagnosis. Drought-stressed soils often suffer from severe compaction, depleted organic matter, and locked-up nutrients. Send a soil core sample to your local university extension office to determine your soil's pH, cation exchange capacity (CEC), and baseline nutrient levels. Cool-season grasses thrive in a pH range of 6.0 to 7.0. If your soil is too acidic or too alkaline, nutrient uptake will be stunted, and your new seed will struggle to establish.
| Soil Condition | Test Indicator | Recommended Amendment | Application Rate (per 1,000 sq ft) |
|---|---|---|---|
| Highly Acidic | pH below 5.5 | Calcitic or Dolomitic Limestone | 25 - 50 lbs (based on buffer pH) |
| Alkaline | pH above 7.5 | Elemental Sulfur or Acidifying Fertilizers | 1 - 2 lbs (apply over multiple seasons) |
| Depleted Organic Matter | OM below 3% | Compost Topdressing | 1/4 inch layer (approx. 1 cubic yard) |
| Severe Compaction | Bulk Density > 1.4 g/cm³ | Core Aeration & Gypsum | 2-3 passes with aerator + 40 lbs Gypsum |
Step 3: Core Aeration and Thatch Management
Drought conditions often exacerbate soil compaction. When the soil bakes in the sun, it hardens, preventing water infiltration and oxygen exchange. Core aeration is a non-negotiable step in the renovation process. Rent a walk-behind core aerator and make at least two passes over your lawn in perpendicular directions. The goal is to pull soil plugs that are 2 to 3 inches deep and spaced 2 to 3 inches apart. This process fractures compacted soil layers, allowing water, air, and starter fertilizers to reach the root zone. If your lawn has a thatch layer exceeding 1/2 inch, use a power rake or dethatcher before aerating. Excessive thatch acts like a sponge, stealing moisture and preventing grass seed from making direct contact with the soil.
Step 4: Overseeding with Drought-Resilient Cultivars
When renovating a drought-damaged lawn, do not simply buy the cheapest bag of seed at the hardware store. Look for Turf-Type Tall Fescue (TTTF) blends or improved Kentucky Bluegrass (KBG) cultivars. TTTF is renowned for its deep, extensive root system, which can reach depths of 2 to 3 feet, allowing it to access subsoil moisture during future dry spells. For shaded areas or high-traffic zones, a mix of 90% TTTF and 10% KBG provides both drought tolerance and rhizomatous spreading capabilities to fill in bare spots. The University of Wisconsin-Madison Extension recommends checking the National Turfgrass Evaluation Program (NTEP) ratings to select cultivars that have proven resistance to local diseases like Brown Patch and Dollar Spot. Apply seed at a rate of 6 to 8 pounds per 1,000 square feet for overseeding, or 8 to 10 pounds for complete lawn renovations.
Step 5: Starter Fertilization and Weed Prevention
Newly germinated grass seed requires immediate access to phosphorus to develop a robust root system. Apply a high-quality starter fertilizer with an N-P-K ratio similar to 18-24-12 or 10-18-10 immediately after seeding. Avoid standard high-nitrogen weed-and-feed products, as they contain pre-emergent herbicides like prodiamine or dithiopyr, which will completely prevent your grass seed from germinating. If broadleaf weeds or crabgrass are a severe issue, you can safely use a starter fertilizer containing mesotrione (commonly sold under the brand name Tenacity). Mesotrione is unique because it provides pre- and post-emergent weed control without harming germinating cool-season grass seeds. It works by inhibiting photosynthesis in target weeds, turning them white and causing them to die off while your new grass thrives.
Step 6: Precision Irrigation for Seed Germination
Watering is the most critical and labor-intensive phase of lawn renovation. Grass seed must remain consistently moist to germinate; if the seed dries out even once during the first 14 days, the embryo will die. For the first two to three weeks, water your lawn lightly two to three times a day for 5 to 10 minutes per zone. The goal is to keep the top inch of soil damp, not soggy. Once the seedlings reach a height of 1.5 to 2 inches, begin to transition your watering schedule. Reduce the frequency to once a day, but increase the duration to encourage roots to grow downward. Proper moisture management is critical for long-term turf health. The EPA WaterSense program recommends that established lawns receive about one inch of water per week, including rainfall, to promote deep, drought-resistant root growth.
Post-Germination Care and First Mow
Resist the urge to mow your newly renovated lawn until the new grass reaches at least 3.5 inches in height. When you do make the first cut, ensure your mower blade is razor-sharp to prevent tearing the delicate young blades. Follow the 'one-third rule'—never remove more than one-third of the grass blade in a single mowing session. Leaving the grass slightly taller (around 3 inches) during the fall helps shade the soil, retain moisture, and outcompete late-germinating winter annual weeds.
Estimated Cost Breakdown for a 5,000 Sq Ft Renovation
- Soil Test Kit: $15 - $30
- Core Aerator Rental (Half Day): $75 - $100
- Premium TTTF Seed (40 lbs): $120 - $160
- Starter Fertilizer with Mesotrione: $60 - $90
- Compost Topdressing (2 cubic yards): $80 - $120
- Total Estimated Cost: $350 - $500
Investing $400 into a thorough fall renovation will save you hundreds of dollars in wasted water, emergency sod replacements, and reactive weed control treatments over the next three to five years.
Conclusion
Recovering a lawn from severe summer drought damage requires patience, precision, and a willingness to address the underlying soil environment. By combining core aeration, strategic soil amendments, and the introduction of modern, drought-tolerant turfgrass cultivars, you can transform a brittle, brown landscape into a thick, resilient carpet of green. Stick to your watering schedule, trust the soil test results, and allow the cool autumn weather to do the heavy lifting for your lawn's root development.

