
Fall Planting Schedule for Energy-Efficient Landscaping
The Intersection of Landscaping and Home Energy Efficiency
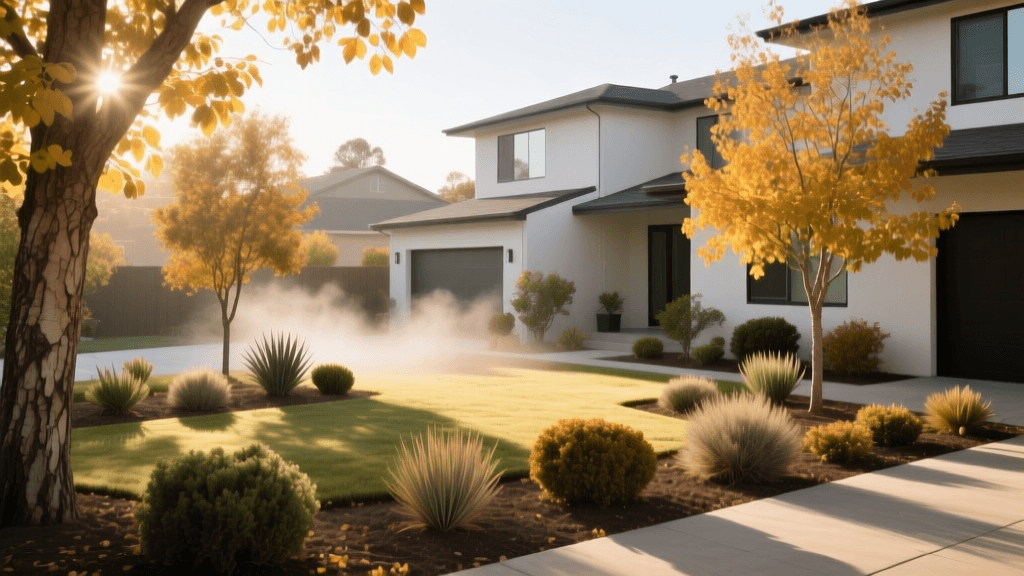
When homeowners think of energy efficiency, they typically focus on indoor upgrades: adding attic insulation, sealing drafty windows, or installing smart thermostats. However, one of the most powerful tools for regulating your home's temperature lies just outside your front door. Energy-efficient landscaping is a strategic approach to planting trees, shrubs, and groundcovers that actively reduce your home's heating and cooling loads. According to the U.S. Department of Energy, a well-designed, mature landscape can reduce an unshaded home's summer cooling costs by 15% to 50%, while carefully placed windbreaks can slash winter heating bills by up to 25%.
To achieve these long-term savings, timing is everything. While spring is traditionally associated with gardening, autumn is the undisputed champion for establishing the deep-rooted infrastructure required for energy-saving trees and shrubs. This comprehensive guide outlines a precise, 8-week fall planting schedule designed to bridge the gap between outdoor aesthetics and indoor energy conservation.
Why Fall is the Prime Season for Energy-Saving Landscaping
Planting trees in the fall leverages natural biological cycles to ensure robust establishment before the stress of summer heat returns. The Arbor Day Foundation highlights that autumn planting allows trees to focus their energy on root development rather than canopy growth. During September through November, soil temperatures remain warm enough to stimulate root expansion, while cooler air temperatures and increased seasonal rainfall reduce transpiration stress on the foliage.
By establishing a strong root system in the fall, your shade trees and windbreaks will be resilient enough to withstand the following summer's drought conditions, ensuring they grow rapidly to provide the shade and wind protection your home needs to lower HVAC usage.
Your 8-Week Fall Planting Schedule
Follow this actionable, step-by-step schedule to transform your yard into an energy-efficient microclimate. This timeline assumes a standard temperate climate (USDA Hardiness Zones 5-7); adjust slightly based on your local first frost date.
Weeks 1-2: Site Analysis and Solar Mapping
Before purchasing any plants, you must understand how the sun and wind interact with your home.
- Track the Sun: Observe your home's exterior at 9:00 AM, 12:00 PM, and 3:00 PM. Identify which windows and walls receive the most intense afternoon solar gain (typically the south and west facades).
- Map the Wind: Identify the direction of prevailing winter winds. In most of North America, cold winter winds blow from the north and northwest.
- Locate Utilities: Call 811 to have underground utility lines marked. Never plant large shade trees directly over or within 10 feet of underground gas or water lines.
Weeks 3-4: Soil Preparation and Hardscape Integration
Energy-efficient landscaping requires healthy soil to support rapid canopy growth.
- Soil Testing: Purchase a soil test kit from your local university extension office. Aim for a pH between 6.0 and 7.0 for most deciduous shade trees.
- Amendments: Incorporate 2 to 3 inches of organic compost into the top 12 inches of the planting area to improve drainage and nutrient retention.
- Hardscape Protection: Ensure planting sites are at least 15 feet away from your home's foundation to prevent root intrusion and allow for proper air circulation around your siding.
Weeks 5-6: Planting Deciduous Shade Trees (South and West Facades)
Deciduous trees are the cornerstone of summer cooling. Their broad leaves block intense summer sun, reducing indoor temperatures. In winter, they drop their leaves, allowing passive solar heat to warm your home.
- Placement: Plant shade trees so that their mature canopy will shade the roof and west-facing windows. A mature tree planted 20 feet from the house will eventually cast a shadow over the structure.
- Digging the Hole: Dig a hole two to three times wider than the root ball, but no deeper. The root flare (where the trunk widens at the base) must sit slightly above the surrounding soil grade to prevent rot.
- Watering: Immediately after planting, apply 15 to 20 gallons of water to settle the soil and eliminate air pockets.
Weeks 7-8: Establishing Evergreen Windbreaks (North and Northwest Facades)
Evergreen trees and dense shrubs act as a physical barrier against freezing winter winds, reducing the wind chill effect on your home's exterior and preventing cold air infiltration through window seals.
- Placement: Plant windbreaks at a distance of 2 to 5 times the mature height of the trees away from the home. For example, if the evergreens will grow to 40 feet tall, plant them 80 to 200 feet upwind from the house.
- Density: Use a mix of coniferous trees and dense, low-growing evergreen shrubs to block wind from the ground up to the treetops.
Recommended Species by Hardiness Zone
Selecting the right tree for your climate ensures long-term survival and maximum energy savings. Below is a comparison chart of top-performing species for energy-efficient landscaping.
| USDA Zone | Deciduous (Summer Shade) | Evergreen (Winter Windbreak) | Mature Height / Spread |
|---|---|---|---|
| Zones 3-5 | Silver Maple, Red Oak | Colorado Blue Spruce, Arborvitae | 50-70 ft / 30-50 ft |
| Zones 5-7 | White Oak, Tulip Poplar | Eastern White Pine, Norway Spruce | 60-90 ft / 30-40 ft |
| Zones 7-9 | Southern Live Oak, Crape Myrtle | Leyland Cypress, Eastern Redcedar | 40-80 ft / 20-40 ft |
Integrating Smart Irrigation for Fall Plantings
While fall brings more rain, newly planted trees still require consistent moisture to establish roots before the ground freezes. This is where smart home integration becomes invaluable. Instead of relying on a manual hose routine, integrate a weather-based smart irrigation controller into your landscape design.
According to the EPA WaterSense program, smart irrigation controllers that adjust watering based on local evapotranspiration (ET) rates and soil moisture data can save the average home thousands of gallons of water annually. By connecting drip irrigation zones to your new tree root balls and linking them to a smart hub, you ensure the trees receive exactly the moisture they need without wasting water as winter dormancy approaches. Budget approximately $150 to $250 for a high-quality smart controller and soil moisture sensors.
Mulching Techniques for Winter Insulation
The final step in your fall planting schedule is applying mulch, which acts as an insulating blanket for the root zone. Proper mulching regulates soil temperature, preventing the freeze-thaw cycles that can heave newly planted root balls out of the ground.
The 3-3-3 Rule of Mulching: Apply a 3-inch deep layer of organic mulch (such as shredded hardwood or pine bark), in a 3-foot radius ring around the trunk, and keep it 3 inches away from the actual trunk bark to prevent rodent damage and fungal rot. Never 'volcano mulch' by piling mulch against the trunk.
Long-Term Maintenance and Return on Investment
Energy-efficient landscaping is a long-term investment. A 15-gallon shade tree typically costs between $150 and $300, plus installation and soil amendments. However, the return on investment is substantial. Within 5 to 7 years, a fast-growing species like a Tulip Poplar or Silver Maple will provide significant shade over west-facing windows, noticeably reducing your August cooling bills. Over a 20-year lifespan, the energy savings, combined with increased property values and enhanced outdoor living spaces, far outweigh the initial costs. By adhering to this fall planting schedule, you are not just gardening; you are engineering a more comfortable, sustainable, and cost-effective home.

