Pest Control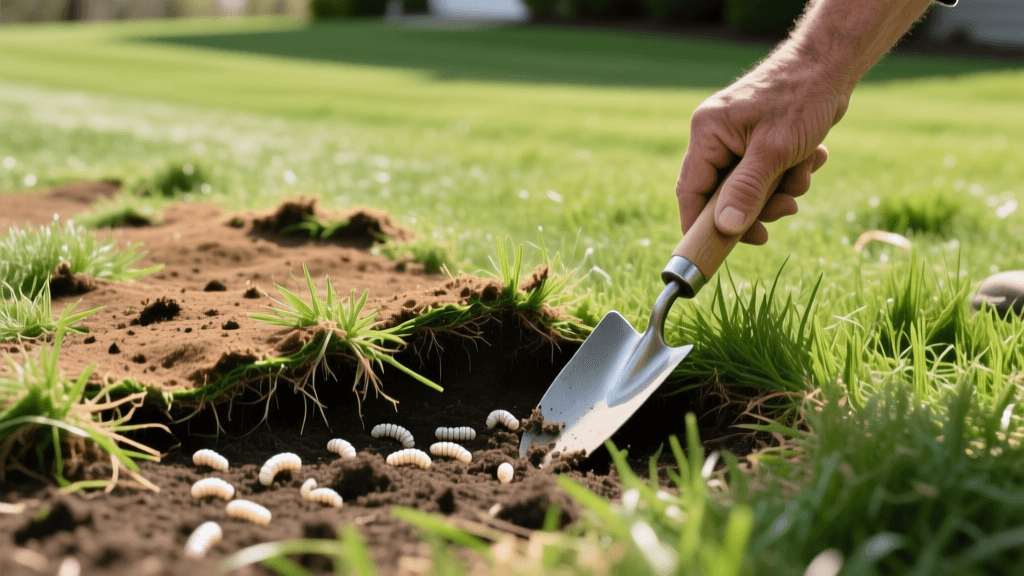
Complete Guide to Lawn Grub Control and Grass Recovery
The Hidden Threat: How White Grubs Destroy Lawns
White grubs are the larval stage of various scarab beetles, including Japanese beetles, June bugs, and European chafers. These C-shaped, cream-colored insects live just beneath the soil surface, feasting aggressively on the root systems of your turfgrass. When a severe infestation takes hold, the roots are completely severed, leaving the grass unable to absorb water or essential nutrients. The result is a lawn that feels unusually spongy underfoot and can literally be rolled back like a freshly laid carpet. For homeowners, discovering grub damage often means facing a dual challenge: eradicating the active pest population and executing a comprehensive lawn renovation to recover the dead patches.
Identifying Grub Damage vs. Drought Stress
Before investing in pest control products and renovation materials, you must confirm that grubs are the actual culprit. Grub damage is frequently mistaken for drought stress, fungal diseases, or dog urine spots. Both drought and grub damage cause the grass to turn brown and wilt. However, the definitive diagnostic tool is the tug test. Grab a handful of the brown turf and pull gently. If the grass lifts away from the soil with almost no resistance and you see severed roots or the white, C-shaped larvae in the top two inches of soil, you have a grub problem. According to Penn State Extension, a threshold of more than five to seven grubs per square foot typically warrants treatment and subsequent lawn recovery efforts.
Additionally, look for secondary signs of infestation. Wildlife such as skunks, raccoons, and crows will actively tear up your lawn to feast on the protein-rich grubs. If your yard looks like it has been rototilled by foraging animals, a severe grub infestation is almost certainly present beneath the surface.
Curative vs. Preventative Grub Control Treatments
When renovating a damaged lawn, timing your pest control application is critical. You must eliminate the active grub population before laying down new seed or sod, otherwise, the newly germinated grass roots will be immediately consumed. The University of Minnesota Extension emphasizes choosing the right chemical or biological agent based on the time of year and the life cycle of the grub.
| Treatment Type | Active Ingredient / Product Example | Application Timing | Cost per 1,000 sq ft | Best For |
|---|---|---|---|---|
| Preventative Chemical | Chlorantraniliprole (e.g., Scotts GrubEx, Acelepryn) | April to Early June | $15 - $20 | Long-term prevention before eggs hatch |
| Curative Chemical | Trichlorfon (e.g., Dylox) | Late Summer to Early Fall (Active grubs present) | $10 - $15 | Quick 24-48 hour knockdown of active infestations |
| Organic / Biological | Beneficial Nematodes (Heterorhabditis bacteriophora) | Late Summer (Soil temp above 60°F) | $25 - $35 | Eco-friendly, active grub control during renovation |
| Organic / Biological | Milky Spore (Paenibacillus popilliae) | Spring or Fall | $30 - $40 | Long-term Japanese beetle grub suppression |
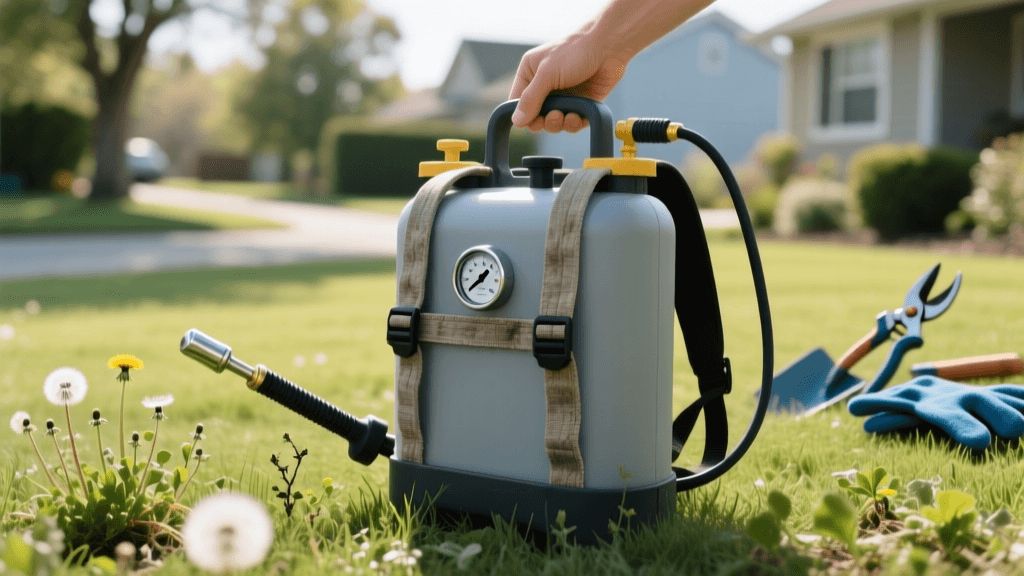
For immediate lawn recovery in late summer or early fall, a curative chemical like Trichlorfon (Dylox) or beneficial nematodes is required. Apply Trichlorfon at a rate of roughly 3 pounds per 1,000 square feet, watering it in immediately with at least a quarter-inch of water to activate the granules and push the active ingredient into the root zone. Wait 10 to 14 days after application to ensure the grub population is fully eradicated before beginning the physical renovation process.
Step-by-Step Lawn Recovery After Grub Eradication
Once the pests are eliminated, the real work of lawn renovation begins. You cannot simply throw grass seed over dead, matted turf and expect a lush lawn. Proper soil preparation and seeding techniques are mandatory for long-term success.
1. Remove Dead Turf and Dethatch
Grub-damaged lawns are often left with a thick layer of dead organic matter and severed roots. Use a heavy-duty thatch rake or a power dethatcher to aggressively remove the dead grass. This step is non-negotiable; new grass seed must have direct contact with the soil to germinate properly. Rake up the debris and dispose of it to prevent harboring fungal spores or remaining insect eggs.
2. Core Aeration and Soil Amendment
Compacted soil makes it difficult for new roots to establish and creates a favorable environment for future pest outbreaks. Rent a core aerator and make two to three passes over the damaged areas in perpendicular directions. This will pull out 2-to-3-inch soil plugs, relieving compaction and allowing oxygen, water, and nutrients to penetrate the root zone. Following aeration, conduct a soil test. If your soil pH is below 6.0, apply pelletized lime at the rate recommended by your soil test results (typically 50 pounds per 1,000 square feet) to optimize nutrient uptake for the recovering turf.
3. Overseeding with Grub-Resistant Grass Varieties
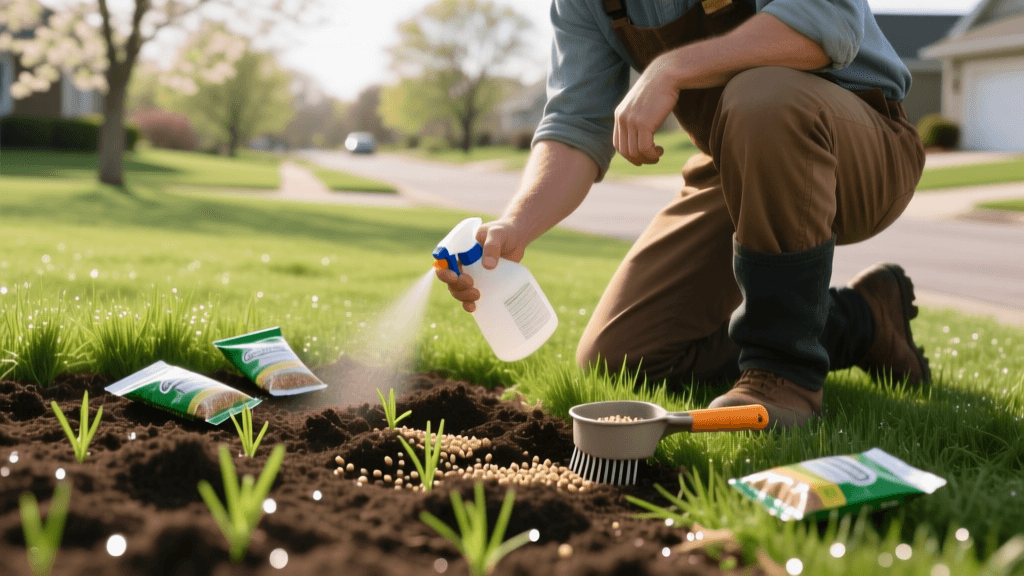
When selecting seed for your renovated lawn, choose varieties that are naturally more resilient to pest pressure and environmental stress. Turf-type tall fescue is highly recommended for its deep root system, which makes it more tolerant of minor root-feeding insects. Additionally, look for perennial ryegrass and fine fescue blends that contain beneficial endophytes. Endophytes are naturally occurring fungi that live within the grass plant and produce alkaloids, which deter surface-feeding insects and improve overall turf vigor. Broadcast the seed at a rate of 6 to 8 pounds per 1,000 square feet for heavy renovation, using a rotary spreader for even distribution.
4. Watering and Fertilizing the New Seed
Newly seeded lawns require consistent moisture to germinate. Apply a high-quality starter fertilizer with a balanced N-P-K ratio, such as 10-18-10, to provide the phosphorus necessary for rapid root development. Water the renovated area lightly two to three times a day for the first 14 to 21 days, keeping the top inch of soil consistently moist but not waterlogged. Once the new grass reaches a height of 3 inches, gradually reduce watering frequency but increase the duration to encourage deep, drought-tolerant root growth.
Long-Term IPM Strategies to Prevent Grub Return
Integrated Pest Management (IPM) focuses on creating a healthy lawn ecosystem that naturally resists severe pest damage. A thick, vigorously growing turf with a deep root system can tolerate low-level grub populations without showing visible damage. To maintain a recovered lawn and prevent future renovations, adhere to the following IPM practices:
- Mow High: Keep your mower blade set to 3.5 or 4 inches. Taller grass shades the soil, retaining moisture and making the environment less hospitable for adult beetles looking to lay eggs in the warm, bare soil.
- Water Deeply and Infrequently: Provide 1 to 1.5 inches of water per week, preferably in one or two deep watering sessions. This encourages deep root growth and avoids the shallow roots that grubs easily destroy.
- Monitor Adult Beetle Activity: If you notice heavy Japanese beetle or June bug activity in early summer, consider applying a preventative grub control product containing Chlorantraniliprole in May or June. This targets the insects before they develop into root-eating larvae.
- Encourage Beneficial Insects: Plant diverse flowering borders around your lawn to attract predatory wasps and ground beetles, which are natural predators of scarab beetles and their larvae.
By combining targeted curative treatments with aggressive soil preparation and smart overseeding practices, you can transform a grub-destroyed yard into a resilient, vibrant landscape. Remember that successful lawn renovation is not just about replacing the grass; it is about rebuilding the soil health and establishing an Integrated Pest Management routine that protects your investment for years to come.