Pest Control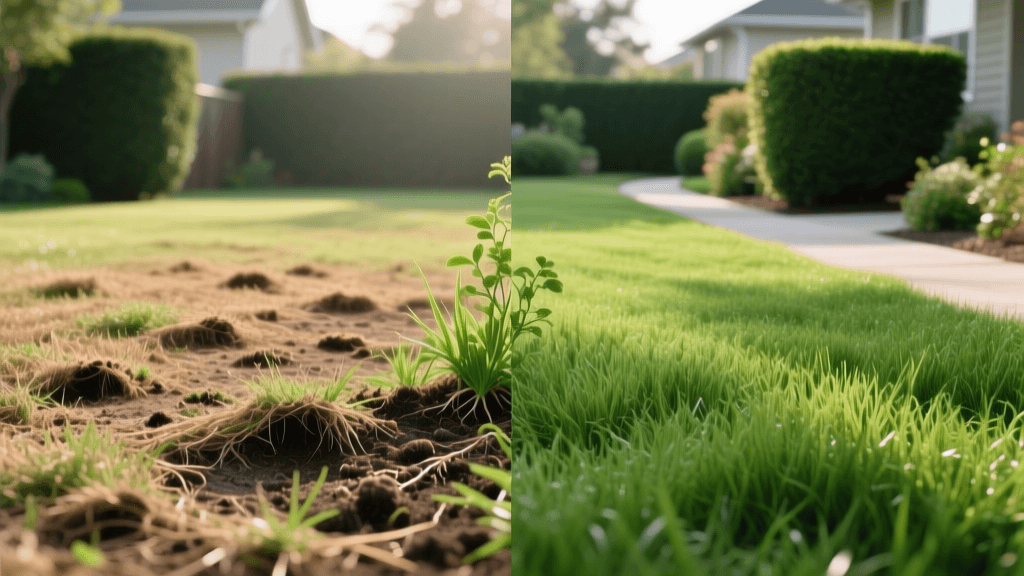
White Grub Damage: A Before and After Lawn Recovery
The 'Before' State: Recognizing a Grub-Devastated Lawn
Imagine stepping out onto your once-pristine Kentucky Bluegrass or Tall Fescue lawn on a crisp autumn morning, only to feel the turf squish beneath your boots like a wet sponge. This is the nightmare scenario that precedes a massive white grub infestation. In the 'before' phase of a grub-damaged lawn, the root system has been systematically severed by the voracious appetites of beetle larvae—most commonly the Japanese beetle, June bug, or European chafer. Without roots to anchor the grass or draw up moisture, the turf turns brown, wilts, and ultimately detaches from the soil.
Homeowners often mistake this initial browning for drought stress or fungal disease. However, the telltale sign of a severe grub infestation is the 'carpet roll' effect. Because the roots are gone, you can literally grab a handful of dead grass and peel it back like a newly laid carpet. Furthermore, the 'before' stage is often accompanied by secondary damage from wildlife. Flocks of crows, starlings, and nocturnal visitors like raccoons and skunks will tear up the remaining sod to feast on the protein-rich grubs beneath, leaving behind deep craters and shredded earth.
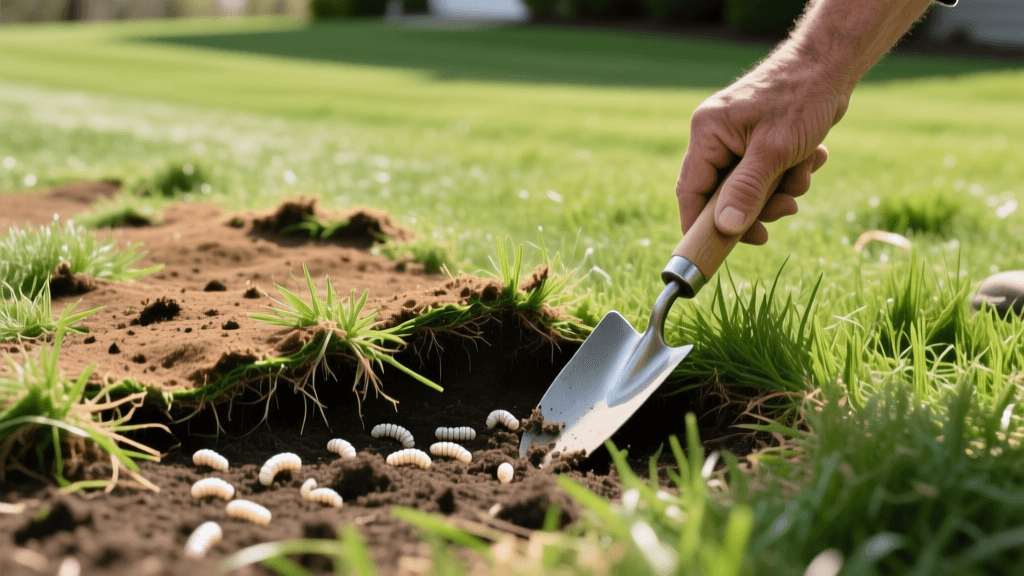
Step 1: Diagnosis and Threshold Testing
Before initiating any transformation, you must confirm the culprit and assess the severity of the damage. Integrated Pest Management (IPM) principles dictate that we only treat when pest populations exceed the economic or aesthetic injury threshold. According to the Penn State Extension, a healthy lawn can often tolerate a low population of grubs without showing significant damage.
The Tug Test and Soil Sampling
- The Tug Test: Walk to the border between the brown, dead grass and the green, healthy grass. Grab the brown turf and pull gently. If it rolls back effortlessly with no root resistance, grubs are likely the cause.
- The Soap Flush (Optional): Mix two tablespoons of dish soap in a gallon of water and pour it over a one-square-yard area. This will not kill grubs, but it can force them closer to the surface for inspection.
- The Shovel Test: Use a flat spade to cut three sides of a 12-inch by 12-inch square, about 3 inches deep. Peel back the sod and count the C-shaped, white grubs in the topsoil.
The Threshold: If you find fewer than 5 grubs per square foot, treatment is usually unnecessary; your lawn can outgrow the damage. If you count 5 to 10 grubs per square foot, curative action is required. If the count exceeds 10 grubs per square foot, you are in a severe infestation zone that requires immediate intervention and subsequent lawn renovation.
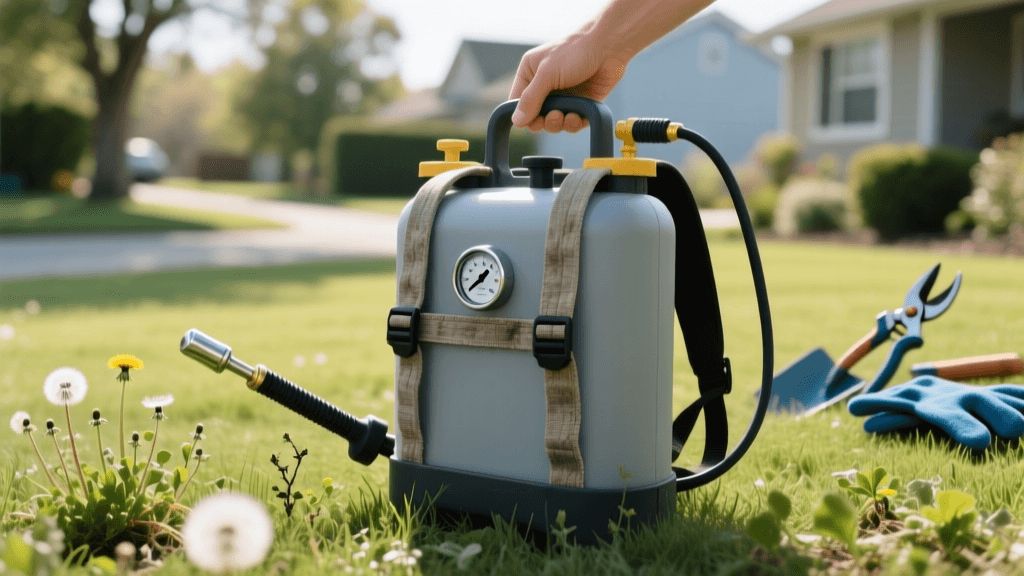
Step 2: The Turning Point – Curative Treatment Application
Once the threshold is breached, the transformation from a ruined yard to a recovering landscape begins with targeted chemical or biological intervention. Timing is everything. Preventative treatments (like Imidacloprid) are useless in the 'aftermath' phase because they target newly hatched, tiny grubs in early summer. For an active, destructive fall or spring infestation, you need a fast-acting curative insecticide.
The gold standard for curative grub control is Trichlorfon (commonly sold under the brand name Dylox). According to the Texas A&M Agrilife Extension, Trichlorfon is highly effective against large, mature grubs but has a short residual life in the soil, making it safe for subsequent reseeding efforts.
Application Protocol for Trichlorfon
- Mow and Rake: Mow the lawn short and rake away excessive thatch to ensure the granules reach the soil surface.
- Apply the Granules: Use a rotary spreader to apply Trichlorfon at the label-recommended rate (typically 1.5 to 2 pounds of active ingredient per 1,000 square feet).
- Water It In: This is the most critical step. Trichlorfon must be watered into the root zone immediately. Apply at least 1/4 to 1/2 inch of irrigation right after spreading. Without water, the chemical degrades in the sunlight and fails to reach the grubs.
- Cost Expectation: Expect to spend approximately $20 to $35 per 5,000 square feet for high-quality curative granular treatments.
IPM Pro Tip: Always wear appropriate PPE, including chemical-resistant gloves and long pants, when applying synthetic insecticides. Keep pets and children off the lawn until the treatment has been watered in and the grass is completely dry.
Treatment Comparison: Curative vs. Preventative
Understanding the difference between saving a dying lawn (curative) and protecting a healthy one (preventative) is vital for long-term lawn care budgeting and planning.
| Treatment Type | Active Ingredient | Best Timing | Target Stage | Est. Cost (per 5k sq ft) |
|---|---|---|---|---|
| Curative (Rescue) | Trichlorfon (Dylox) | Late Summer / Early Fall | Large, mature 2nd/3rd instar larvae | $20 - $35 |
| Curative (Alternative) | Carbaryl (Sevin) | Late Summer / Early Fall | Large, mature larvae | $15 - $25 |
| Preventative | Imidacloprid (Merit) | Early Summer (June/July) | Newly hatched 1st instar larvae | $12 - $20 |
| Biological Control | Heterorhabditis nematodes | Late Summer (Evening) | Small to medium larvae | $30 - $50 |
Step 3: The 'After' Phase – Soil Prep and Reseeding
With the grub population neutralized (expect a 70% to 90% kill rate within 48 hours of proper Trichlorfon application), the 'after' transformation phase begins. You are now left with bare patches, torn soil from foraging animals, and dead thatch. A beautiful lawn does not just magically grow back; it requires strategic renovation.
Preparing the Seedbed
- Debris Removal: Use a stiff thatch rake to aggressively remove all dead, brown grass and loosened soil clods. Expose the bare dirt.
- Leveling the Grade: Fill in the craters left by skunks and crows with a high-quality topsoil or compost blend. Rake it smooth so the new seed makes direct soil contact.
- Aeration: If the soil is heavily compacted from foot traffic or animal digging, rent a core aerator to pull 2-to-3-inch plugs from the lawn. This improves water infiltration and root growth for the new grass.
Selecting the Right Seed
For the 'after' landscape, choose grass varieties that are naturally more resistant to stress and pests. Tall Fescue is highly recommended due to its deep root system, which makes it more tolerant of minor grub feeding. Alternatively, look for perennial ryegrass or fine fescues that are endophyte-enhanced. Endophytes are naturally occurring fungi that live inside the grass blade and produce alkaloids, which deter surface-feeding insects and improve overall drought tolerance.
Apply a starter fertilizer (e.g., a 10-18-10 NPK ratio) at the time of seeding to promote rapid root development. Sow the seed evenly, cover lightly with peat moss or compost to retain moisture, and water lightly two to three times a day until germination occurs.
Step 4: Long-Term IPM and Biological Maintenance
The final stage of the before-and-after transformation is establishing a resilient, pest-resistant ecosystem. Relying solely on synthetic chemicals year after year degrades soil biology. To maintain your 'after' lawn, integrate biological controls and cultural practices.
According to the National Pesticide Information Center, minimizing broad-spectrum chemical use protects the natural predators in your soil. Consider applying beneficial nematodes (specifically Heterorhabditis bacteriophora) in late summer as a natural, organic preventative. These microscopic worms seek out grub larvae, enter their bodies, and release bacteria that kill the grub within 48 hours, all without harming earthworms, pets, or humans.
Cultural Practices for a Resilient Lawn
- Deep, Infrequent Watering: Grubs thrive in consistently moist, shallow-watered soil. Train your lawn's roots to grow deep by watering heavily (1 inch per week) but infrequently.
- Proper Mowing Height: Keep your mower deck set to 3 or 4 inches. Taller grass shades the soil, making it less hospitable for adult beetles looking to lay eggs in the late summer.
- Thatch Management: Keep the thatch layer under 1/2 inch thick. A thick thatch layer acts as a physical barrier, preventing water and biological controls from reaching the soil where the grubs live.
Conclusion: From Ruin to Resilience
Transforming a grub-destroyed lawn is a test of patience, timing, and integrated pest management. By correctly diagnosing the 'before' damage, applying targeted curative treatments like Trichlorfon, and meticulously preparing the seedbed for endophyte-enhanced grasses, you can achieve a stunning 'after' transformation. The secret to long-term success lies not just in killing the pests, but in building a robust, deep-rooted turf that can withstand the inevitable pressures of the natural world.