Pest Control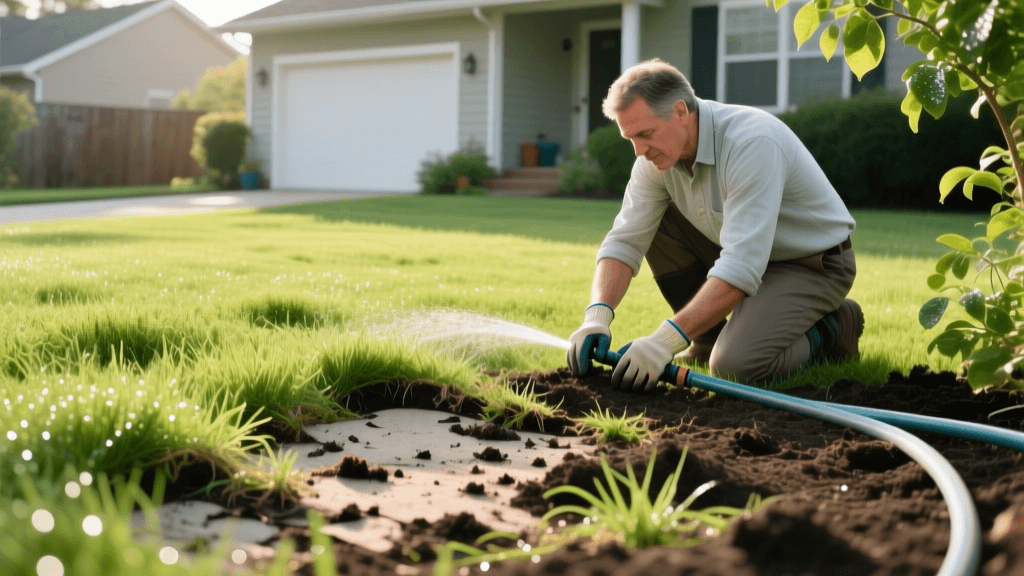
Grub Worm Lawn Recovery: A Before and After Transformation Guide
The Nightmare Scenario: Assessing the "Before" State
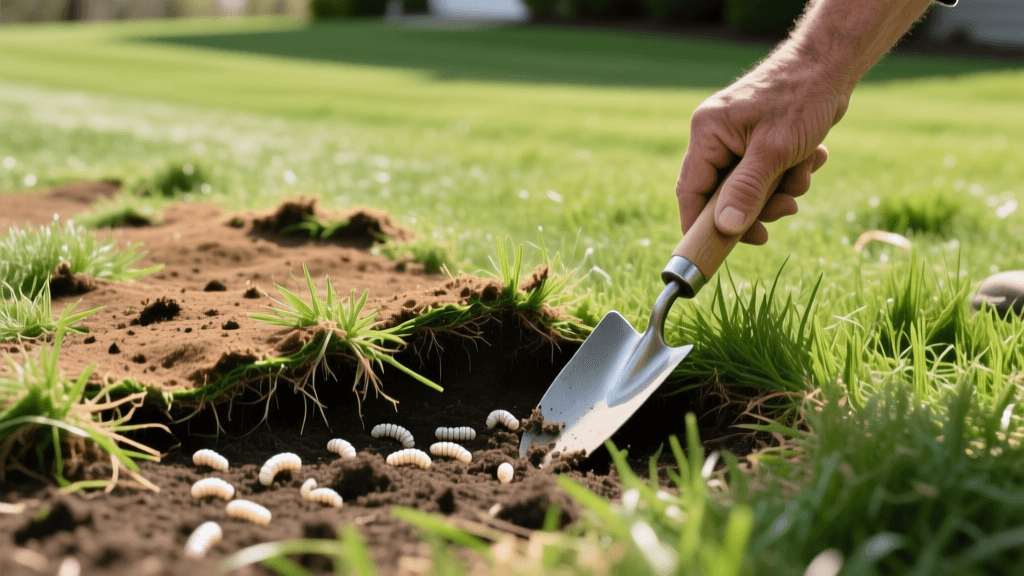
There are few experiences more heartbreaking for a dedicated homeowner than walking out into the yard on a crisp autumn morning, only to find that your once-lush, emerald-green lawn has been transformed into a patchy, brown wasteland. The "before" picture of a severe grub worm infestation is a visceral shock. The turf feels spongy underfoot, and when you grab a handful of dead grass, it pulls back effortlessly, rolling up like a freshly laid carpet that never took root. This happens because the grubs—the larval stage of beetles like the Japanese beetle, June bug, and European chafer—have severed the grassroots from the soil, entirely destroying the plant's ability to uptake water and nutrients.
According to turfgrass entomologists at the University of Kentucky, the secondary damage from foraging skunks, raccoons, and crows often causes more aesthetic destruction than the grubs themselves. These predators tear through the weakened turf to feast on the protein-rich larvae, leaving behind deep craters and shredded earth. Before you can achieve a beautiful "after" transformation, you must accurately assess the severity of the damage and eradicate the active pest population.
The Turning Point: Eradicating the Active Infestation
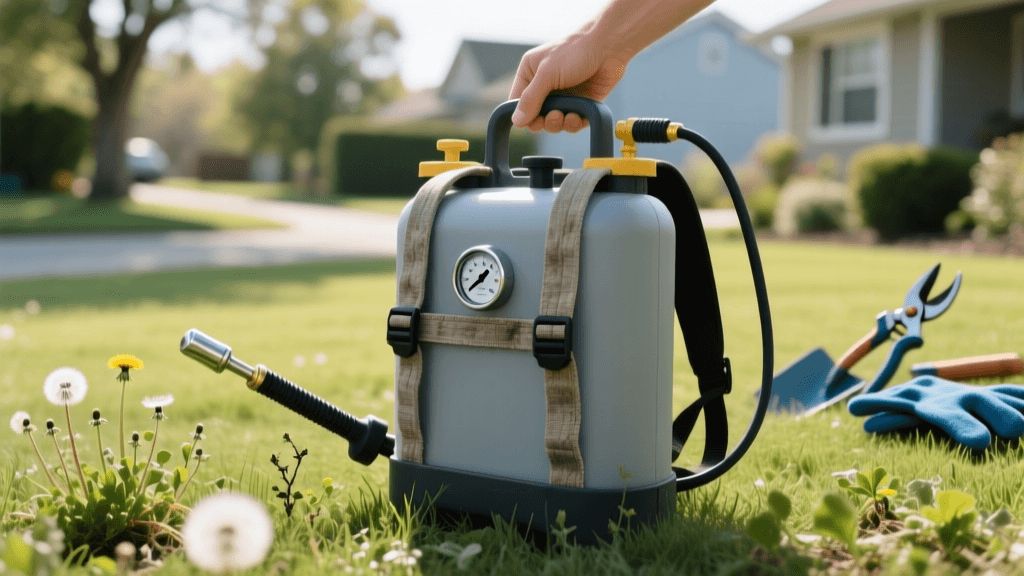
You cannot plant new seed over an active battlefield. If it is late summer or early fall and your lawn is actively dying, you are dealing with mature, feeding grubs. At this stage, preventative products will not work. You need a curative approach. As outlined by Penn State Extension, curative treatments like trichlorfon are essential when active grubs are already causing severe damage and rapid turf decline.
Treatment Options: Curative vs. Preventative
| Treatment Type | Active Ingredient / Agent | Best Application Window | Speed of Results |
|---|---|---|---|
| Curative Chemical | Trichlorfon (e.g., Dylox) | Late Summer / Early Fall | 1-3 Days |
| Biological Control | Heterorhabditis bacteriophora Nematodes | Late Summer (Soil > 60°F) | 7-14 Days |
| Preventative Chemical | Chlorantraniliprole (e.g., GrubEx) | Late Spring / Early Summer | N/A (Preventative) |
"A healthy lawn can tolerate a low population of grubs, but when thresholds exceed eight to ten per square foot, the root system is entirely severed, leading to rapid desiccation and secondary predator damage."
If you prefer an organic route, beneficial nematodes are a fantastic biological control. These microscopic worms hunt down and infect grubs in the soil. However, they require precise application: the soil must be moist, the temperature must be above 60°F, and you must water the lawn immediately after application to wash the nematodes into the root zone where the grubs are feeding.
The "After" Transformation: Step-by-Step Lawn Recovery
Once the grubs have been eradicated and the predator activity has ceased, the true transformation begins. Rebuilding a destroyed lawn requires a methodical, multi-step approach to ensure the new grass establishes a deep, resilient root system.
Step 1: Raking and Debris Removal (Days 1-3)
Use a heavy-duty thatch rake or a power rake to aggressively remove the dead, disconnected turf. You must expose the bare soil beneath. This process will make your lawn look temporarily worse—like a dirt lot—but it is an essential step. Seed-to-soil contact is the single most critical factor in successful germination. Leaving dead grass mats on the surface will trap moisture, invite fungal diseases, and prevent new seeds from reaching the soil.
Step 2: Core Aeration and Topdressing (Days 4-7)
Grub infestations and the subsequent animal digging severely compact the soil. Rent a gas-powered core aerator and make two passes over the damaged areas in perpendicular directions. This pulls out plugs of soil, allowing oxygen, water, and nutrients to penetrate the root zone. Follow aeration with a thin layer of organic compost topdressing (about 1/4 inch thick). The compost will introduce beneficial microbes and improve soil structure, creating an ideal nursery for new grass seed.
Step 3: Overseeding with Resistant Varieties (Days 8-10)
Not all grasses are created equal when it comes to pest resistance. The University of Minnesota Extension recommends overseeding with endophyte-enhanced tall fescue or modern, resistant Kentucky bluegrass cultivars to deter future pest issues. Endophytes are beneficial fungi that live inside the grass blade, producing natural alkaloids that deter surface-feeding insects and make the plant more drought-tolerant. Apply a high-quality seed blend at a rate of 4 to 6 pounds per 1,000 square feet for bare spots, and use a starter fertilizer (high in phosphorus, such as a 10-18-10 NPK ratio) to stimulate rapid root growth.
Step 4: The Watering Regimen (Days 11-30)
The "after" transformation hinges entirely on your watering discipline. For the first three weeks, the seedbed must remain consistently moist but not waterlogged. Water the lawn lightly two to three times a day for 10-15 minutes per zone. Once the seedlings reach two inches in height, transition to deeper, less frequent watering to encourage the roots to chase the moisture downward, building a drought-resistant and grub-tolerant lawn.
90-Day Recovery Timeline and Cost Breakdown
Transforming a lawn is an investment of both time and money. Below is a realistic breakdown of what to expect during the first 90 days of recovery for an average 5,000-square-foot lawn.
- Week 1 (Eradication & Prep): Apply curative treatment and rake dead turf. Cost: $75 - $150 for chemicals/nematodes and tool rental.
- Week 2 (Aeration & Seeding): Core aerate, topdress, and overseed. Cost: $150 - $250 for aerator rental, compost, seed, and starter fertilizer.
- Weeks 3-4 (Germination): Daily watering. Grass sprouts and begins to fill in bare patches. The lawn transitions from brown dirt to light green fuzz.
- Weeks 5-8 (Establishment): First mowing (set blade to 3 inches). Roots anchor deeply. The lawn begins to look uniform and lush.
- Weeks 9-12 (Maturation): Apply a slow-release winterizer fertilizer. The "after" picture is now complete: a thick, dark green, resilient turf.
Long-Term Prevention: Keeping the Lawn Lush
The final stage of the before-and-after journey is ensuring you never have to repeat the recovery process. Integrated Pest Management (IPM) relies heavily on cultural practices to prevent future outbreaks. First, adjust your mower deck to maintain a grass height of at least 3 to 3.5 inches. Taller grass shades the soil, keeping it cooler and making it less hospitable for female beetles looking to lay their eggs in the hot summer sun. Second, water deeply but infrequently (about 1 to 1.5 inches per week). Frequent, shallow watering creates a moist surface layer that is perfect for grub egg survival but terrible for deep turf root development.
Finally, consider applying a preventative biological control like Milky Spore (Paenibacillus popilliae) specifically if Japanese beetles are the primary culprit in your region. While it takes a few years to fully colonize the soil, it provides long-term, organic suppression of grub populations.
Conclusion
A grub-destroyed lawn is not a permanent eyesore; it is simply a blank canvas waiting for a strategic renovation. By accurately diagnosing the "before" state, applying targeted curative treatments, and following a rigorous soil-prep and overseeding protocol, you can achieve a stunning "after" transformation. Within 90 days, the memory of skunk craters and spongy, dead turf will be replaced by a dense, vibrant, and deeply rooted lawn that is naturally equipped to fend off future invaders.