
Hot Composting at Home: Build a Rapid DIY Pile for Rich Soil
Introduction to Hot Composting
For home gardeners looking to bridge the gap between indoor kitchen waste and outdoor garden vitality, composting is the ultimate sustainable practice. However, traditional cold composting can take up to a year to yield usable soil amendments. Enter hot composting: a managed, aerobic process that harnesses the power of thermophilic (heat-loving) bacteria to break down organic matter in as little as 30 to 60 days. Beyond speed, hot composting offers a massive advantage for soil health: the high temperatures (between 130°F and 160°F) effectively kill weed seeds, soil-borne pathogens, and harmful fungi, leaving behind a sterile, nutrient-dense humus that is safe to use on vulnerable seedlings and vegetable beds.
According to the Environmental Protection Agency (EPA), composting at home not only enriches soil and reduces the need for chemical fertilizers but also diverts significant organic waste from landfills, where it would otherwise generate methane, a potent greenhouse gas. By mastering the hot composting method, you transform your backyard into a rapid soil-restoration engine.
The Science of Heat: Understanding Thermophilic Bacteria
Hot composting is essentially livestock farming on a microbial scale. When you combine the right ratio of carbon, nitrogen, water, and oxygen, mesophilic (moderate-temperature) bacteria begin breaking down easily degradable compounds. Their metabolic activity generates heat. As the pile's internal temperature rises above 100°F, mesophilic bacteria die off and are replaced by thermophilic bacteria, which thrive in extreme heat. These microbes rapidly consume proteins, fats, and complex carbohydrates, sustaining temperatures up to 160°F. If the pile exceeds 165°F, beneficial microbes begin to die, and the composting process stalls, which is why monitoring and turning the pile is critical.
The Carbon to Nitrogen (C:N) Ratio
The foundation of a successful hot compost pile is the Carbon to Nitrogen ratio. Carbon-rich materials (browns) provide the energy and structural aeration for microbes, while nitrogen-rich materials (greens) provide the amino acids and proteins necessary for microbial reproduction. The ideal target for a hot compost pile is a C:N ratio of roughly 30:1. Below is a structured guide to common household and yard materials to help you balance your pile.
| Material | Approximate C:N Ratio | Category |
|---|---|---|
| Fruit and Vegetable Scraps | 15:1 | Green (Nitrogen) |
| Fresh Grass Clippings | 20:1 | Green (Nitrogen) |
| Coffee Grounds | 20:1 | Green (Nitrogen) |
| Dry Autumn Leaves | 60:1 | Brown (Carbon) |
| Straw or Hay | 80:1 | Brown (Carbon) |
| Shredded Cardboard / Paper | 350:1 | Brown (Carbon) |
| Wood Chips / Sawdust | 400:1 | Brown (Carbon) |
To achieve the magical 30:1 ratio in practice, a general rule of thumb recommended by the University of Minnesota Extension is to mix one part green materials with two to three parts brown materials by volume. Always chop or shred materials into pieces no larger than two inches to increase the surface area for microbial attack.
Building Your DIY Hot Compost Bin
To retain heat, a hot compost pile must meet a minimum critical mass. The ideal dimensions are 3 feet wide, 3 feet long, and 3 feet high (one cubic yard). This volume insulates the core while allowing enough surface area for oxygen exchange.
Cost-Effective Bin Options
- Untreated Wooden Pallet Bin (Cost: $0 - $15): Secure four heat-treated (HT) wooden pallets together using heavy-duty zip ties or baling wire. This allows for excellent airflow and costs almost nothing if you source pallets from local hardware stores.
- Wire Mesh Cylinder (Cost: $25 - $40): Purchase a 10-foot length of heavy-gauge welded wire fencing (such as hog wire or cattle panels) and form it into a cylinder. This is highly breathable and easy to lift off when it is time to turn the pile.
- Commercial Tumbler (Cost: $100 - $300): While expensive, dual-chamber tumblers make turning effortless and keep pests out, though they can sometimes dry out faster than open piles.
Step-by-Step Assembly of the Hot Pile
Unlike cold composting, where you add materials gradually, a hot compost pile must be built all at once to trigger the rapid heating phase.
- Prepare the Base: Lay down a 4-inch layer of coarse twigs or wood chips at the bottom of your bin to ensure drainage and basal airflow.
- Layer the Materials: Add a 4-inch layer of brown materials, followed by a 2-inch layer of green materials. Sprinkle a thin layer of native garden soil or finished compost over the greens to inoculate the pile with local microbes.
- Water as You Build: Use a watering can or hose to moisten each layer as you add it. The materials should feel like a wrung-out sponge—damp to the touch, but not dripping wet. Aim for a moisture content of 40% to 60%.
- Cap the Pile: Finish with a final layer of brown materials to insulate the top, retain moisture, and deter fruit flies.
Monitoring Temperature and Turning
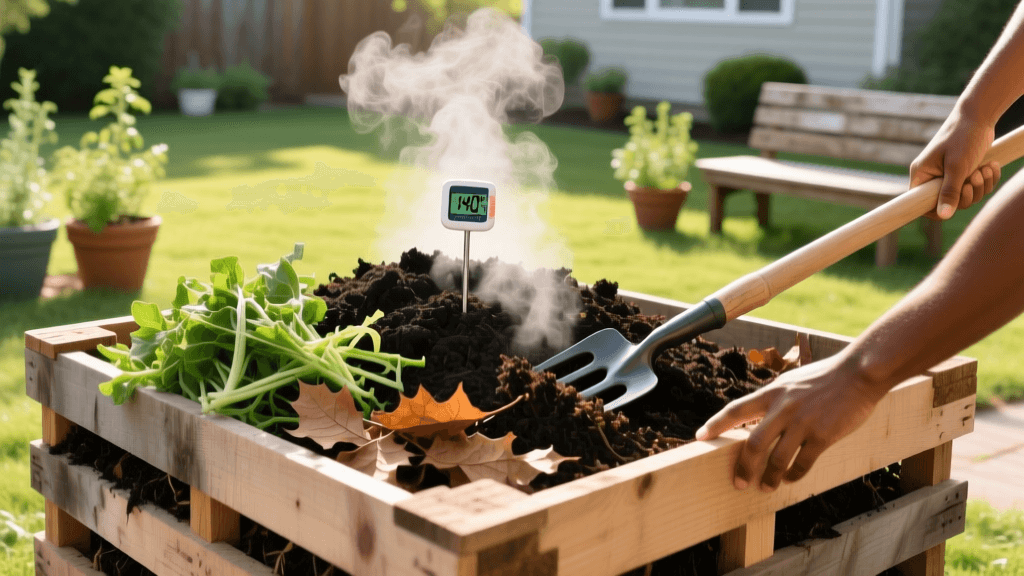
To manage a hot pile, you need a specialized tool: a 20-inch compost thermometer (such as the REOTEMP Backyard Compost Thermometer, typically costing around $25). Insert the probe into the center of the pile daily. Within 48 to 72 hours of building, the core temperature should spike above 110°F and eventually reach the 130°F–150°F thermophilic range.
When to Turn: As the microbes consume the available oxygen and food, the temperature will naturally begin to drop. The moment the core temperature dips below 110°F, it is time to turn the pile. Using a pitchfork or a specialized compost aerator tool, move the outer, cooler materials into the new center, and push the hot center materials to the outside. This reintroduces oxygen and redistributes moisture and microbes. In a well-managed system, you may need to turn the pile every 3 to 5 days for the first three weeks.
Troubleshooting Common Hot Compost Issues
Even experienced gardeners encounter hiccups. Here is how to diagnose and fix common problems based on guidelines from Cornell University's Waste Management Institute:
- The Pile Smells Like Ammonia: This indicates an excess of nitrogen (too many greens). The microbes cannot process the nitrogen fast enough, releasing it as ammonia gas. Fix: Turn the pile and thoroughly mix in high-carbon browns like shredded cardboard or dry leaves.
- The Pile Smells Like Rotten Eggs: This is a sign of anaerobic conditions, meaning the pile is too wet or too compacted, suffocating the aerobic bacteria. Fix: Turn the pile immediately to introduce oxygen, and mix in dry, coarse browns like straw or wood chips to absorb excess moisture and create air pockets.
- The Pile is Not Heating Up: The pile may be too small, too dry, or lacking nitrogen. Fix: Ensure the pile is at least one cubic yard. Check moisture levels and add water if dry. If moisture and size are adequate, mix in a high-nitrogen activator like blood meal, alfalfa meal, or fresh grass clippings.
What NOT to Compost in a Home Hot Pile
While hot composting kills many pathogens, home piles rarely sustain the uniform 165°F heat required to destroy all risks. To protect your soil health and avoid attracting pests like rodents and raccoons, never add the following to your backyard hot pile:
- Meat, fish, bones, or dairy products
- Oils, grease, or heavy fats
- Pet waste (dog or cat feces) due Toxoplasma and roundworm risks
- Diseased plants or weeds that have already gone to seed
- Coal or charcoal ash, which contains sulfur and heavy metals
- Glossy or heavily inked paper
Harvesting and Curing Your Finished Compost
After 4 to 6 weeks of active heating and turning, the pile will stop reheating, even after being turned. The materials will no longer be recognizable, having transformed into a dark, crumbly, earthy-smelling substance. However, the compost is not yet ready for the garden. It must undergo a curing phase.
Move the finished compost to a separate pile or leave it in the bin, uncovered, for 1 to 2 months. Curing allows the pH to neutralize, the microbial population to stabilize, and any remaining phytotoxic (plant-harming) organic acids to break down. Applying uncured compost can rob your garden soil of nitrogen and stunt plant growth.
Once cured, screen the compost through a 1/2-inch hardware cloth mesh to remove any large, undecomposed twigs or pits. Toss the large pieces back into your next hot pile as starter material. Apply the finished, screened compost to your vegetable beds at a depth of 1 to 2 inches, lightly incorporating it into the topsoil. This structured approach to hot composting ensures that your kitchen scraps and yard waste are rapidly converted into a powerful, soil-building resource, closing the loop on your home's organic waste cycle.

