
Hot Composting Guide for Raised Bed Vegetable Gardens
Why Choose Hot Composting for Raised Bed Gardens?
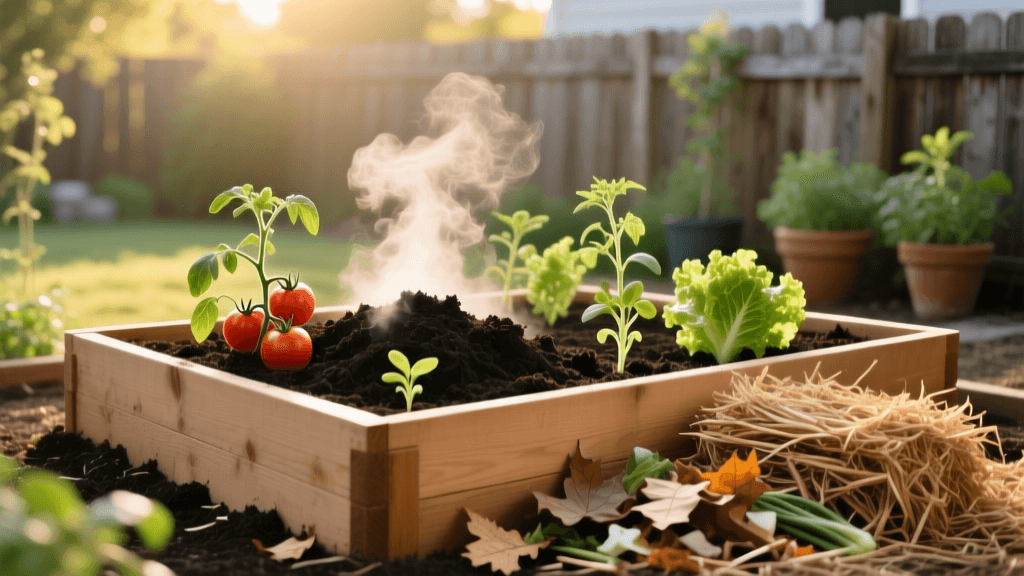
For home gardeners focused on garden-to-table living, soil health is the foundation of every successful harvest. While traditional cold composting is a passive process that can take up to a year to yield usable humus, hot composting is an active, accelerated method. By carefully managing carbon, nitrogen, moisture, and oxygen, you can produce premium, pathogen-free compost in as little as 18 to 21 days. According to the United States Environmental Protection Agency (EPA), active composting not only diverts valuable organic waste from landfills but also generates enough internal heat to destroy weed seeds and harmful pathogens, making it exceptionally safe for edible raised bed gardens.
Hot composting bridges the gap between sustainable home maintenance and high-yield urban agriculture. It allows you to rapidly recycle kitchen scraps and yard waste into a nutrient-dense soil amendment right when your seasonal planting schedule demands it.
The Science of the Heat: Carbon to Nitrogen Ratios
The engine of a hot compost pile is microbial activity. Billions of aerobic bacteria break down organic matter, and their metabolic processes generate heat. To reach and maintain the ideal temperature range of 130°F to 160°F (54°C to 71°C), these microbes require a specific diet. The ideal Carbon-to-Nitrogen (C:N) ratio for hot composting is roughly 30:1. Carbon provides the energy (carbohydrates) for the microbes, while nitrogen provides the protein necessary for rapid cellular reproduction.
If the pile has too much carbon, decomposition slows to a crawl. If it has too much nitrogen, the pile will go anaerobic and release ammonia gas, resulting in foul odors. Penn State Extension recommends thoroughly mixing your green (nitrogen) and brown (carbon) materials rather than simply layering them, as this maximizes the surface area contact for microbial colonies.
Table: Balancing Your Compost Ingredients
| Material Type | Examples | Approximate C:N Ratio | Preparation Tip |
|---|---|---|---|
| Nitrogen (Greens) | Vegetable scraps, coffee grounds, fresh grass clippings | 15:1 to 25:1 | Chop into 1-inch pieces to accelerate breakdown. |
| Carbon (Browns) | Dry autumn leaves, shredded cardboard, straw | 60:1 to 400:1 | Shred or mow over leaves; avoid glossy paper. |
| High Carbon (Bulky) | Wood chips, twigs, sawdust | 500:1+ | Use sparingly as a bulking agent for aeration. |
| Activators | Comfrey leaves, manure, finished compost | 10:1 to 15:1 | Add a thin layer to jumpstart a sluggish pile. |
Step-by-Step Guide to Building Your Hot Compost Pile
Step 1: Construct or Select Your Bin
To retain heat, a hot compost pile must have a minimum volume of one cubic yard (3 feet wide by 3 feet long by 3 feet high). Smaller piles lose heat to the ambient air too quickly, while larger piles can restrict oxygen flow to the core. You can build a simple three-bay system using untreated wooden pallets, or invest in a heavy-duty, dual-chamber tumbling composter. Ensure the bin has adequate drainage and sits directly on bare soil to allow earthworms and beneficial microbes to migrate into the pile.
Step 2: The Batch Mixing Strategy
Unlike cold composting, where you add scraps daily, hot composting requires building the pile all at once or over a very short period (3 to 5 days). Collect your kitchen scraps in a sealed countertop bin, and store your dry browns in a covered trash can. When you have enough material to fill your 3x3x3 foot bin, mix the greens and browns thoroughly in a wheelbarrow before adding them to the bin. Aim for a volumetric ratio of roughly three parts brown materials to one part green materials.
Step 3: Moisture and Aeration
Water is the transport medium for microbial nutrients. As you build the pile, water each mixed layer with a hose. The ideal moisture content is between 40% and 60%. You can test this using the 'wrung-out sponge' method: grab a handful of compost (wearing gloves) and squeeze it. It should feel as damp as a wrung-out sponge, yielding only one or two drops of water. If it is too dry, the microbes will go dormant. If it is too wet, water will displace oxygen, causing the pile to go anaerobic.
Monitoring and Turning Schedule
To maintain aerobic conditions and ensure all materials reach the pathogen-killing temperature zone, you must monitor and turn the pile. The USDA Natural Resources Conservation Service (NRCS) emphasizes that proper aeration is critical for maintaining the soil food web, which begins in your compost bin.
- Days 1 to 4: Let the pile sit undisturbed. Mesophilic (moderate-temperature) bacteria will begin breaking down easily accessible sugars, and the core temperature will steadily rise.
- Day 4 or 5: Insert a long-stemmed compost thermometer into the center of the pile. Once it reads 130°F or higher, it is time for the first turn. Use a pitchfork or compost aerator tool to move the outer edges of the pile into the new center, and the hot center to the outside.
- Days 6 to 18: Turn the pile every time the temperature drops below 110°F. This usually means turning it every 2 to 3 days. Each turn introduces a fresh supply of oxygen and redistributes moisture and microbes.
- Day 18+: The pile will stop heating up significantly after turning. This indicates that the readily available nitrogen and carbon have been consumed. The active hot phase is complete.
Troubleshooting Common Hot Composting Issues
Even experienced gardeners encounter composting hiccups. Here is how to diagnose and fix the most common problems:
- The pile smells like ammonia or rotting garbage: This indicates an anaerobic environment and an excess of nitrogen (too many greens). Fix: Turn the pile immediately and mix in a large volume of dry, shredded carbon materials like cardboard or dry leaves to absorb excess moisture and balance the C:N ratio.
- The pile is not heating up: The pile is likely too dry, too small, or lacks nitrogen. Fix: Check the moisture level and add water if necessary. If it is damp but cold, add nitrogen-rich activators like grass clippings or coffee grounds, and ensure the pile meets the 1-cubic-yard minimum size.
- The center is white and ashy: This is a sign of actinomycetes, a beneficial bacteria-like organism, but excessive white ashiness coupled with a dry texture means the pile has dried out and overheated. Fix: Water the pile thoroughly during the next turn to restore moisture levels.
- Pests or rodents are invading the bin: Meat, dairy, or oily foods are likely present, or the bin is not secured. Fix: Remove any non-plant-based food scraps, and line the bottom of your bin with hardware cloth (wire mesh) to prevent burrowing.
Curing and Applying Compost to Raised Beds
Once the hot phase is complete, the compost will look dark and crumbly, but it is not yet ready for your delicate vegetable seedlings. It must undergo a 'curing' phase. Move the compost to a curing pile or leave it in the bin for an additional 3 to 4 weeks. During this time, the temperature will drop to ambient levels, and beneficial fungi and macro-organisms like earthworms will colonize the material, stabilizing the nutrients.
After curing, perform a simple baggie test: place a handful of moist compost in a sealed plastic bag for 48 hours. If it smells earthy and pleasant when opened, it is fully cured. If it smells sour, it needs more time.
To apply to your raised bed vegetable gardens, top-dress the beds with a 1/2-inch to 1-inch layer of finished compost in the early spring, gently forking it into the top few inches of soil. For new raised beds, mix the finished compost with native soil and coarse sand at a ratio of 30% compost, 60% topsoil, and 10% sand to create a well-draining, nutrient-rich environment that will sustain your garden-to-table harvests for the entire season.

