
Master Hot Composting for Rapid Garden Soil Health
Bridging Indoor and Outdoor Living Through Soil Health
The journey to a vibrant garden-to-table experience begins long before you harvest your first heirloom tomato or snip fresh basil for your kitchen. It starts beneath the surface, in the complex, living ecosystem of your soil. For home gardeners looking to bridge the gap between sustainable outdoor landscaping and nutrient-dense indoor cooking, mastering soil health is the ultimate cornerstone. While passive, cold composting is a common practice, it can take up to a year to yield usable amendments. By adopting the hot composting method—specifically the rapid 18-day Berkeley method—you can transform organic kitchen and yard waste into rich, pathogen-free humus in less than three weeks.
Hot composting is not just a waste-reduction strategy; it is an active biological management system. According to the Environmental Protection Agency (EPA), properly managed composting diverts significant organic waste from landfills while creating a valuable soil amendment that improves water retention, reduces the need for chemical fertilizers, and promotes robust root systems. When you integrate hot compost into your seasonal home maintenance routine, you are actively closing the loop between your kitchen scraps and your outdoor harvests.
The Science of Heat: Thermophilic Bacteria and C:N Ratios
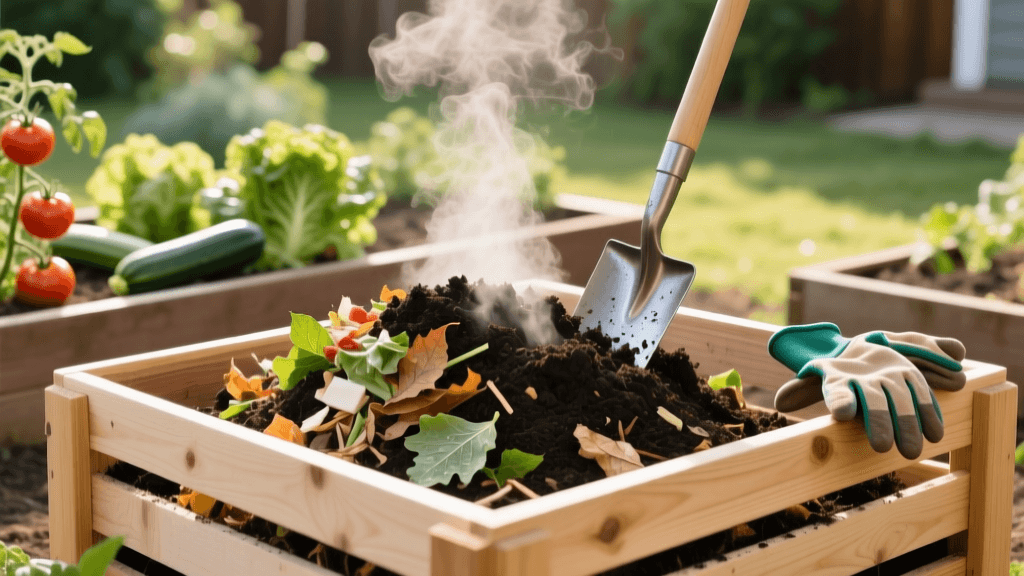
Unlike cold composting, which relies on mesophilic organisms and fungi that operate at ambient temperatures, hot composting harnesses thermophilic (heat-loving) bacteria. These microorganisms thrive in temperatures between 130°F and 160°F. At these elevated temperatures, the metabolic rate of the bacteria accelerates, rapidly breaking down complex organic molecules. Crucially, sustaining this heat phase destroys common weed seeds and plant pathogens, ensuring your finished compost won't introduce diseases to your garden-to-table vegetable beds.
To achieve and maintain these temperatures, you must provide the bacteria with an ideal diet, defined by the Carbon-to-Nitrogen (C:N) ratio. Carbon provides the energy (carbohydrates), while nitrogen provides the protein necessary for bacterial reproduction. The ideal starting ratio for a hot pile is roughly 30:1. Research from the University of Minnesota Extension emphasizes that balancing these materials by volume and weight is the most common hurdle for beginners.
Common Composting Materials and Their C:N Ratios
| Material Category | Specific Material | Approximate C:N Ratio | Preparation Tip |
|---|---|---|---|
| Browns (Carbon) | Dry Autumn Leaves | 60:1 | Shred with a lawn mower for faster breakdown. |
| Browns (Carbon) | Corrugated Cardboard | 350:1 | Remove tape; shred or soak in water before layering. |
| Browns (Carbon) | Wood Chips / Sawdust | 400:1 | Use sparingly; best for aeration and structure. |
| Greens (Nitrogen) | Fresh Grass Clippings | 15:1 | Mix thoroughly to prevent anaerobic matting. |
| Greens (Nitrogen) | Coffee Grounds | 20:1 | Excellent nitrogen source; despite color, they are green. |
| Greens (Nitrogen) | Vegetable Kitchen Scraps | 25:1 | Chop into small pieces to increase surface area. |
A practical rule of thumb for home gardeners is to mix two to three parts 'browns' with one part 'greens' by volume. This rough estimation usually lands you close enough to the 30:1 target to initiate the heating process.
Building a Three-Bin Hot Compost System
To execute the 18-day method, you need a system that allows for easy turning and aeration. A three-bin system is the gold standard for serious gardeners. The critical dimension for any hot compost pile is a minimum of 3 feet by 3 feet by 3 feet (one cubic yard). This volume provides the necessary thermal mass to insulate the core and retain heat.
Materials and Estimated Costs
- Untreated Cedar or Composite Lumber: $150 - $250. Cedar resists rot naturally, making it ideal for the moist, biologically active compost environment.
- Hardware Cloth (1/2 inch galvanized): $30 - $50. Use this for the front panels to allow maximum airflow while keeping the materials contained.
- Heavy-Duty Hinges and Latches: $20. Essential for the front drop-down panels, making the physical labor of turning the pile much easier.
- Alternative (Upcycled Pallets): $0 - $20. If you source heat-treated (HT) wooden pallets (never use chemically treated MB pallets), you can build a functional system for the cost of a box of deck screws and some wire.
Position your bins on bare soil to allow earthworms and beneficial microbes to migrate into the pile. Ensure the site is level, receives partial shade to prevent excessive drying, and is conveniently located near your garden beds and kitchen door to streamline your daily scrap-drop routine.
The 18-Day Berkeley Method: Step-by-Step
Developed at the University of California, Berkeley, this method requires an initial gathering of all materials before building the pile. You cannot add materials gradually; the entire batch must be assembled at once.
Day 1: Building the Pile. Layer your greens and browns in the first bin, watering each 6-inch layer as you go. The moisture content should feel like a wrung-out sponge. Once the pile reaches 3x3x3 feet, cover it with a tarp or a thick layer of straw to retain heat and moisture. Let it sit undisturbed for four days.
Day 5: The First Turn. Using a pitchfork, move the entire pile into the second bin. This is a crucial step: the outer, cooler layers of the original pile must be moved to the center of the new pile, and the hot core must be moved to the outside. This ensures all materials are exposed to the pathogen-killing temperatures of the core.
Days 6 to 18: The Turning Schedule. From this point forward, turn the pile every 48 hours (moving it back and forth between the second and third bins). During these turns, monitor the temperature using a long-stemmed compost thermometer. You should see temperatures spike to 140°F–160°F within the first few days and gradually taper off to around 100°F by Day 18. When the pile no longer reheats after turning, and the material is dark, crumbly, and smells like rich forest earth, it is finished.
Troubleshooting Common Hot Compost Issues
Even with careful planning, environmental variables can disrupt the biological process. The Natural Resources Defense Council (NRDC) notes that most composting issues can be resolved by adjusting moisture or aeration. Here is a quick diagnostic guide:
- The Pile Smells Like Ammonia: This indicates excess nitrogen (too many greens). Solution: Mix in high-carbon materials like shredded cardboard or dry leaves, and turn the pile to incorporate them.
- The Pile Smells Like Rotten Eggs: This is a sign of anaerobic conditions, usually caused by excessive moisture or compaction. Solution: Turn the pile immediately to introduce oxygen, and add coarse bulking agents like wood chips or twigs to improve airflow.
- The Pile is Not Heating Up: The pile may be too dry, too small, or lacking nitrogen. Solution: Check moisture levels and add water if dry. If moisture is fine, mix in a nitrogen booster like blood meal, alfalfa pellets, or fresh grass clippings, and rebuild the pile.
Integrating Finished Compost into Your Garden-to-Table Beds
Once your hot compost has cured for an additional week or two after the 18-day cycle, it is ready to fuel your outdoor living and garden-to-table projects. Because the Berkeley method creates a biologically active, nutrient-dense amendment, application rates should be managed carefully to avoid overwhelming young transplants.
For new vegetable beds, incorporate 2 to 3 inches of compost into the top 6 inches of your native soil using a broadfork or garden fork. This improves soil structure, increases the cation exchange capacity (CEC), and provides a slow-release buffet of micronutrients. For established perennials or heavy feeders like tomatoes and squash, apply a 1-inch layer as a top-dressing or side-dress mid-season. The natural soil food web, aided by regular watering, will draw the nutrients down into the root zone.
By mastering hot composting, you elevate your seasonal home maintenance from a simple chore to a profound ecological practice. You are not just disposing of waste; you are actively manufacturing the foundation of your garden's health, ensuring that the food you grow outdoors is as vibrant and nourishing as the meals you prepare indoors.

