
Lawn Care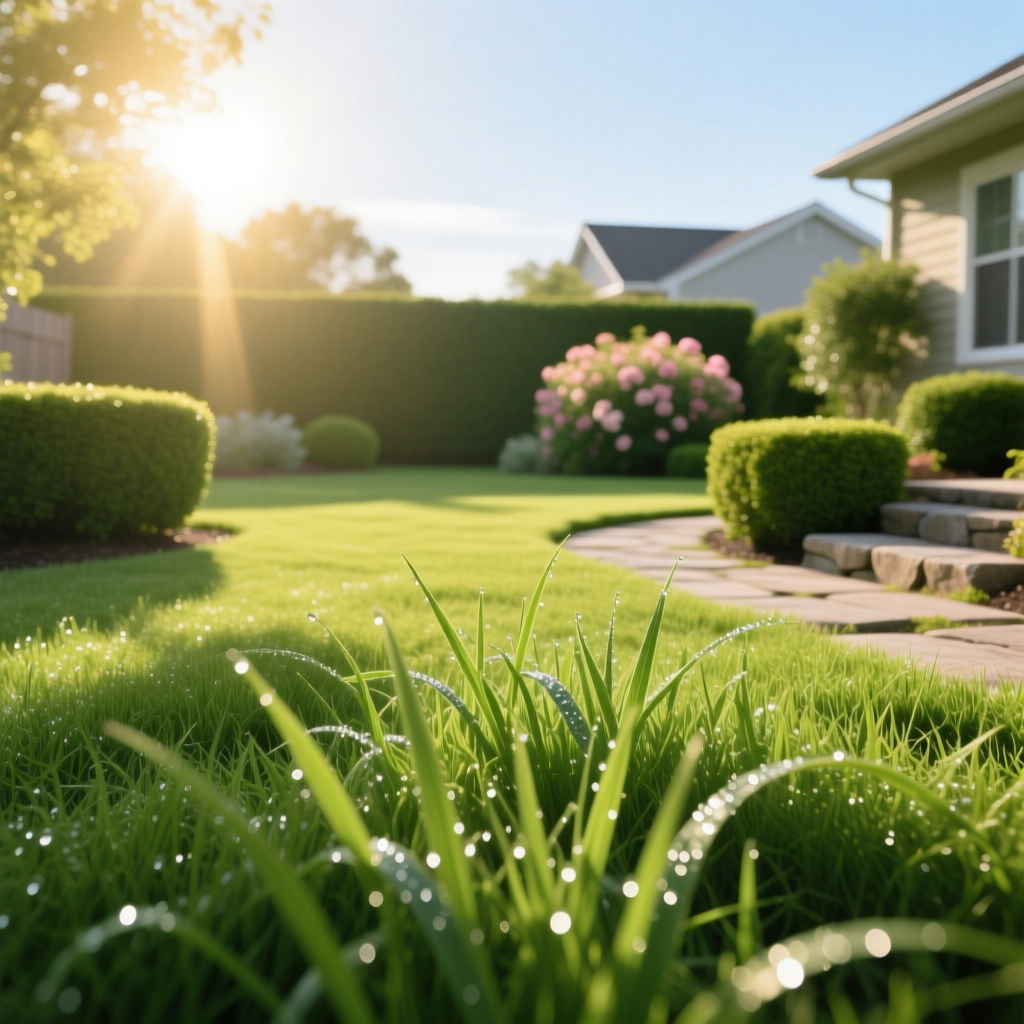
The Ultimate Beginner's Guide to Lawn Care: Step-by-Step Instructions
Mike RodriguezPublished
Transforming a patchy, weed-filled yard into a lush, green oasis might seem like a daunting task for a new homeowner or a first-time gardener. However, achieving a beautiful, healthy lawn does not require a professional landscaping degree or an endless budget. It simply requires a solid understanding of the fundamental principles of turfgrass health, a bit of patience, and a consistent routine. Whether you are starting from scratch with fresh sod or trying to revive an older, tired yard, this comprehensive guide will walk you through exactly how to take care of your lawn for beginners.
At Lawns Guide, we believe that great lawns are built from the ground up. By focusing on soil health, proper mowing techniques, smart watering habits, and seasonal maintenance, you can cultivate a vibrant landscape that enhances your home's curb appeal and provides a beautiful outdoor space for your family. Let us dive into the essential steps every beginner needs to know to achieve lawn care success.
Step 1: Identify Your Grass Type & Test Your Soil
Before you buy a single bag of fertilizer or turn on your sprinklers, you must understand what is actually growing in your yard and what it is growing in. Grass types are broadly categorized into two main groups: cool-season grasses and warm-season grasses. Knowing your specific turfgrass dictates your entire maintenance schedule.
Understanding Cool-Season vs. Warm-Season Grasses
Cool-season grasses thrive in regions with cold winters and moderate summers. They grow most actively in the spring and fall and can go dormant during the peak heat of summer. Common varieties include Kentucky Bluegrass, Tall Fescue, Fine Fescue, and Perennial Ryegrass. If you live in the northern half of the country, you likely have a cool-season lawn.
Warm-season grasses, on the other hand, love the heat. They thrive in southern climates, growing vigorously during the hot summer months and turning brown to go dormant during the winter. Popular warm-season varieties include Bermuda grass, Zoysia, St. Augustine, and Centipede grass. You can explore our complete grass type guide to help identify the specific species in your yard.
The Importance of Soil Testing
Your soil is the foundation of your lawn. If your soil lacks essential nutrients or has an improper pH level, your grass will struggle no matter how much water or fertilizer you apply. A soil test takes the guesswork out of lawn care.
- How to test: Purchase a reliable at-home soil test kit or send a sample to your local university extension office for a professional analysis.
- What to look for: The test will reveal your soil's pH level (ideal for most grasses is between 6.0 and 7.0) and identify deficiencies in primary nutrients like nitrogen, phosphorus, and potassium.
- Taking action: If your soil is too acidic, you will need to apply lime. If it is too alkaline, you may need to apply sulfur. Always follow the specific amendment recommendations provided by your soil test results.
Step 2: Master the Art of Mowing
Mowing is the most frequent lawn care task you will perform, and doing it incorrectly is the fastest way to ruin an otherwise healthy lawn. Proper mowing encourages deep root growth, chokes out weeds, and prevents turf diseases.
The Golden Rule: Never Remove More Than One-Third
The most critical rule of mowing is the 'One-Third Rule.' You should never cut off more than the top one-third of the grass blade in a single mowing session. If your target lawn height is 3 inches, you should mow when the grass reaches 4.5 inches. Scalping the lawn by cutting it too short stresses the plant, exposes the soil to weed seeds, and increases water evaporation. For more detailed techniques, check out our in-depth mowing tips guide.
Ideal Mowing Heights
Different grass types require different mowing heights. As a general rule, it is always better to err on the side of cutting your grass slightly taller rather than shorter.
- Cool-Season Grasses: Kentucky Bluegrass (2.5 to 3.5 inches), Tall Fescue (3 to 4 inches), Perennial Ryegrass (2 to 3 inches).
- Warm-Season Grasses: Bermuda (1 to 2 inches), Zoysia (1 to 2.5 inches), St. Augustine (3 to 4 inches).
Essential Mowing Tools & Maintenance
Investing in a quality lawn mower is essential. For small to medium yards, a standard push mower or a battery-powered electric mower is highly recommended for its ease of use and environmental benefits. For larger properties, a riding mower or a zero-turn mower will save you hours of labor.
Regardless of the mower you choose, you must keep your blades sharp. A dull mower blade tears and shreds the grass rather than making a clean cut. Torn grass tips turn brown, making the entire lawn look dull and unhealthy, and they leave the turf vulnerable to fungal diseases. Plan to sharpen or replace your mower blades at least twice per mowing season.
Step 3: Watering Wisely for Deep, Drought-Resistant Roots
Overwatering is just as dangerous to your lawn as underwatering. Shallow, frequent watering encourages grass roots to stay near the surface, making your lawn highly susceptible to drought stress, heat damage, and weed invasion. The goal of a proper watering routine is to encourage deep, robust root systems.
How Much and How Often?
Most established lawns require about 1 to 1.5 inches of water per week, either from rainfall or irrigation. It is vastly superior to water deeply and infrequently rather than giving your lawn a light sprinkle every day. Watering deeply two or three times a week forces the roots to grow downward in search of moisture, anchoring the turf and making it resilient.
The Tuna Can Test: To measure how much water your sprinklers are putting out, place a few empty tuna cans (which are roughly 1 inch deep) around your yard. Turn on your sprinklers and time how long it takes to fill the cans to the 1-inch mark. This tells you exactly how long you need to run your irrigation system each week.
Timing is Everything
The absolute best time to water your lawn is in the early morning, ideally between 4:00 AM and 8:00 AM. Watering at this time allows the moisture to penetrate deeply into the soil before the midday sun can evaporate it. Avoid watering in the evening or at night, as leaving the grass blades wet in the cool, dark hours creates a perfect breeding ground for destructive fungal diseases.
Recommended Watering Tools
- Oscillating Sprinklers: Excellent for rectangular, flat lawns. They provide a gentle, even spray that mimics natural rainfall.
- Impact Sprinklers: Ideal for large areas and high wind conditions. They shoot a concentrated stream of water that covers a wide radius.
- Smart Irrigation Timers: A worthwhile investment that connects to local weather stations to automatically skip watering days when rain is in the forecast, saving you money and protecting your lawn from overwatering.
Step 4: Fertilizing & Weed Control Strategies
Even the best soil eventually runs out of the nutrients required to sustain heavy turfgrass growth. Fertilizing replenishes these nutrients, while a proactive weed control strategy ensures your grass does not have to compete for water and sunlight.
Understanding Fertilizer: The N-P-K Ratio
When you walk down the fertilizer aisle, you will see three numbers on every bag (e.g., 16-4-8). This is the N-P-K ratio, representing the percentage of Nitrogen (N), Phosphorus (P), and Potassium (K).
- Nitrogen (N): Promotes lush, green, leafy growth. This is the most important nutrient for established lawns.
- Phosphorus (P): Stimulates strong root development. Crucial for new lawns, sod, or overseeding, but often restricted in established lawns to protect local waterways.
- Potassium (K): Enhances overall plant health, improving the grass's ability to withstand drought, cold, and disease.
For a complete breakdown of how and when to apply these nutrients, read our comprehensive fertilizing guide. We generally recommend using a slow-release granular fertilizer, which feeds the lawn steadily over several weeks and reduces the risk of fertilizer burn.
Tackling Weeds Proactively
The best defense against weeds is a thick, healthy lawn. If your grass is dense, weeds simply cannot find the bare soil they need to germinate. However, when weeds do appear, you need a strategy.
- Pre-Emergent Herbicides: Applied in early spring and early fall, these create a chemical barrier in the soil that prevents weed seeds (like crabgrass) from germinating. Timing is critical; it must be applied before soil temperatures consistently reach 55 degrees Fahrenheit.
- Post-Emergent Herbicides: Used to kill weeds that are already visible. Broadleaf weed killers target dandelions and clover without harming your grass. Always spot-treat weeds rather than spraying the entire lawn to minimize chemical use.
- Organic Alternatives: Corn gluten meal is a natural pre-emergent, while horticultural vinegar and manual pulling are effective for small post-emergent weed outbreaks. Visit our weed control page for more eco-friendly solutions.
Step 5: Your Seasonal Lawn Care Calendar
Lawn care is not a one-size-fits-all routine; it changes with the seasons. Following a seasonal calendar ensures you are performing the right tasks at the optimal time for maximum turf health.
Spring: Awakening & Protection
Spring is about cleaning up winter debris and preparing the lawn for the growing season. Rake away dead leaves and thatch to allow sunlight to reach the soil. Apply your spring pre-emergent herbicide to stop crabgrass before it starts. Wait until the grass is actively growing and has reached at least 3 inches before performing your first mow. If your soil test indicated a pH imbalance, spring is a great time to apply lime or sulfur.
Summer: Maintenance & Stress Management
Summer brings heat and drought stress. Your primary focus should be on proper watering and mowing high. Raise your mower deck to the highest setting; taller grass shades the soil, keeping roots cool and retaining moisture. Keep an eye out for summer pests like grubs, chinch bugs, or armyworms, and treat them promptly if you notice irregular brown patches or dying turf.
Fall: The Most Critical Season
Many beginners mistakenly believe fall is the time to ignore the lawn, but turfgrass experts agree that fall is the most important season for lawn care. Cool-season grasses experience a massive growth spurt in autumn. This is the time to core aerate compacted soil, overseed bare patches, and apply a high-quality fall winterizer fertilizer. The nutrients stored in the roots during the fall will dictate how green and healthy your lawn is the following spring.
Winter: Rest & Preparation
During the winter, your lawn is likely dormant. Avoid walking on frozen grass, as the brittle blades can easily snap and cause long-term damage. Use this downtime to service your equipment: change the oil in your mower, sharpen the blades, clean your trimmers, and inventory your supplies for the upcoming spring. You can also plan out your landscaping projects and order seeds or soil amendments.
Frequently Asked Questions
How often should I water my new lawn or fresh sod?
Newly planted grass seed or fresh sod requires a completely different watering schedule than an established lawn. For the first two weeks, you must keep the top inch of soil consistently moist. This usually means watering lightly two to three times a day. Once the seeds germinate or the sod takes root (usually after 2 to 3 weeks), you can gradually reduce the frequency and increase the depth of your watering to encourage deep root establishment.
Should I leave grass clippings on the lawn?
Yes! As long as you are following the One-Third Rule, you should absolutely leave your grass clippings on the lawn. This practice, known as 'grasscycling' or mulching, returns valuable nitrogen and organic matter back to the soil. Modern mulching mowers chop the clippings into tiny pieces that decompose rapidly. Contrary to popular myth, grass clippings do not cause thatch buildup; thatch is primarily made up of woody stems and roots.
What is the best time of day to mow the lawn?
The best time to mow is in the late afternoon or early evening, once the morning dew has completely dried but before the sun sets. Mowing wet grass leads to uneven cuts, clumping of clippings, and the spread of fungal diseases. Furthermore, mowing during the peak heat of the midday sun puts immense stress on the freshly cut grass blades, causing them to lose moisture rapidly and turn brown.
How do I fix brown patches in my grass?
Brown patches can be caused by a variety of issues, including drought stress, fungal diseases, dog urine, or grub infestments. First, diagnose the cause. If the grass pulls up easily like a carpet, you likely have grubs eating the roots. If the patches have distinct rings or spots on the blades, it may be a fungus. Once the underlying issue is treated, rake out the dead grass, loosen the topsoil, and overseed the area with a matching grass seed blend, keeping it consistently moist until it germinates.
Do I really need to aerate my lawn?
If your lawn experiences heavy foot traffic, or if you have dense clay soil, aeration is highly recommended. Over time, soil becomes compacted, which prevents water, oxygen, and nutrients from reaching the root zone. Core aeration involves pulling small plugs of soil out of the ground, relieving compaction and allowing the roots to breathe and expand. For most residential lawns, aerating once a year in the early fall is sufficient to maintain optimal soil health.
Taking care of your lawn is a rewarding journey that blends science, routine maintenance, and a little bit of artistry. By identifying your grass type, respecting the soil, mowing correctly, watering deeply, and following a seasonal calendar, you will build a resilient, beautiful lawn that you can be proud of. Remember that lawn care is a marathon, not a sprint. Stay consistent, observe how your turf responds to your efforts, and enjoy the process of cultivating your own personal green oasis.