
Indoor Vermicomposting: A Complete Worm Bin Guide
Bridging Indoor Living and Outdoor Soil Health
For urban dwellers and small-space gardeners, the bridge between indoor living and outdoor gardening often comes down to one critical element: soil health. While traditional outdoor composting requires significant yard space and physical labor, vermicomposting offers an elegant, odorless, and highly efficient alternative that fits perfectly under a kitchen sink or in a closet. By harnessing the digestive power of specific earthworm species, you can transform daily kitchen scraps into 'black gold'—a premium, nutrient-dense soil amendment that supercharges your garden-to-table herbs, vegetables, and ornamental plants.
According to the Environmental Protection Agency (EPA), composting not only reduces the volume of waste sent to landfills but also creates a valuable resource that enriches soils, reduces the need for chemical fertilizers, and promotes higher agricultural yields. When brought indoors via a worm bin, this process becomes a year-round, manageable habit that directly supports sustainable home living.
The Science of Vermicompost: Why Castings Matter
Worm castings, or vermicast, are significantly more potent than traditional thermophilic compost. As organic matter passes through the worm's digestive tract, it is broken down and inoculated with beneficial microbes, enzymes, and humic acids. The resulting castings boast a neutral pH and contain highly bioavailable forms of essential macronutrients like nitrogen, phosphorus, and potassium, alongside crucial micronutrients like calcium, magnesium, and sulfur.
From a soil health perspective, vermicompost improves soil structure, increases water retention, and suppresses certain plant pathogens. This enhanced moisture retention is particularly beneficial for modern landscapes utilizing smart home irrigation systems. Because soil amended with worm castings holds water more efficiently, smart soil moisture sensors will trigger irrigation less frequently, saving water and reducing utility costs while keeping your garden-to-table crops perfectly hydrated.
Selecting Your Worm Workforce
Not all earthworms are created equal. The common nightcrawler found in your garden soil will quickly perish in the confined, organic-rich environment of a bin. For indoor vermicomposting, you need epigeic worms—surface dwellers that thrive in decaying organic matter rather than deep soil. The undisputed champion of the worm bin is the Red Wiggler (Eisenia fetida). Red wigglers are voracious eaters, tolerate a wide range of temperatures (ideally between 55°F and 77°F), and reproduce rapidly in captivity. You can purchase a starter population of one pound (approximately 1,000 worms) from specialized online breeders or local garden centers for about $30 to $45.
Choosing the Right Bin: A Comparison
Selecting the right habitat for your worms is crucial for long-term success. The bin must provide adequate surface area, ventilation, and drainage. Below is a comparison of the three most common indoor worm bin setups.
| Bin Type | Estimated Cost | Pros | Cons |
|---|---|---|---|
| DIY Plastic Tote | $15 - $25 | Inexpensive, highly customizable, lightweight | Requires manual drilling for aeration, less aesthetic |
| Wooden Crate | $40 - $80 | Naturally breathable, aesthetically pleasing, insulating | Can rot over time, heavy when full, harder to clean |
| Commercial Multi-Tray | $100 - $200 | Easy vertical harvesting, built-in drainage, sleek design | Expensive, plastic footprint, trays can crack if overloaded |
For beginners, an 18-gallon opaque plastic storage tote is the most practical choice. Opaque plastic blocks light, which keeps the worms comfortable, while the 18-gallon size provides roughly 2 square feet of surface area—enough to support one pound of worms and process about half a pound of food scraps per day.
Setting Up the Bedding
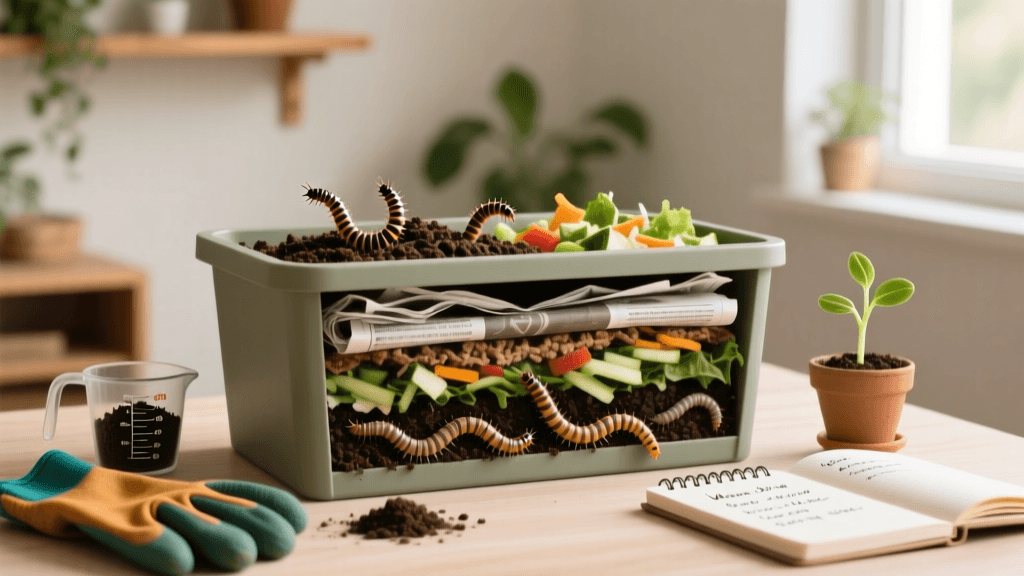
Worms need a moist, carbon-rich bedding material that mimics the leaf litter of a forest floor. The bedding serves as both their habitat and a secondary food source. Excellent bedding materials include shredded, unbleached newspaper, corrugated cardboard, coconut coir, and aged peat moss.
To prepare your bin, shred your chosen carbon material into 1-inch strips. Soak the bedding in water for 24 hours, then wring it out thoroughly until it feels like a damp sponge. Fluff the bedding into the bin to a depth of about 4 to 6 inches, ensuring there are plenty of air pockets. Cornell University's Waste Management Institute recommends adding a handful of gritty garden soil or crushed eggshells to the bedding, as worms lack teeth and rely on grit in their gizzards to grind up food particles.
Feeding Your Worms: The Do's and Don'ts
A balanced diet is essential for a thriving, odorless bin. Worms thrive on a mix of nitrogen-rich 'greens' (kitchen scraps) and carbon-rich 'browns' (dry leaves, paper). Always bury food scraps under at least two inches of bedding to deter fruit flies and prevent odors.
What to Feed (The Do's)
- Fruit and vegetable peels (apple cores, carrot tops, melon rinds)
- Coffee grounds and paper filters
- Tea bags (ensure the staple is removed and the bag is plastic-free)
- Crushed eggshells (provides essential calcium and grit)
- Stale bread or plain pasta (in strict moderation)
What to Avoid (The Don'ts)
- Meat, bones, and dairy products (causes foul odors and attracts pests)
- Citrus fruits and onions (too acidic, can harm the worms' sensitive skin)
- Oily, greasy, or heavily salted foods
- Pet waste (can introduce harmful pathogens)
- Glossy or heavily dyed paper (contains toxic heavy metals)
Troubleshooting Common Bin Issues
Even the most carefully maintained bins can occasionally run into issues. If your bin develops a foul, anaerobic odor, it is likely too wet or overfed. Stop feeding immediately, add dry shredded newspaper to absorb excess moisture, and gently fluff the bedding to introduce oxygen. If you notice an influx of fruit flies, ensure you are burying your food scraps deeply and consider placing a piece of damp cardboard over the top of the bedding as a physical barrier. Conversely, if you see worms trying to escape the bin in large numbers, the environment may be too acidic or too dry; adjust the moisture levels and add a sprinkle of agricultural lime or crushed eggshells to balance the pH.
Harvesting Black Gold for Your Garden
After 3 to 6 months, your bin will be full of dark, rich, earthy-smelling vermicompost. Harvesting can be done using the 'light method.' Empty the contents of the bin onto a large tarp under a bright light. The worms will instinctively burrow away from the light, forming a dense ball at the bottom of the pile. You can then gently scrape off the top layers of finished castings, leaving the worms to be returned to the bin with fresh bedding.
To utilize your harvest, mix vermicompost into your potting soil at a ratio of 1:4 for seed starting and container gardening. For established garden-to-table crops, side-dress the plants with a half-inch layer of castings every few weeks. You can also brew 'compost tea' by steeping a cup of castings in a gallon of dechlorinated water for 24 hours, creating a potent liquid fertilizer that can be applied directly to plant foliage or poured into the root zone. By integrating indoor vermicomposting into your home routine, you close the loop on kitchen waste and cultivate a vibrant, living soil ecosystem that supports a thriving, sustainable garden.

