Pest Control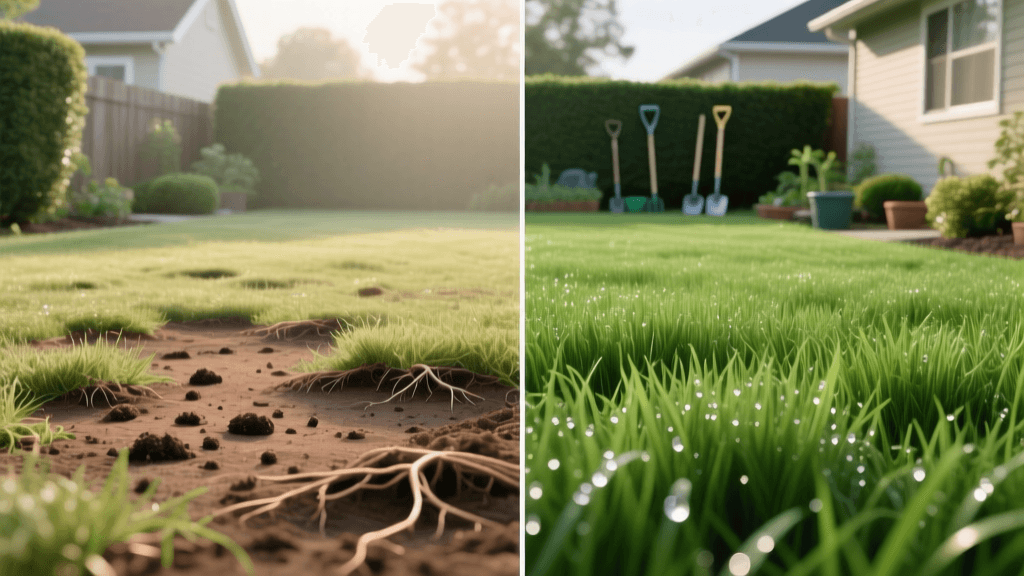
Lawn Grub Recovery: A Before and After Transformation Guide
The Heartbreak of a Grub-Infested Lawn
There are few sights more devastating to a dedicated homeowner than walking out on a crisp morning to find their once-pristine lawn looking like it has been aggressively tilled by a rogue farming crew. If your turf features large brown patches, feels spongy underfoot, and is dotted with shallow craters, you are likely looking at the 'before' picture of a severe white grub infestation. White grubs—the larval stage of Japanese beetles, June bugs, and European chafers—feed voraciously on grassroots, severing the plant's connection to water and nutrients. To make matters worse, the presence of these protein-rich grubs attracts secondary pests like skunks, raccoons, and crows, who will happily tear up your dying sod to feast on the larvae beneath.
However, a grub-damaged lawn is not a lost cause. With a strategic, phased approach to pest eradication, soil preparation, and targeted reseeding, you can achieve a stunning 'after' transformation. This guide walks you through the exact before-and-after process of reclaiming your yard, complete with product recommendations, precise measurements, and cost breakdowns.
The 'Before' State: Diagnosing the Damage
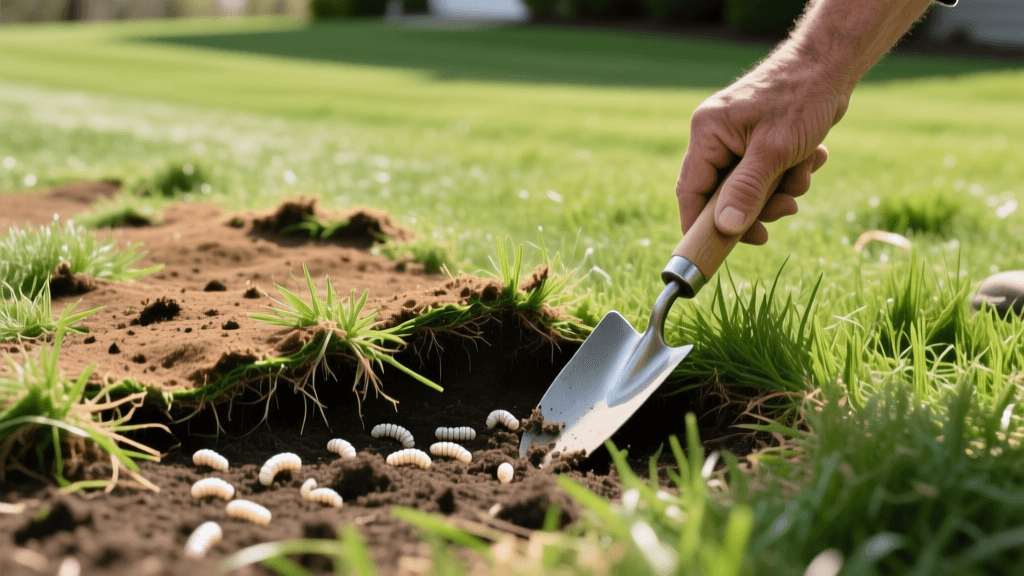
Before you can transform your lawn, you must confirm that grubs are the culprit and assess the severity of the damage. According to Penn State Extension, a healthy lawn can often tolerate a low population of grubs (fewer than five per square foot) without showing visible stress. However, when populations exceed ten grubs per square foot, the root system is decimated, and the turf will easily pull away from the soil.
The Tug Test and Soap Drench
To perform the 'tug test,' grab a handful of brown grass and pull gently. If the turf rolls up like a loose carpet with no resistance and no visible roots, grubs have eaten the foundation. To confirm their presence, mix two tablespoons of liquid dish soap into two gallons of water and drench a one-square-yard section of the lawn's border (where green meets brown). Wait ten minutes; the soap will irritate the grubs, forcing them to the surface where you can count them. If you find more than ten, immediate curative action is required.
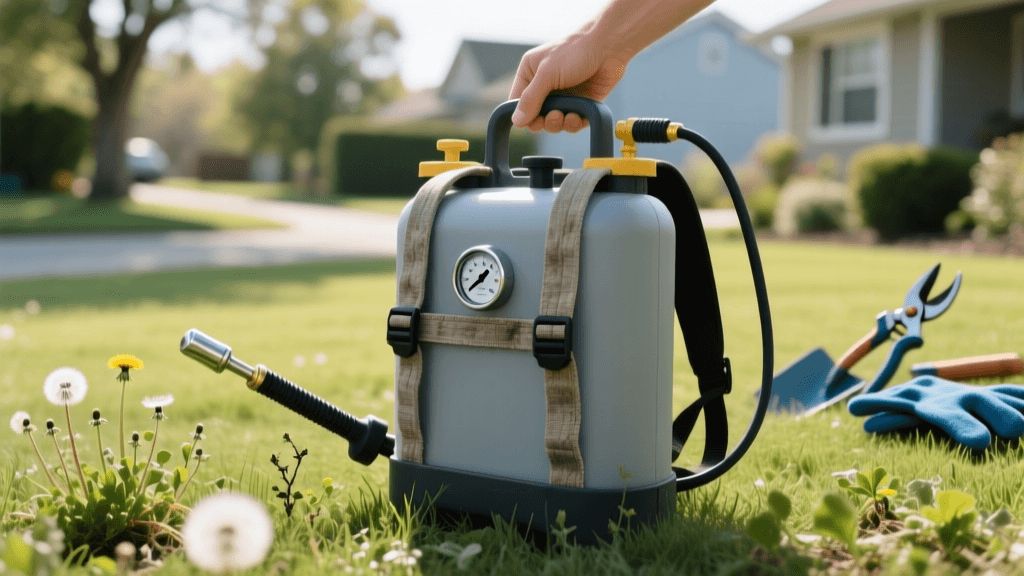
The Turning Point: Eradicating the Pests
You cannot lay new seed or sod over an active infestation; the new roots will simply become the grubs' next meal. Eradication requires choosing the right chemical or organic intervention based on the time of year.
Curative vs. Preventative Treatments
If you are dealing with an active 'before' state in late summer or early fall, you need a fast-acting curative insecticide. Products containing Trichlorfon (such as Bayer Advanced 24 Hour Grub Killer Plus) penetrate the soil quickly and kill active grubs within 24 hours. Apply at a rate of 2.8 lbs per 1,000 square feet, watering it in immediately with at least a quarter-inch of irrigation to activate the chemical. A 10 lb bag typically costs around $30 and covers roughly 3,500 square feet.
For long-term transformation and prevention the following year, you must apply a preventative treatment containing Chlorantraniliprole (such as Scotts GrubEx) between late May and early July. This targets the newly hatched larvae before they can grow large enough to cause damage.
For those seeking an organic transformation, Beneficial Nematodes (specifically the Heterorhabditis bacteriophora strain) are microscopic worms that seek out and destroy grubs naturally. As noted by University of Kentucky Entomology, nematodes must be applied to moist soil in the late afternoon to avoid UV degradation, and they require consistent watering to survive and hunt.
Grub Treatment Comparison Chart
| Treatment Type | Active Ingredient | Product Example | Application Timing | Est. Cost (per 5,000 sq ft) |
|---|---|---|---|---|
| Curative (Fast Kill) | Trichlorfon | Bayer 24hr Grub Killer | Aug - Oct (Active Grubs) | $35 - $45 |
| Preventative (Long-term) | Chlorantraniliprole | Scotts GrubEx | May - July (Egg Hatch) | $20 - $25 |
| Organic / Biological | H. bacteriophora | Arbico Organics Nematodes | Aug - Sep (Moist Soil) | $40 - $60 |
The Transformation Process: Step-by-Step Lawn Recovery
Once the grubs are eradicated (wait 48 hours after chemical application to ensure they are dead), the physical transformation of the lawn begins. This phase requires elbow grease, precise timing, and the right materials.
Step 1: Clear, Rake, and Aerate
The 'before' state of your lawn is likely covered in dead thatch, animal digging divots, and loose soil. Use a heavy-duty metal thatch rake to aggressively remove all dead grass and debris down to the bare soil. This step is non-negotiable; grass seed must make direct contact with the soil to germinate. Next, rent a core aerator from a local hardware store (typically $70-$90 for a four-hour rental) to pull plugs of soil across the entire damaged area. Aeration relieves soil compaction caused by animal traffic and creates perfect micro-environments for new seeds to settle.
Step 2: Topdressing and Reseeding
To level out the craters left by foraging skunks and raccoons, apply a thin layer (about 1/4 inch) of screened topsoil or compost over the bare patches. For the seed, choose a blend that matches your existing lawn and climate. For cool-season lawns, a mix of Kentucky Bluegrass and Perennial Ryegrass (such as Jonathan Green Black Beauty or Scotts Turf Builder Grass Seed) offers excellent disease resistance and quick germination. Apply the seed using a broadcast spreader at the rate specified on the bag (usually 4 to 6 lbs per 1,000 square feet for new lawns or heavy overseeding). A 15 lb bag of premium seed costs approximately $60 to $80.
Step 3: Fertilize and Water
New seed requires immediate nutrition. Apply a high-phosphorus starter fertilizer (such as a 18-24-12 NPK ratio) to promote rapid root development. Phosphorus is critical for the 'after' state of your new grass, ensuring it anchors deeply into the soil. Finally, apply a light layer of peat moss or weed-free straw mulch over the seed to retain moisture and protect it from birds. Water the area lightly for 15 minutes twice a day (morning and early afternoon) for the first 14 days. The goal is to keep the top inch of soil constantly moist, not soggy.
The 'After' State: A 90-Day Recovery Timeline
Understanding the timeline of your lawn's transformation helps manage expectations and guides your ongoing maintenance.
- Days 1-7 (The Reset): The grubs are dead, the soil is prepped, and the seed is in the ground. The lawn looks bare and muddy, but the foundation for a healthy turf is set.
- Days 10-14 (First Signs of Life): Perennial ryegrass will begin to germinate, casting a faint green haze over the previously brown, barren patches. Continue the twice-daily watering schedule.
- Days 21-30 (Establishment): Kentucky bluegrass fills in, and the lawn reaches a height of 3 inches. You can now reduce watering to once a day, applying deeper, heavier soakings to encourage deep root growth. Perform the first mow, ensuring your mower blades are razor-sharp to avoid tearing the tender new grass.
- Days 60-90 (The Final 'After' Picture): The turf has thickened, the animal craters have been entirely masked by dense grass, and the root system is robust. You can transition to a standard watering schedule of 1 to 1.5 inches of water per week.
Long-Term Prevention: Keeping Your Lawn Grub-Free
The ultimate goal of this transformation is to ensure you never have to witness the 'before' state again. To maintain your lush, recovered lawn, implement a yearly preventative grub control regimen. Apply Chlorantraniliprole in early summer to protect against the next generation of Japanese beetles. Additionally, maintain a mowing height of at least 3 inches. Taller grass shades the soil, making it less hospitable for adult beetles looking for warm, bare soil to lay their eggs. By combining proper cultural practices with targeted, well-timed pest control, your lawn will remain a vibrant, grub-free oasis for years to come.