Landscaping
Lawn Recovery After Hardscaping: Fixing Soil and Bare Spots
The Hidden Toll of Hardscaping on Your Lawn
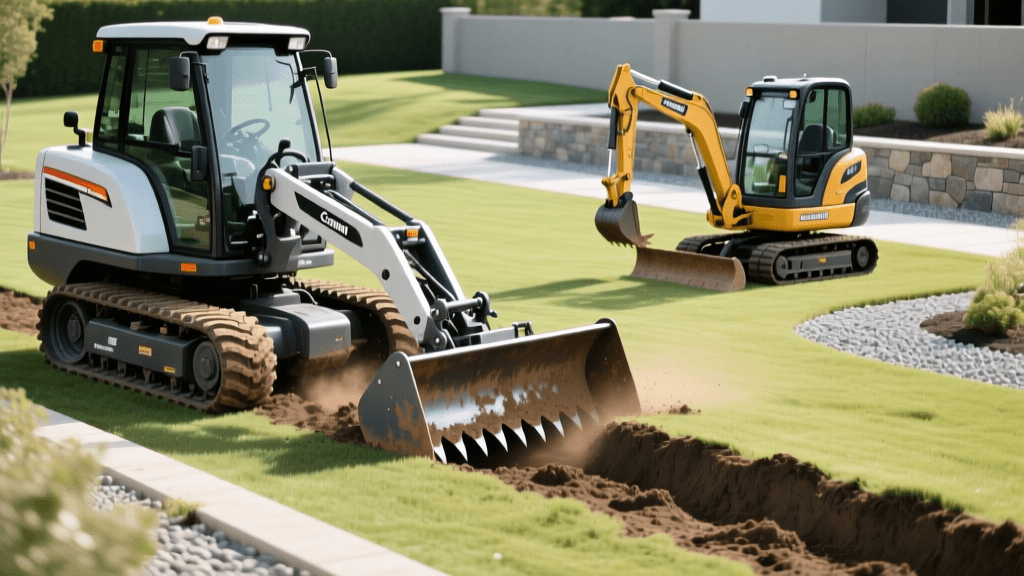
Installing a new patio, retaining wall, fire pit, or outdoor kitchen dramatically elevates the functionality and aesthetic appeal of your landscape. However, the construction process required to build these hardscaping features is notoriously destructive to existing turfgrass. Heavy machinery like skid steers, relentless foot traffic, material staging areas, and the accidental spillage of alkaline construction materials all conspire to degrade your soil structure and suffocate your lawn. When a landscaping project is complete, the hardscape may look pristine, but the surrounding lawn is often left heavily compacted, rutted, and bare. Lawn renovation and recovery after a major hardscaping project is not just about throwing down a handful of grass seed; it requires a systematic approach to soil rehabilitation, precise grading, and strategic overseeding to ensure the new turf integrates seamlessly with your new outdoor living space.
Step 1: Site Assessment and Debris Removal
Before introducing new seed or soil amendments, you must thoroughly assess the damage and clear the site of construction remnants. Hardscaping projects leave behind hidden hazards that will stunt turfgrass root development and alter soil chemistry. Walk the perimeter of your new patio or retaining wall and look for gravel, crushed stone base materials, dried mortar drops, and concrete washout residue. Concrete and mortar are highly alkaline and can drastically raise your soil pH, locking out essential nutrients like iron and manganese. Use a heavy-duty landscaping rake and a flat-edged shovel to scrape away any mortar spills or concrete washout. If the soil pH has been severely altered by concrete runoff, you may need to apply elemental sulfur to lower the pH back to the optimal turfgrass range of 6.0 to 7.0. Remove all construction debris, plastic sheeting, and wooden stakes, as these will create physical barriers to root penetration and water infiltration.
Step 2: Addressing Severe Soil Compaction
Soil compaction is the silent killer of post-construction lawns. The weight of heavy equipment and the trampling of work crews compress the soil particles, reducing the pore space necessary for oxygen, water, and nutrients to reach the root zone. When soil bulk density increases, turfgrass roots cannot penetrate the hardpan layer, leading to shallow root systems that are highly susceptible to drought and heat stress. Depending on the severity of the compaction and the depth of the ruts left behind, you must choose the appropriate mechanical intervention.
| Method | Best For | Depth | Pros | Cons |
|---|---|---|---|---|
| Core Aeration | Moderate surface compaction | 2-3 inches | Minimal turf disruption; improves water infiltration | Ineffective on deep subsoil ruts or heavy clay hardpans |
| Rototilling | Severe, deep compaction and bare staging areas | 6-12 inches | Complete soil fracturing; allows for deep amendment mixing | Destroys existing root systems; brings up dormant weed seeds |
| Broadforking | Targeted heavy ruts near hardscape edges | 8-10 inches | Preserves soil layers; low weed seed disruption | Highly labor-intensive; slow process for large areas |
For areas where heavy machinery was parked or materials were staged, rototilling to a depth of at least 6 inches is usually required to break up the deep hardpan. For transition zones where the lawn survived but suffered heavy foot traffic, core aeration will suffice to relieve surface tension without destroying the existing turf canopy.
Step 3: Grading, Soil Amendment, and Topdressing
Once the soil is mechanically loosened, it is time to address grading and organic matter depletion. Hardscaping projects often alter the natural drainage patterns of your yard. It is critical to establish a gentle slope of at least 2% (a 1/4-inch drop per foot) away from the new hardscape to prevent water from pooling against patios or undermining retaining walls. Use a landscaper's rake to smooth out ruts and establish this positive drainage gradient. Next, you must reintroduce organic matter. Construction traffic strips away the valuable topsoil layer, leaving behind lifeless subsoil. Apply a 1/4-inch to 1/2-inch layer of high-quality, screened organic compost over the entire renovation area. To calculate the volume of compost needed, use this formula: (Square Footage of Area x Desired Depth in Inches) / 324 = Cubic Yards of Compost. For example, a 1,000-square-foot staging area requiring a 1/2-inch topdressing will need approximately 1.5 cubic yards of compost. Rake the compost into the top few inches of the loosened soil to improve moisture retention and provide a nutrient-rich seedbed.
Step 4: Selecting the Right Seed and Overseeding
Choosing the correct turfgrass species is vital for long-term recovery, especially since hardscapes create unique microclimates. Retaining walls and stone patios absorb and radiate heat, creating hotter, drier zones immediately adjacent to the hardscape. According to turfgrass experts at Penn State Extension, selecting high-quality, site-appropriate seed and ensuring proper seed-to-soil contact are the most critical factors in successful lawn establishment. For sunny, high-heat areas near stone patios, Turf-Type Tall Fescue is an excellent choice due to its deep rooting capability and heat tolerance. For shaded areas created by new pergolas or tall privacy fences, a Fine Fescue blend is more appropriate. Avoid cheap seed mixes that contain annual ryegrass or excessive weed seed percentages; always check the seed tag for a purity rate of 99% or higher and a germination rate above 85%. Apply the seed at the following recommended rates:
- Turf-Type Tall Fescue: 8 to 10 lbs per 1,000 square feet.
- Kentucky Bluegrass: 2 to 3 lbs per 1,000 square feet.
- Perennial Ryegrass: 9 to 10 lbs per 1,000 square feet.
- Fine Fescue (for shade): 5 to 6 lbs per 1,000 square feet.
After broadcasting the seed, lightly rake the area to ensure the seed is covered by no more than 1/8-inch of soil or compost. Rolling the area with a lightweight, water-filled lawn roller will press the seed firmly into the seedbed, eliminating air pockets and ensuring the moisture contact necessary for germination.
Step 5: The Germination and Watering Schedule
Water management during the first 21 days of lawn recovery is non-negotiable. Grass seed must remain consistently moist to trigger germination and sustain the fragile new shoots. The University of Minnesota Extension emphasizes that frequent, light watering is required during the establishment phase to prevent the seedbed from drying out, which will instantly kill germinating seedlings. For the first two weeks, water the renovated areas 2 to 3 times per day for just 5 to 10 minutes per session. The goal is to keep the top 1/2-inch of soil damp, not soggy. If you are using an automatic irrigation system, reprogram it to run multiple short cycles rather than one long, deep soaking. Once the new grass reaches a height of about 1.5 inches and has established a shallow root system, gradually reduce the frequency of watering while increasing the duration. This encourages the roots to grow deeper into the compost-amended soil, building drought resilience. Transition to a standard watering schedule of 1 to 1.5 inches of water per week, applied in one or two deep sessions, by the fourth week.
Long-Term Maintenance for Recovered Lawns
The first mowing should occur when the new grass reaches approximately 3.5 inches in height. Cut no more than the top 1/3 of the grass blade, leaving the clippings on the lawn to return valuable nitrogen to the soil. Ensure your mower blades are freshly sharpened; dull blades will tear the fragile new turf, leaving it vulnerable to disease and moisture loss. Approximately 4 to 6 weeks after germination, apply a high-quality starter fertilizer or a balanced slow-release turf fertilizer to support aggressive root expansion. By addressing soil compaction, amending the subsoil, and following a disciplined overseeding and watering regimen, you can seamlessly blend your newly renovated lawn with your hardscaping features, resulting in a cohesive, vibrant, and highly functional outdoor living space.