
Gardening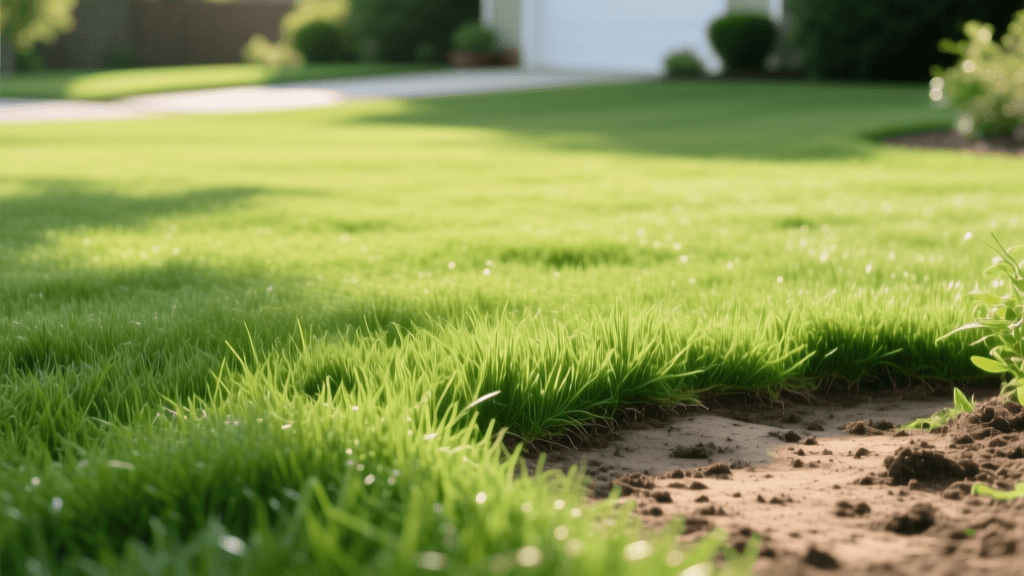
Lawn Renovation: How to Revive Thin and Bare Turf
Introduction to Lawn Renovation and Recovery
A patchy, thin, or brown lawn is a common frustration for homeowners, but it rarely requires a complete teardown and replacement. Lawn renovation is the process of restoring an existing, struggling turfgrass area without killing the entire lawn and starting from scratch. Whether your yard has suffered from summer drought, heavy foot traffic, soil compaction, or thatch buildup, a strategic renovation plan can breathe new life into your landscape. According to turfgrass experts at NC State University's TurfFiles, timely renovation can recover up to 80% of a damaged lawn in a single growing season, saving you thousands of dollars in sod replacement costs.
Assessing the Damage: Renovation vs. Replacement
Before purchasing seed or renting equipment, evaluate the current state of your lawn. The general rule of thumb is that if your lawn has at least 40% to 50% desirable, healthy turfgrass, renovation through overseeding and cultural practices is the most cost-effective route. If the lawn is less than 40% healthy grass and dominated by broadleaf weeds or invasive grasses like quackgrass, a complete renovation using a non-selective herbicide or solarization may be necessary.
For lawns that qualify for renovation, the ideal timing depends on your grass type. Cool-season grasses (such as Kentucky Bluegrass, Tall Fescue, and Perennial Ryegrass) should be renovated in early fall, roughly 4 to 6 weeks before the first expected frost. This allows seeds to establish before winter. Warm-season grasses (like Bermuda, Zoysia, and Centipede) recover best when renovated in late spring to early summer, when soil temperatures consistently exceed 65°F.
Step 1: Soil Testing and Amendment
Healthy turf starts beneath the surface. Soil compaction and nutrient deficiencies are primary culprits behind failing lawns. Begin your renovation by conducting a comprehensive soil test. Most local university extensions offer soil testing kits for $15 to $30. As highlighted by the University of Minnesota Extension, a soil test will reveal your yard's exact pH level and macro-nutrient profile, allowing you to amend the soil precisely rather than guessing.
- pH Adjustment: Turfgrass thrives in a pH range of 6.0 to 7.0. If your soil is too acidic (below 6.0), apply pelletized lime at the rate recommended by your soil test, typically 20 to 50 lbs per 1,000 square feet.
- Organic Matter: If your soil is heavy clay or overly sandy, topdress the area with a 1/4-inch layer of screened compost. This improves moisture retention and introduces beneficial microbes.
Step 2: Dethatching and Core Aeration
Thatch is a layer of dead and living organic matter that accumulates between the soil surface and the green grass blades. A thatch layer thicker than 1/2 inch prevents water, air, and nutrients from reaching the root zone. Use a mechanical dethatcher or a heavy-duty garden rake to remove this barrier.
Following dethatching, core aeration is mandatory for compacted soils. Renting a walk-behind core aerator typically costs between $80 and $100 per day. The machine pulls 2-to-3-inch plugs of soil from the ground, leaving them on the lawn to break down naturally. For severely compacted areas, make two passes over the lawn in perpendicular directions to ensure the plugs are spaced no more than 2 to 4 inches apart. This process creates vital channels for oxygen and water to penetrate the root zone.
Step 3: Overseeding and Seed Selection
Overseeding is the cornerstone of lawn recovery. Selecting the right seed is critical for long-term resilience. The University of California Agriculture and Natural Resources division recommends choosing seed blends that are certified by the National Turfgrass Evaluation Program (NTEP) and are specifically suited to your regional microclimate.
When purchasing seed, avoid cheap mixes that contain high percentages of annual ryegrass or weed seeds. Look for a label that guarantees less than 0.1% weed seed and 0% noxious weeds. Apply the seed using a broadcast spreader at the following recommended rates:
- Tall Fescue: 5 to 8 lbs per 1,000 square feet.
- Kentucky Bluegrass: 1 to 2 lbs per 1,000 square feet.
- Perennial Ryegrass: 3 to 5 lbs per 1,000 square feet.
- Bermudagrass (Hulled): 1 to 2 lbs per 1,000 square feet.
After spreading the seed, lightly drag a piece of chain-link fence or a stiff broom across the lawn to ensure seed-to-soil contact. Seeds left sitting on top of the thatch or aeration plugs will dry out and fail to germinate. Follow up with a thin 1/8-inch topdressing of peat moss or finely screened compost to lock in moisture.
Managing Weeds During the Renovation Process
One of the most common challenges during lawn renovation is weed competition. Broadleaf weeds and invasive grasses will aggressively compete with your new seedlings for sunlight, water, and soil nutrients. However, you must be extremely cautious with herbicide application during this delicate phase. Most post-emergent herbicides will severely damage or kill young turfgrass seedlings. As a general rule, you should wait until the new grass has been mowed at least three times before applying any selective broadleaf weed killers.
For pre-emergent weed control, timing is everything. Pre-emergent herbicides create a chemical barrier in the soil that prevents seeds from germinating. Unfortunately, they do not distinguish between weed seeds and your expensive turfgrass seeds. Therefore, you must absolutely avoid applying pre-emergent herbicides for at least 60 days before and 60 days after overseeding. If you are dealing with a severe weed infestation, it is often better to tackle the weeds with targeted spot treatments or manual pulling during the summer months, well before your fall renovation window begins. Hand-pulling weeds when the soil is moist ensures you remove the entire root system, minimizing soil disturbance and reducing the weed seed bank for the upcoming growing season.
Step 4: The 6-Week Recovery Watering and Fertilizing Schedule
The first six weeks after overseeding dictate the success of your lawn renovation. New seedlings have shallow root systems and are highly susceptible to drying out. You must transition from frequent, light watering to infrequent, deep watering as the grass matures. Below is a structured recovery schedule to guide your maintenance.
| Timeframe | Watering Schedule | Mowing Guidelines | Fertilization |
|---|---|---|---|
| Weeks 1-2 (Germination) | Water 2-3 times daily for 5-10 minutes. Keep the top 1 inch of soil constantly moist but not waterlogged. | Do not mow. Keep foot traffic to an absolute minimum to avoid disturbing seedlings. | Apply a starter fertilizer (high in phosphorus, e.g., 10-18-10) on the day of seeding. |
| Weeks 3-4 (Establishment) | Reduce to once daily, applying about 1/4 inch of water. Allow the surface to dry slightly between sessions. | Mow only when grass reaches 3.5 inches. Cut to 2.5 inches using a sharp blade. Never remove more than 1/3 of the blade. | Hold off on additional fertilizer to prevent burning tender new roots. |
| Weeks 5-6 (Deep Rooting) | Water every other day, increasing the duration to apply 1/2 inch of water per session to encourage deep root growth. | Mow at the recommended height for your specific grass type (usually 2.5 to 3.5 inches). | Apply a balanced, slow-release nitrogen fertilizer (e.g., 20-5-10) to fuel continued vegetative growth. |
Long-Term Maintenance for a Recovered Lawn
Once your lawn has successfully recovered and the new grass has been mowed three or four times, transition to a standard deep-watering schedule. Most established lawns require 1 to 1.5 inches of water per week, ideally delivered in one or two deep soaking sessions rather than daily sprinklings. Deep watering trains the roots to grow downward into the soil profile, making your turf more drought-tolerant and resilient against environmental stress.
Additionally, maintain a strict mowing schedule, leaving grass clippings on the lawn to act as a natural, nitrogen-rich mulch. By combining proper soil management, strategic overseeding, and disciplined watering, your renovated lawn will remain thick, lush, and competitive against weeds for years to come.

