
Gardening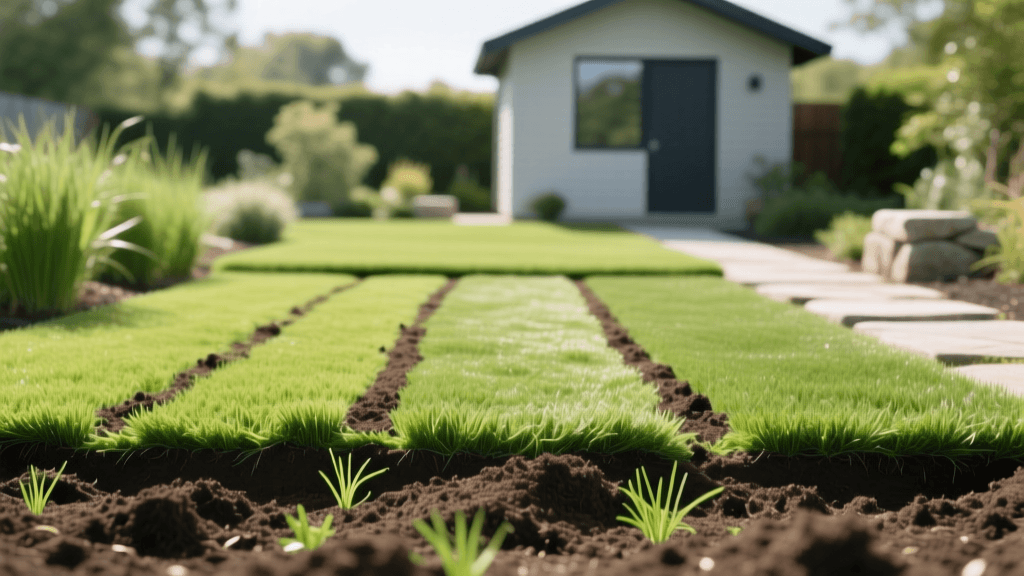
Lawn Renovation Guide: Soil Prep And Eco Turf Recovery
The Gardener's Approach to Lawn Renovation
When most homeowners think of lawn renovation, they picture dumping synthetic fertilizers and blindly scattering grass seed over compacted dirt. However, as any seasoned horticulturist knows, a lawn is simply a massive, horizontal garden bed. Treating your turf recovery process with the same meticulous soil preparation, biological focus, and plant diversity as a vegetable or perennial garden is the secret to a resilient, drought-tolerant landscape. Whether your yard has suffered from summer drought, heavy foot traffic, or neglect, a true lawn renovation requires a holistic approach. This guide bridges the gap between traditional turf management and organic gardening, providing actionable steps to transform a failing lawn into a thriving, eco-friendly ecosystem.
Step 1: Comprehensive Soil Assessment and Amendment
Before purchasing a single bag of seed, you must understand the canvas you are working on. Grass, much like tomatoes or roses, struggles in poor soil. The first step in any serious renovation is a professional soil test. Contact your local university cooperative extension to obtain a test kit, which typically costs between $15 and $30. This test will reveal your soil's pH, cation exchange capacity (CEC), and organic matter percentage.
For most turfgrasses, the ideal pH range is between 6.0 and 7.0. If your soil is highly acidic (below 6.0), you will need to apply pelleted lime. If it is too alkaline (above 7.5), elemental sulfur or acidifying organic amendments like peat moss can help lower the pH. According to the Royal Horticultural Society (RHS), improving soil structure is just as critical as adjusting pH. Incorporating organic matter is paramount. Before aerating, spread a thin layer of screened, high-quality compost over the entire area. This introduces vital soil microbes and improves moisture retention, creating a welcoming seedbed for new turf roots.
Step 2: Mechanical Preparation (Aeration and Dethatching)
Soil compaction is the silent killer of recovering lawns. Roots cannot penetrate hardpan soil, and water simply runs off the surface. Core aeration is non-negotiable for a successful renovation. Rent a walk-behind core aerator from a local equipment rental yard (typically $75 to $100 per day). Unlike spike aerators, which merely punch holes and can worsen compaction, core aerators extract 2-to-3-inch plugs of soil, allowing air, water, and nutrients to reach the root zone.
Run the aerator over the lawn in two perpendicular directions to ensure maximum coverage. Leave the extracted soil cores on the lawn; they will break down over the next few weeks and act as a natural topdressing. If your lawn has a thatch layer thicker than 0.5 inches, you must also rent a power dethatcher. Thatch is a dense mat of dead roots and stems that prevents seed-to-soil contact, which is the primary reason overseeding projects fail. Removing this barrier ensures your new seeds reach the mineral soil below.
Step 3: Selecting an Eco-Turf Seed Mix
The gardening world has moved away from high-maintenance, water-thirsty monocultures. Modern lawn renovation emphasizes eco-turf: diverse seed mixes that include fine fescues, microclover, and drought-tolerant native grasses. These mixes require less fertilizer, naturally suppress weeds, and support local pollinators. The University of Minnesota Extension strongly recommends fine fescue blends for their low-input requirements and excellent shade tolerance.
Below is a comparison chart to help you select the right seed mix for your specific climate and yard conditions:
| Seed Type | Best Climate | Drought Tolerance | Seeding Rate (per 1,000 sq ft) |
|---|---|---|---|
| Fine Fescue Blend | Cool Season / Shade | High | 5 - 6 lbs |
| Microclover Mix | Transitional / Cool | Moderate | 1 - 2 lbs (mixed with grass) |
| Tall Fescue (Turf-Type) | Cool / Transitional | Very High | 8 - 10 lbs |
| Bermudagrass | Warm Season | Extreme | 2 - 3 lbs (hulled) |
When purchasing seed, always check the tag for the 'weed seed' percentage (it should be 0%) and the 'other crop' percentage. Avoid cheap mixes laden with annual ryegrass, which acts as a nurse crop but ultimately dies off and competes with your perennial grasses during the critical establishment phase.
Step 4: Topdressing and Overseeding Execution
Timing is everything. For cool-season grasses, the optimal renovation window is early fall (late August to mid-October). The soil is still warm from summer, promoting rapid germination, while the cool autumn air reduces heat stress on young seedlings. Warm-season grasses should be renovated in late spring to early summer.
Begin by spreading your chosen seed mix evenly using a broadcast spreader, applying half the seed in a north-south direction and the other half east-west to ensure uniform coverage. Immediately follow this with a topdressing of finely screened compost or a specialized peat-based seed starter mulch. Apply the topdressing at a depth of roughly 1/4 inch. This thin layer protects the seeds from birds and drying winds while holding moisture directly against the seed coat. Do not bury the seed deeper than 1/2 inch, or it will exhaust its energy reserves before reaching the surface. Finally, go over the area with a lightweight lawn roller filled halfway with water to ensure firm seed-to-soil contact.
Step 5: The Germination Watering Schedule
Water management during the first 21 days dictates the success or failure of your renovation. Newly sown grass seed must never be allowed to dry out completely, but it also should not sit in standing water, which invites fungal diseases like damping-off.
- Days 1-14 (Germination Phase): Water lightly 2 to 3 times per day for 5-10 minutes per zone. The goal is to keep the top inch of soil consistently moist.
- Days 15-28 (Establishment Phase): As seedlings reach 1 inch tall, reduce watering frequency to once daily, but increase the duration to encourage deeper root growth.
- Days 29+ (Maturation Phase): Transition to the standard 'deep and infrequent' watering model. Apply 1 to 1.5 inches of water per week, ideally in a single early-morning session.
Hold off on mowing until the new grass reaches about 3.5 to 4 inches in height. When you do make the first cut, ensure your mower blades are freshly sharpened to avoid tearing the delicate young tissue. Never remove more than the top third of the grass blade.
Long-Term Recovery and Garden Integration
A successful lawn renovation does not end once the grass turns green. To maintain the resilience you have worked so hard to establish, adopt a long-term organic maintenance plan. The University of California Statewide IPM Program advocates for integrated pest management and reducing turf footprints where grass struggles to grow. Consider converting heavily shaded or poorly draining corners of your yard into native garden beds, rain gardens, or groundcover plantings like creeping thyme.
Feed your recovered lawn twice a year with a slow-release, organic fertilizer (such as feather meal or composted poultry manure) rather than quick-release synthetic salts. By treating your lawn with the same respect, soil science, and biodiversity principles as your finest garden borders, you will cultivate a vibrant, eco-friendly turf that recovers naturally from stress and thrives for decades.

