
Landscaping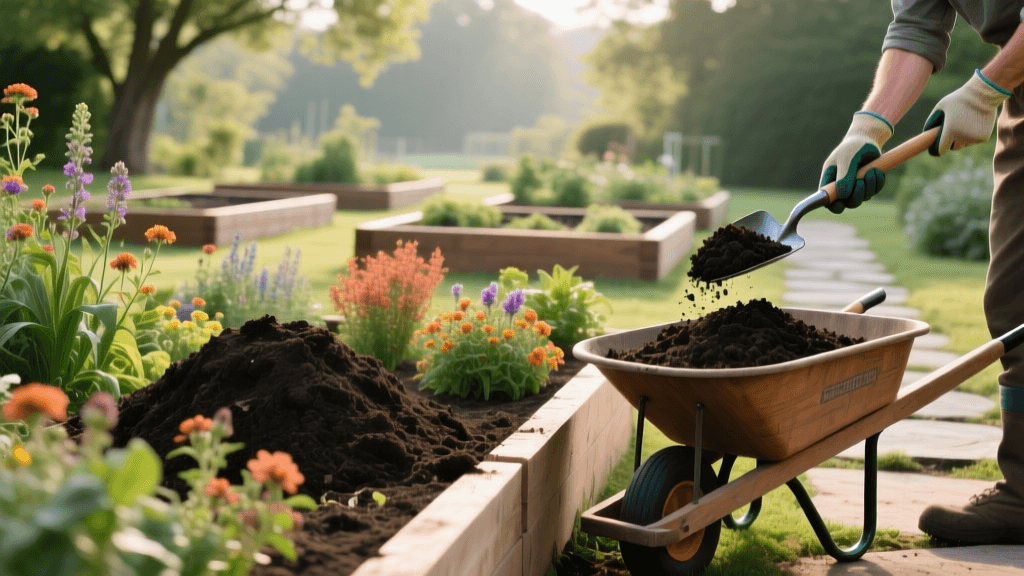
Mastering Compost for Landscape Beds: A Complete Guide
The Foundation of Landscape Soil Health
When designing and maintaining stunning outdoor living spaces, hardscaping elements like patios and retaining walls often steal the spotlight. However, the true foundation of any thriving landscape lies beneath the surface. Soil health is the unsung hero of vibrant garden beds, robust shrub borders, and flourishing perennial displays. At the heart of soil health is compost—often referred to by horticulturists and landscape architects as 'black gold.' According to the United States Environmental Protection Agency (EPA), composting is not merely a waste-reduction strategy; it is a vital biological process that creates a nutrient-dense soil amendment capable of transforming degraded landscape soils into thriving ecosystems.
In the context of landscaping, compost serves multiple critical functions. It improves soil structure by binding sand, silt, and clay particles into stable aggregates, which enhances both water retention in sandy soils and drainage in heavy clay soils. Furthermore, compost introduces a diverse microbiome—the 'soil food web'—consisting of bacteria, fungi, nematodes, and protozoa. These microorganisms form symbiotic relationships with plant roots, breaking down organic matter into bioavailable nutrients and protecting plants from soil-borne pathogens. Understanding how to produce, cure, and apply high-quality compost is an essential skill for any serious landscaper or homeowner looking to elevate their curb appeal and garden vitality.
The Science of Decomposition: Carbon and Nitrogen
To master composting for landscape use, you must first understand the biochemistry of decomposition. Microorganisms require two primary elements to thrive and break down organic matter: carbon (C) for energy and nitrogen (N) for protein synthesis and reproduction. The ideal Carbon-to-Nitrogen (C:N) ratio for a rapidly decomposing, hot compost pile is between 25:1 and 30:1. If the ratio is too high (excess carbon), the decomposition process slows to a crawl. If the ratio is too low (excess nitrogen), the pile becomes anaerobic, slimy, and emits a strong ammonia odor.
In landscaping, you have an abundant supply of both 'browns' (carbon-rich materials) and 'greens' (nitrogen-rich materials). Fallen autumn leaves, woodchips from tree pruning, and dried ornamental grasses are excellent carbon sources. Grass clippings, pulled annual weeds (before they set seed), and kitchen vegetable scraps provide the necessary nitrogen.
| Landscape Material | Approximate C:N Ratio | Classification |
|---|---|---|
| Woodchips / Arborist Chips | 400:1 | Brown (Carbon) |
| Dried Autumn Leaves | 60:1 | Brown (Carbon) |
| Straw / Pine Needles | 80:1 | Brown (Carbon) |
| Coffee Grounds | 20:1 | Green (Nitrogen) |
| Fresh Grass Clippings | 17:1 | Green (Nitrogen) |
| Vegetable Kitchen Scraps | 15:1 | Green (Nitrogen) |
Designing Your Landscape Compost System
The scale of your landscape dictates the scale of your composting system. For a standard suburban yard with multiple garden beds, a single tumbler is rarely sufficient. The EPA's Guide to Composting at Home recommends open piles or multi-bin systems for larger volumes. To achieve the thermophilic (hot) composting phase—which is necessary to kill weed seeds and plant pathogens—the pile must be at least 3 feet wide, 3 feet long, and 3 feet high (one cubic yard). This volume provides enough mass to insulate the core and retain the heat generated by microbial activity.
Consider building a three-bay wooden bin system using untreated cedar or composite lumber. Bay one is for active filling, bay two is for the hot decomposition and turning phase, and bay three is for curing. This workflow ensures you always have a steady supply of finished compost for your landscape beds throughout the growing season.
Step-by-Step Pile Construction
- Step 1: The Base. Start with a 4-inch layer of coarse twigs or woodchips at the bottom of the bin to ensure adequate airflow and drainage.
- Step 2: Layering. Add a 6-inch layer of browns (e.g., shredded leaves), followed by a 2-inch layer of greens (e.g., grass clippings and kitchen scraps). Water each layer lightly as you build.
- Step 3: Inoculation. Sprinkle a thin layer of finished compost or native topsoil over the greens to introduce beneficial decomposing microbes.
- Step 4: Capping. Always cap the pile with a final layer of browns to deter pests, retain moisture, and prevent odors.
Monitoring Temperature and Moisture
Successful hot composting requires vigilant monitoring. Purchase a long-stemmed compost thermometer to track the internal temperature of the pile. The pile should reach 135°F to 160°F within the first few days. This thermophilic phase accelerates breakdown and sanitizes the material. When the temperature drops below 110°F, it is time to turn the pile with a pitchfork, moving the outer, cooler materials to the hot center and introducing fresh oxygen.
Moisture is equally critical. The pile should feel like a wrung-out sponge—damp to the touch, but not dripping. If the pile is too dry, microbial activity ceases; if it is too wet, it fills air pockets, creating anaerobic conditions. The Rodale Institute, a pioneer in organic agriculture and soil science, emphasizes that proper aeration and moisture management are the keys to preventing the foul odors that often plague poorly managed landscape compost piles.
| Compost Symptom | Probable Cause | Landscape Solution |
|---|---|---|
| Rotten egg / ammonia smell | Too wet / Anaerobic / Too much nitrogen | Turn pile, mix in dry shredded leaves or woodchips. |
| Pile is cold and inactive | Too dry / Too much carbon / Pile too small | Add water, mix in fresh grass clippings, or increase pile volume. |
| Presence of rodents or pests | Exposed food scraps / Meat or dairy added | Bury kitchen scraps deep in the center; cap with 6 inches of browns. |
Applying Compost to Landscape Beds
Once your compost has cured—meaning it is dark, crumbly, smells like rich forest earth, and no longer heats up when turned—it is ready for the landscape. The application method depends on whether you are establishing new beds or maintaining existing plantings.
Establishing New Landscape Beds
When preparing a new site for shrubs, perennials, or ornamental trees, incorporate compost directly into the native soil. Spread a 2- to 3-inch layer of finished compost over the planting area and use a broadfork or rototiller to incorporate it into the top 6 to 8 inches of soil. This improves the root zone's physical structure and provides a slow-release nutrient reservoir that will feed new plantings for up to three years.
Top-Dressing Existing Beds
For established landscape beds where plants are already in the ground, avoid deep tilling, which can damage shallow feeder roots and disrupt the mycorrhizal fungal networks. Instead, use the top-dressing method. Apply a 1-inch layer of compost evenly over the soil surface, keeping it a few inches away from the direct base of tree trunks and shrub stems to prevent crown rot. Over time, earthworms and natural soil processes will incorporate the compost into the root zone. Follow this with a 2-inch layer of organic mulch (like shredded bark) to lock in moisture.
Compost Tea for Deep Root Drenching
For a rapid boost to struggling landscape specimens or newly transplanted trees, consider brewing aerated compost tea. Steep one gallon of finished compost in five gallons of dechlorinated water with an aquarium air pump for 24 to 48 hours. Strain the liquid and apply it as a soil drench around the drip line of your trees and shrubs. This inoculates the deeper soil layers with beneficial biology, helping plants combat environmental stress and disease.
Cost Analysis: DIY vs. Bulk Delivery
While making your own compost is highly rewarding and utilizes on-site landscape waste, large-scale projects may require supplemental materials. Understanding the economics of soil amendments helps in planning your landscaping budget.
| Compost Source | Estimated Cost | Best Use Case |
|---|---|---|
| DIY On-Site Compost | $0 (Labor & Time only) | Routine annual top-dressing, small perennial beds. |
| Bagged Retail Compost | $5 - $12 per cubic foot | Container gardening, small raised beds, spot treatments. |
| Bulk Landscape Delivery | $30 - $60 per cubic yard | Establishing new beds, large lawn renovations, grading. |
Conclusion
Integrating a robust composting system into your landscape management routine is one of the most sustainable and impactful practices you can adopt. By closing the loop on yard waste and returning vital organic matter to the soil, you reduce reliance on synthetic fertilizers, improve water conservation, and create a resilient, thriving outdoor environment. Whether you are top-dressing a delicate Japanese Maple garden or amending the soil for a vibrant perennial border, mastering the art and science of compost is the ultimate key to long-term landscaping success.

