
Gardening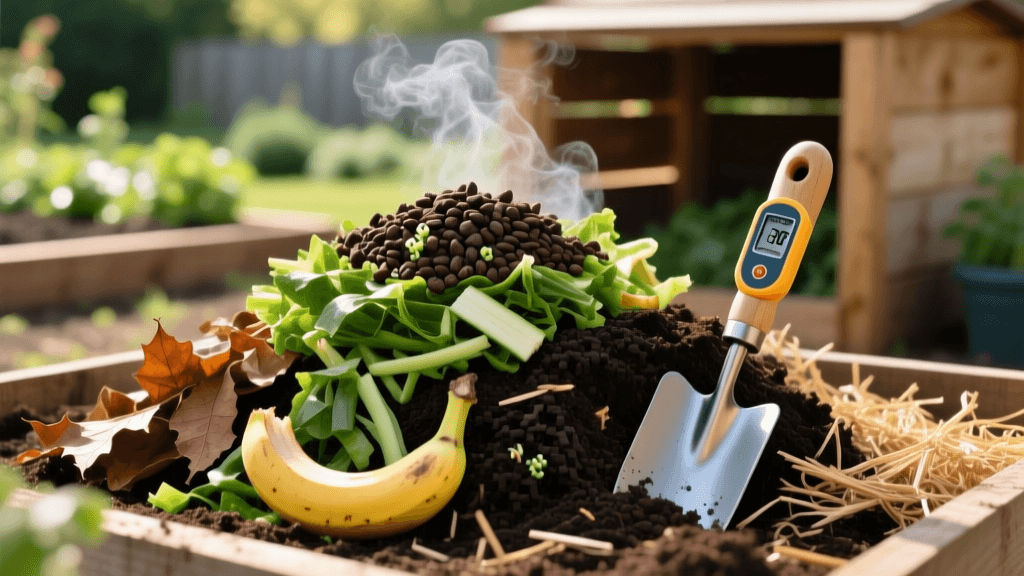
Mastering Hot Composting: Build Rich Soil in 21 Days
Why Choose Hot Composting for Your Vegetable Garden?
When it comes to building nutrient-dense, biologically active soil for your vegetable garden, not all compost is created equal. While cold composting (simply piling yard waste and waiting a year) is easy, it lacks the biological intensity required to unlock rapid soil health benefits. Hot composting, on the other hand, is a managed, thermophilic process that breaks down organic matter in as little as 21 to 30 days. More importantly, the intense heat generated during this process—often reaching 140°F to 160°F—destroys harmful plant pathogens, neutralizes weed seeds like crabgrass and bindweed, and creates a stable, humus-rich amendment that supercharges your garden beds.
According to the Environmental Protection Agency (EPA), properly managed composting not only diverts valuable organic waste from landfills but also creates a vital soil conditioner that improves water retention, suppresses plant diseases, and reduces the need for chemical fertilizers. For the serious home gardener looking to maximize tomato yields, grow robust root vegetables, and establish resilient flower beds, mastering the hot composting method is an essential skill.
The Biological Engine: Understanding Thermophilic Decomposition
Hot composting relies on a specific succession of microorganisms. When you first build your pile, mesophilic (moderate-temperature) bacteria begin breaking down the most easily degradable materials, generating heat as a byproduct. As the internal temperature of the pile rises above 100°F, these bacteria are replaced by thermophilic (heat-loving) bacteria, actinomycetes, and fungi. Research from the Cornell University Waste Management Institute indicates that these thermophilic microbes are responsible for the rapid breakdown of complex proteins, fats, and complex carbohydrates, driving the pile's temperature up to the critical 130°F–160°F range required to sanitize the compost.
Essential Tools and Budget Breakdown
You do not need an expensive commercial setup to achieve hot composting success. However, a few specific tools will ensure your pile reaches and maintains the correct temperatures. Here is a practical budget breakdown for the home gardener:
- Compost Bin ($0 - $100): You can build a free 3x3x3 foot bin using reclaimed wooden pallets, or purchase a dedicated wire mesh or wooden slat bin for around $50 to $100. Avoid enclosed plastic tumblers for true hot composting, as they often lack the necessary mass and insulation.
- Long-Stem Compost Thermometer ($20 - $35): A 20-inch stainless steel probe thermometer is non-negotiable. It allows you to read the core temperature without dismantling the pile.
- Garden Pitchfork ($30 - $45): A sturdy, D-handled pitchfork with flat tines is essential for turning the heavy, dense materials and introducing oxygen to the core.
- Breathable Tarp ($25): Used to cover your pile during heavy rain to prevent waterlogging and nutrient leaching, while still allowing the pile to breathe.
The Magic Ratio: Balancing Carbon and Nitrogen
The fuel for your thermophilic bacteria is a precise balance of carbon (browns) and nitrogen (greens). Carbon provides the energy and structural bulk, while nitrogen provides the proteins necessary for rapid microbial reproduction. The ideal Carbon-to-Nitrogen (C:N) ratio for a hot compost pile is between 25:1 and 30:1 by weight. If your pile has too much carbon, it will sit cold and decompose slowly. If it has too much nitrogen, it will go anaerobic, slime over, and emit a foul ammonia odor.
Table: Carbon-to-Nitrogen Ratios of Common Garden Materials
| Material | Classification | Approximate C:N Ratio | Preparation Tip |
|---|---|---|---|
| Fresh Grass Clippings | Green (Nitrogen) | 15:1 | Mix thoroughly with browns to prevent matting and anaerobic odors. |
| Kitchen Vegetable Scraps | Green (Nitrogen) | 15:1 | Chop into 1-inch pieces to accelerate microbial access. |
| Coffee Grounds | Green (Nitrogen) | 20:1 | Despite their brown color, they are highly nitrogenous. Scatter evenly. |
| Dry Autumn Leaves | Brown (Carbon) | 60:1 | Shred with a lawnmower before adding to increase surface area. |
| Wheat Straw | Brown (Carbon) | 80:1 | Excellent for creating air pockets and structural bulk in the pile. |
| Pine Sawdust | Brown (Carbon) | 300:1 | Use very sparingly; it compacts easily and can tie up soil nitrogen. |
| Corrugated Cardboard | Brown (Carbon) | 350:1 | Remove tape/labels, soak in water, and tear into small strips. |
Step-by-Step Guide to Building a 21-Day Hot Compost Pile
Step 1: Construct a Minimum 3x3x3 Foot Bin
Volume is critical for insulation. A pile must be at least one cubic yard (3 feet wide, 3 feet long, and 3 feet high) to retain the heat generated by microbial activity. If your pile is smaller than this, the outer layers will act as a heat sink, and the core will never reach thermophilic temperatures.
Step 2: Gather and Pre-Mix Your Materials
Unlike cold composting, where you add materials gradually, a hot pile must be built all at once. Gather your greens and browns, and aim for a volumetric mix of roughly 2 parts brown to 1 part green. Chop or shred all materials into pieces no larger than 2 inches. Smaller pieces exponentially increase the surface area available for bacteria to attack, drastically speeding up the 21-day timeline.
Step 3: The Moisture Test (The Sponge Rule)
Microbes require water to transport nutrients and reproduce. As you build and mix your pile, water it thoroughly with a hose. The ideal moisture content is between 40% and 60%. To test this, grab a handful of the mixed compost and squeeze it tightly. It should feel like a wrung-out damp sponge, yielding only one or two drops of water. If water streams out, it is too wet (add dry leaves or straw). If it crumbles and feels dry, add more water.
Step 4: Monitor the Heat (130°F to 160°F)
Within 48 to 72 hours of building the pile, insert your long-stem thermometer into the dead center. You should see temperatures rapidly climbing past 110°F and settling into the 130°F–160°F sweet spot. If the temperature exceeds 165°F, the pile is too hot and risks killing off beneficial microbes or, in extreme dry cases, spontaneously combusting. If it hits 165°F, turn the pile immediately to introduce cooling oxygen.
Step 5: The Turning Schedule (Oxygenate Every 3 Days)
Thermophilic bacteria are aerobic; they require oxygen to survive and generate heat. As the microbes consume the oxygen in the core, the temperature will begin to drop. This is your cue to turn the pile. Using your pitchfork, move the outer, cooler edges of the pile into the new center, and move the hot center to the outside. For a 21-day cycle, plan to turn the pile on Days 4, 8, 12, 16, and 20. After every turn, the temperature will dip briefly before surging back up as fresh oxygen fuels the bacteria.
Troubleshooting Common Hot Composting Issues
- The Pile Smells Like Ammonia or Rotten Eggs: This indicates an anaerobic environment or an excess of nitrogen (too many greens). Solution: Turn the pile immediately and mix in 2-3 buckets of dry, shredded brown leaves or straw to absorb excess moisture and balance the C:N ratio.
- The Pile is Cold and Inactive: This usually means the pile is too dry, too small, or lacks nitrogen. Solution: Check moisture levels first. If it is dry, water it while turning. If moisture is fine, mix in a nitrogen booster like blood meal, alfalfa meal, or fresh grass clippings to reignite the microbial fire.
- White, Ashy Substance in the Pile: This is a beneficial fungus called actinomycetes, which breaks down tough woody materials. It is a sign of a healthy, maturing pile and should not be removed.
Curing and Application: Feeding Your Soil
After 21 to 30 days of active heating and turning, the pile will no longer heat up, even after being turned. The materials will be dark brown, crumbly, and smell rich and earthy, like a forest floor. However, the compost is not quite ready for direct planting. It must enter a 'curing' phase for 2 to 4 weeks. During curing, the pH stabilizes, and slower-acting microbes finish breaking down complex organic acids that could otherwise burn delicate plant roots.
Once cured, apply a 1-to-2-inch layer of your finished hot compost over your vegetable beds in the early spring, gently working it into the top 4 inches of native soil. This inoculates your garden with billions of beneficial microbes, improves soil structure for better root penetration, and provides a slow-release buffet of micronutrients for your tomatoes, peppers, and leafy greens throughout the growing season.

