
Lawn Care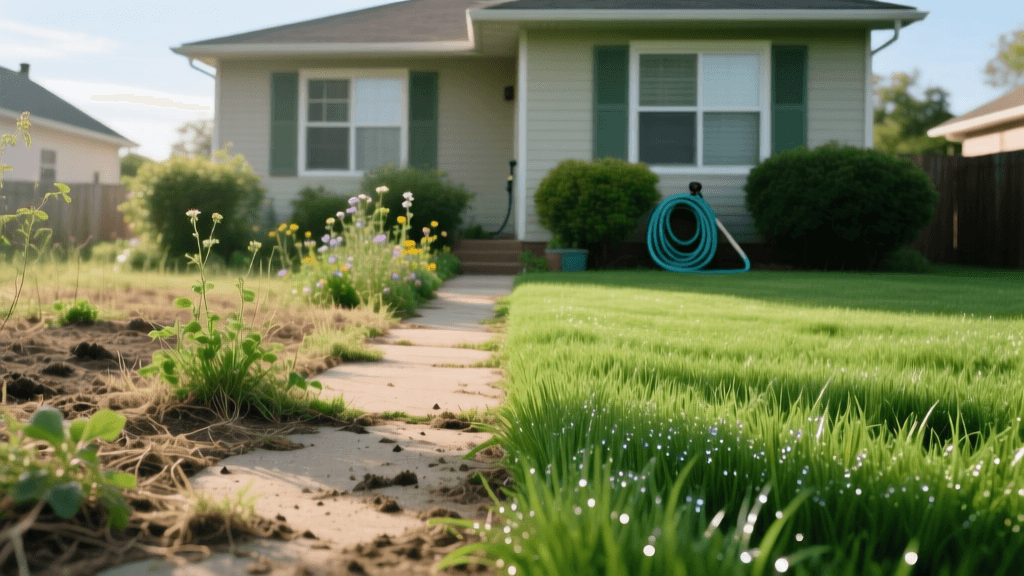
Transforming a Neglected Lawn: A 60-Day Before and After Guide
The 'Before' State: Assessing the Damage
Every lawn care enthusiast has seen it: the classic neglected yard. The 'before' picture of a degraded cool-season lawn usually features a chaotic mix of invasive crabgrass, sprawling broadleaf weeds, compacted soil that repels water, and large, dusty bare patches where nothing seems to grow. Transforming this eyesore into a pristine, carpet-like turf is not an overnight miracle; it is a calculated, 60-day scientific process. This guide walks you through a complete fall renovation, turning a failing lawn into a neighborhood showpiece.
Phase 1: Eradication and Soil Testing (Days 1 to 14)
The most critical step in any dramatic before-and-after transformation is starting with a clean slate. If your lawn is more than 50% weeds, a full renovation is vastly superior to spot-treating.
Step 1: The Soil Test
Before applying any chemicals or seed, you must understand your soil chemistry. Send a core sample to your local university extension office or a private lab like Logan Labs. You are looking for your soil pH (ideal for cool-season grass is 6.0 to 7.0) and baseline nutrient levels. If your pH is below 6.0, plan to apply pelletized limestone based on the lab's exact recommendations.
Step 2: The Kill-Off
To achieve a true transformation, apply a non-selective systemic herbicide containing glyphosate to the entire lawn. This ensures that deep-rooted perennial weeds and invasive grasses are completely eradicated. Wait 7 to 10 days for the existing vegetation to turn completely brown and die. Do not skip this step, or you will be battling legacy weeds through your beautiful new grass.
Step 3: Scalping and Dethatching
Once the old lawn is dead, set your mower to its lowest setting and scalp the yard down to the dirt. Rake up the dead debris. According to the University of Minnesota Extension, removing this dead thatch layer is vital because it allows new seed to make direct contact with the soil, which is mandatory for germination.
Phase 2: Soil Preparation and Aeration (Days 15 to 30)
With the canvas cleared, it is time to fix the physical structure of the soil. Neglected lawns are almost always heavily compacted from years of foot traffic and lack of aeration.
Core Aeration vs. Spike Aeration
Rent a heavy-duty, walk-behind core aerator from your local equipment rental shop. Core aerators pull 2-to-3-inch plugs of soil out of the ground, relieving compaction and creating micro-trenches for water, oxygen, and new roots. Avoid spike aerators; they merely poke holes and can actually increase soil compaction around the hole walls. Run the core aerator over the lawn in two perpendicular directions to ensure maximum soil fracturing.
Topdressing with Compost
Immediately after aerating, spread a thin layer (about 1/4 inch) of high-quality, screened organic compost over the entire yard. Use a landscaping rake or a push broom to work the compost down into the aeration holes. This introduces vital microbial life and improves the moisture-retention capabilities of your native soil.
Phase 3: Overseeding and Fertilization (Days 31 to 45)
Now comes the most exciting part of the transformation: introducing the new grass. Timing is everything. The Environmental Protection Agency (EPA) and turfgrass experts universally recommend early fall for cool-season grass renovations, as the soil is still warm from summer, but the air is cooling down, reducing heat stress on seedlings.
Selecting the Right Seed
For a durable, drought-tolerant, and dark green lawn, choose a Turf-Type Tall Fescue (TTTF) blend mixed with 10% Kentucky Bluegrass (KBG). The TTTF provides deep roots and wear tolerance, while the KBG offers aggressive rhizome spreading to fill in minor gaps and provide a rich color. Purchase high-quality seed with a germination rate of 85% or higher and zero weed seed content.
Seeding and Starter Fertilizer
Use a broadcast spreader to apply the seed at a rate of 8 to 10 pounds per 1,000 square feet. Immediately follow this with a high-phosphorus starter fertilizer (such as a 10-18-10 NPK ratio). Phosphorus is the key nutrient for rapid root development in new seedlings. If you are worried about remaining weed seeds germinating, apply a starter fertilizer that contains Mesotrione (commonly sold under the brand name Tenacity). Mesotrione is a unique herbicide that prevents weed seedling photosynthesis without harming germinating fescue or bluegrass.
Phase 4: Germination and the Grow-In (Days 46 to 60)
The difference between a failed renovation and a stunning 'after' picture lies entirely in the watering schedule during the first 21 days of germination.
The Watering Schedule
- Weeks 1 and 2: Water lightly 3 to 4 times a day for 5 to 10 minutes per zone. The goal is to keep the top 1/2 inch of soil constantly moist, not muddy. If the seed dries out even once during germination, it will die.
- Weeks 3 and 4: As seedlings reach 1.5 inches tall, reduce watering to once a day, but increase the duration to 20 minutes. This encourages the young roots to chase the water deeper into the soil profile.
- Weeks 5 and beyond: Transition to a deep and infrequent schedule. Apply 1 to 1.5 inches of water per week, divided into two heavy waterings. This builds extreme drought tolerance.
The First Mow
Wait until the new grass reaches about 3.5 to 4 inches in height before performing the first mow. Ensure your mower blade is freshly sharpened; a dull blade will tear the tender young grass out by the roots. Set your mower deck to 3 inches and never remove more than the top third of the grass blade.
The 'After' Reveal: 60-Day Results and Costs
By Day 60, your lawn will have undergone a radical metamorphosis. The bare, compacted dirt and invasive weeds of the 'before' picture will be replaced by a dense, vibrant, emerald-green turf. The deep roots established by the TTTF and KBG blend will make the lawn significantly more resilient to foot traffic and environmental stress.
Estimated Renovation Costs
Below is a breakdown of the typical costs associated with a DIY 60-day full lawn renovation for an average 5,000 square foot yard.
| Renovation Phase | Materials / Equipment Needed | Estimated Cost (5,000 sq ft) |
|---|---|---|
| Phase 1: Eradication | Glyphosate concentrate, pump sprayer, soil test kit | $60 - $90 |
| Phase 2: Soil Prep | Core aerator rental (1 day), screened compost (2 cubic yards) | $150 - $220 |
| Phase 3: Seeding | Premium TTTF/KBG seed (50 lbs), Starter Fertilizer with Mesotrione | $200 - $280 |
| Phase 4: Grow-In | Increased water bill for 30 days of frequent irrigation | $40 - $80 |
| Total Estimated Cost | Complete DIY Transformation | $450 - $670 |
Long-Term Maintenance for Your Transformed Lawn
Protecting your investment is the final step of the transformation journey. Once the lawn is fully established, transition to a standard seasonal maintenance routine. Apply a pre-emergent herbicide in early spring to prevent crabgrass, and follow a four-step fertilization program tailored to your soil test results. By committing to proper mowing heights, deep watering, and annual fall aeration, your stunning 'after' lawn will remain the envy of the neighborhood for years to come.

