Tree Care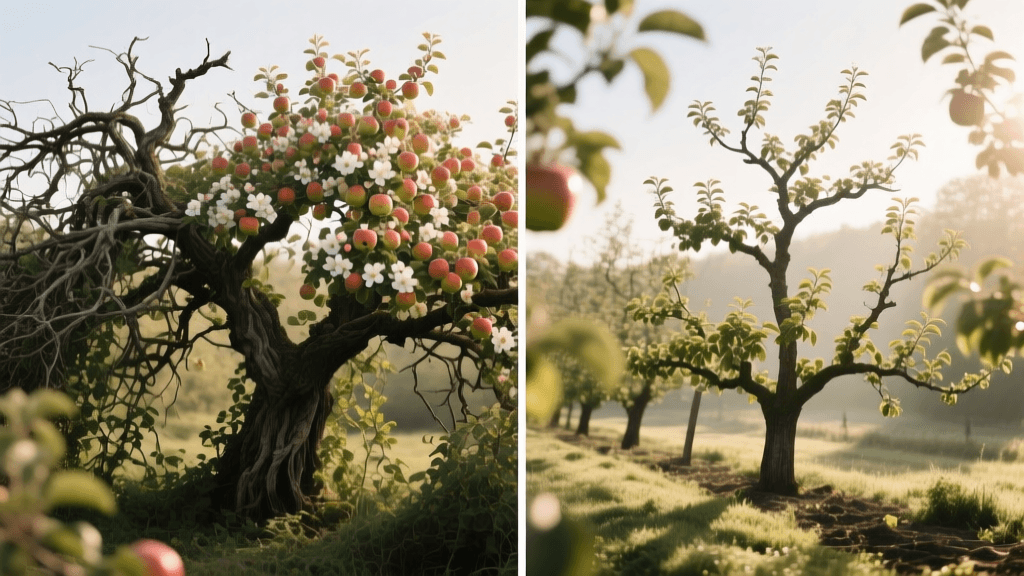
Restoring Overgrown Apple Trees: Before and After Guide
The "Before" State: Diagnosing the Neglected Apple Tree
Picture this: you have inherited an old apple tree in the backyard of a new home, or perhaps you have simply neglected your own orchard for a decade. The "before" state of an overgrown apple tree is chaotic. It often resembles a dense, impenetrable thicket rather than a fruit-bearing specimen. The canopy is overly tall, making harvesting impossible without a risky ladder climb. Inside the canopy, a tangled mess of crossing branches, dead wood, and vertical "water sprouts" blocks sunlight and restricts airflow.
This neglected state leads to severe consequences. Without proper sunlight penetration, the tree produces small, poorly colored, and flavorless apples. Furthermore, the stagnant, humid air trapped inside the dense canopy creates a perfect breeding ground for fungal diseases like apple scab, powdery mildew, and cedar apple rust. Insect pests, such as codling moths and apple maggots, easily hide in the unmanaged foliage. Transforming this tree requires patience, a strategic multi-year plan, and an understanding of tree biology.
The Vision: What the "After" Should Look Like
The goal of restoration pruning is not to create a manicured ornamental shrub, but to build a structurally sound, highly productive fruiting machine. The ideal "after" state features a manageable height (typically 8 to 12 feet for standard and semi-dwarf trees) and an open canopy structure. Whether you opt for a central leader or an open-center (vase) shape, the ultimate test of a well-pruned apple tree is the "hat test": you should be able to toss a hat through the branches without it getting caught. Sunlight must reach the inner trunk and lower scaffolds to ensure fruit buds develop evenly throughout the tree, not just on the outermost tips.
Essential Tools for the Transformation
Before making a single cut, you must equip yourself with high-quality, sharp tools. Dull tools crush plant tissue, leaving jagged wounds that heal slowly and invite disease.
- Hand Pruners: Invest in a premium bypass pruner like the Felco F-2 (approx. $60). Bypass pruners make clean, scissor-like cuts essential for branches under 3/4 inch in diameter.
- Folding Pruning Saw: A curved, pull-stroke saw like the Silky Gomboy 210 (approx. $55) is indispensable for slicing through 2-inch to 4-inch limbs smoothly without tearing the bark.
- Loppers: Bypass loppers with 24-inch to 30-inch handles provide the leverage needed for 1-inch to 2-inch branches.
- Pole Saw/Pruner: A telescoping fiberglass pole pruner allows you to safely reach water sprouts and upper canopy limbs up to 14 feet high without climbing a ladder.
- Sanitation Supplies: A spray bottle filled with 70% isopropyl alcohol or a 10% bleach solution is mandatory. Sterilize your blades between every cut when removing diseased wood to prevent spreading pathogens.
The 3-Year Restoration Pruning Plan
The most critical rule of restoring a neglected tree is to never remove more than 25% to 30% of the live canopy in a single year. According to the University of Minnesota Extension, severe over-pruning shocks the tree, triggering a massive, frantic growth response of thousands of new, unfruitful water sprouts. Instead, spread the transformation over three years, executing your major cuts during the dormant season (late winter to early spring, just before bud break).
Year 1: The Major Cleanup and Height Reduction
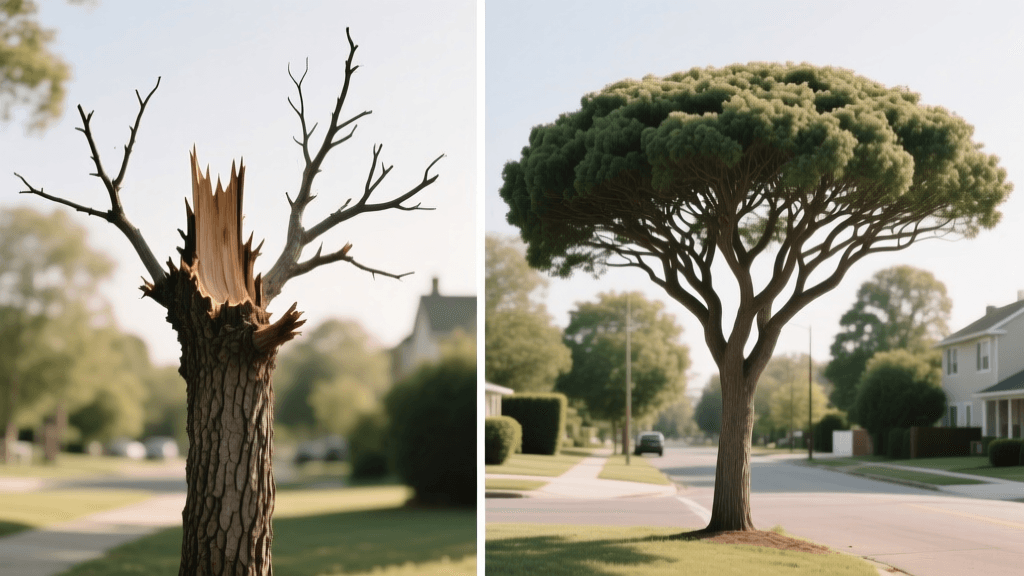
Begin by removing the "Three Ds": Dead, Diseased, and Damaged wood. This alone may account for 10% to 15% of the canopy. Next, eliminate all root suckers growing from the base of the trunk and rub out the majority of the vertical water sprouts cluttering the interior. If the tree is too tall, reduce its height by making a "reduction cut" on the central leader. Cut the leader back to a weaker, lateral side branch that is at least one-third the diameter of the leader. This suppresses upward vigor while maintaining the tree's natural apical dominance. Do not simply "top" the tree by making flat, arbitrary cuts, as this leads to weak, rot-prone stubs.
Year 2: Opening the Canopy and Structural Shaping
In the second late winter, focus on the tree's architecture. Identify crossing branches that rub against one another and remove the weaker of the two. Look for branches growing inward toward the center of the tree and remove them to open up the core. Pay close attention to the branch angles; ideal scaffold branches should grow at a 45-degree to 60-degree angle from the trunk. Branches with narrow, V-shaped crotches are weak and prone to splitting under the weight of fruit or snow. Remove these weak attachments to prioritize strong, wide-angled scaffolds.
Year 3: Refinement and Fruiting Wood Management
By year three, the tree's structure should be sound and open. Your focus now shifts to managing the fruiting spurs. Apple trees bear fruit on short, stubby twigs called spurs, which can remain productive for up to 10 years. Thin out excessively dense clusters of spurs to ensure the remaining fruit receives adequate sunlight. During the summer of year three, introduce "summer pruning" (in late July or August) to manage the vigorous water sprouts that inevitably grow back. Pinching or cutting these soft, green shoots in the summer restricts vegetative growth and encourages the tree to set fruit buds for the following year.
Expert Pruning Tip: Always cut just outside the "branch collar"—the swollen, wrinkled area where the branch meets the trunk. The Arbor Day Foundation emphasizes that the branch collar contains specialized cells necessary for compartmentalization and wound healing. Flush cuts that damage the collar will lead to trunk decay.
Transformation Timeline and Cost Breakdown
The following table outlines the phased approach to apple tree restoration, including the expected canopy removal and estimated costs for a DIY approach versus hiring a professional.
| Phase | Timing | Canopy Removed | Primary Action | Est. DIY Cost | Est. Pro Cost |
|---|---|---|---|---|---|
| Year 1 | Feb - March | 25% - 30% | Remove dead wood, water sprouts, drop height | $150 (Tools) | $400 - $800 |
| Year 2 | Feb - March | 15% - 20% | Thin crossing branches, open center | $0 | $250 - $500 |
| Year 3 | Feb - March | 10% - 15% | Refine scaffolds, manage fruiting spurs | $0 | $200 - $400 |
| Maintenance | July - August | 5% | Summer pruning for vigor control | $0 | $150 - $300 |
The "After" State: Maintenance and Rewards
Once the 3-year transformation is complete, the "after" state requires ongoing, lighter maintenance to preserve your hard work. The rewards, however, are immense. A restored apple tree will produce larger, sweeter, and more vibrantly colored fruit. Harvesting becomes a safe, enjoyable task rather than a perilous chore.
To maintain the "after" state, implement a rigorous fruit-thinning regimen in early summer (usually June). When the apples are the size of marbles, use your pruners to snip off excess fruit, leaving only one apple per 6 inches of branch. This prevents the tree from entering "biennial bearing" (producing a massive crop one year and nothing the next) and stops heavy fruit loads from snapping your carefully pruned scaffold branches.
Additionally, apply a 3-inch layer of organic wood chip mulch in a 3-foot ring around the base of the tree to retain moisture and suppress weeds. Keep the mulch at least 3 inches away from the trunk to prevent "volcano mulching," which invites trunk rot and rodent damage. Finally, wrap the lower trunk with a wire mesh guard or apply a sticky barrier like Tanglefoot in the spring to deter crawling insects and winter rodents.
When to Hire a Certified Arborist
While many homeowners can successfully restore a semi-dwarf or standard apple tree using the steps above, certain "before" scenarios demand professional intervention. If the tree is intertwined with power lines, if the main trunk shows signs of advanced heart rot or large fungal conks, or if the tree is so massive that chainsaws and aerial lifts are required, stop immediately. Hiring an ISA Certified Arborist (expect to pay $500 to $1,200 for a large, complex restoration) ensures the job is done safely and in accordance with modern arboricultural standards, securing the tree's health and your property's safety for decades to come.