Tree Care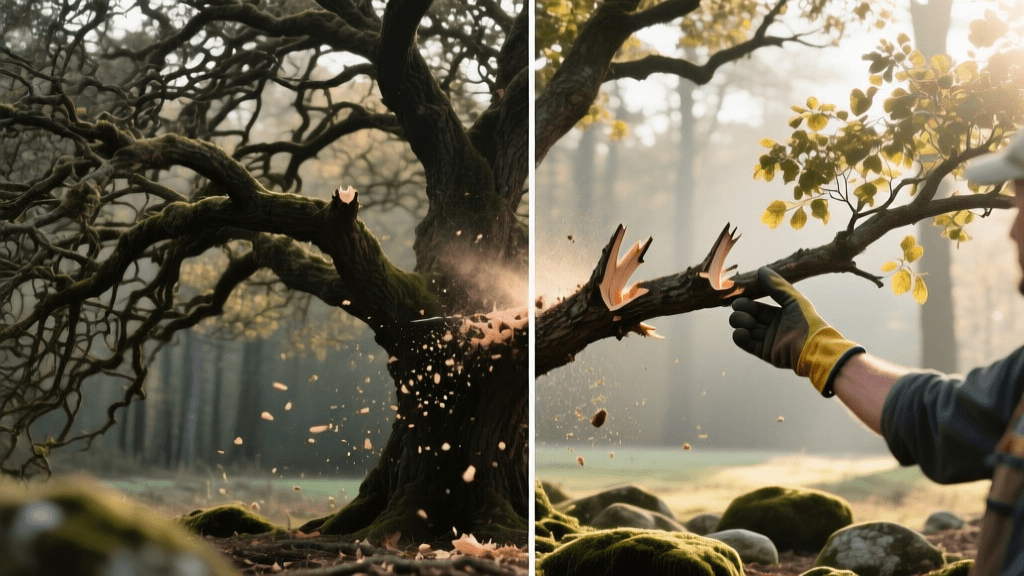
Overgrown Oak Tree Pruning: A Before and After Guide
The Power of Structural Pruning: An Oak Tree Transformation
When you purchase a home with mature landscaping, you are often inheriting decades of deferred maintenance. A towering, overgrown oak tree can be the crown jewel of your property, but without routine care, it can quickly become a hazardous, light-blocking liability. In this before and after transformation guide, we explore the dramatic impact of structural pruning on a neglected 60-foot Northern Red Oak (Quercus rubra). By applying ANSI A300 pruning standards, we transformed a dense, dangerous canopy into a structurally sound, sun-dappled landscape feature that finally allowed the underlying lawn to thrive.
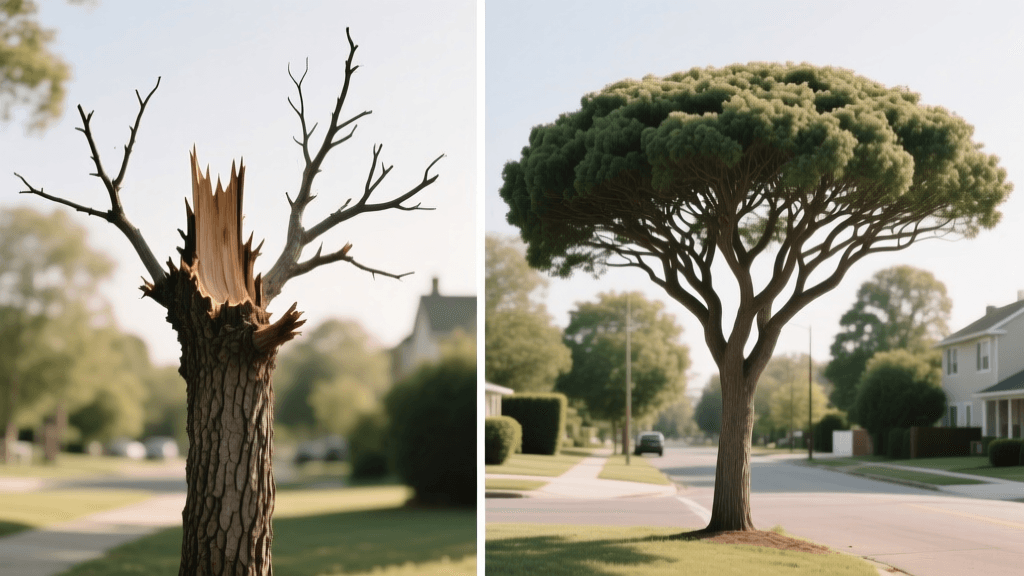
The "Before" State: Assessing an Overgrown Oak
Before any cuts were made, the Red Oak was a textbook example of canopy neglect. The tree had not been pruned in over fifteen years. The lower canopy hung just four feet off the ground, creating a dark, oppressive umbrella that smothered the turfgrass below. A visual assessment from the ground and via drone revealed several critical issues:
- Excessive Deadwood: Approximately 30% of the inner canopy consisted of dead, brittle branches ranging from 1 to 4 inches in diameter, posing a severe risk to the roof and driveway below.
- Co-Dominant Stems: The main trunk split into two equal leaders at the 20-foot mark. The tight "V" crotch had formed included bark (bark growing inward between the stems), creating a high-risk failure point during high winds or ice storms.
- Crossing and Rubbing Branches: Dense interior growth caused branches to rub against one another, stripping the protective bark and creating open wounds vulnerable to fungal pathogens and wood-boring insects.
- The "Sail Effect": The outer canopy was incredibly dense with epicormic shoots (water sprouts). This prevented wind from passing through the tree, turning the canopy into a giant sail that put immense leverage on the root plate during storms.
The Transformation Process: Step-by-Step Pruning
Transforming a tree of this magnitude requires a strategic, multi-phase approach. According to Penn State Extension, mature shade trees require a combination of crown cleaning, crown thinning, and crown raising to restore health and structural integrity.
Timing and Tools for Oak Trees
Timing is everything when pruning oaks. Because oaks are highly susceptible to oak wilt—a devastating vascular disease spread by sap-feeding beetles—pruning must be strictly avoided during the spring and summer. The ideal window is late winter (January through early March) when the tree is fully dormant and beetle activity is zero. For this transformation, the following professional-grade tools were utilized:
- Silky Gomboy 270mm Folding Saw: For razor-sharp, precise cuts on branches up to 4 inches in diameter without tearing the bark.
- Felco 2 Bypass Pruners: For cleanly snipping smaller twigs and water sprouts.
- Stihl HT 56 Pole Pruner: For safely reaching and removing deadwood 12 to 16 feet off the ground without needing to climb.
Execution: The 3-Cut Method and Crown Thinning
Every major limb removal was executed using the industry-standard 3-cut method to prevent bark tearing. First, an undercut was made six inches from the trunk, cutting one-third of the way up. Second, a top cut was made an inch further out, cutting all the way down until the heavy branch snapped off cleanly. Finally, a precise finishing cut was made just outside the branch collar, preserving the branch bark ridge to ensure the tree could properly compartmentalize the wound (a process known as CODIT). Wound dressings or pruning paints were intentionally avoided, as University of Minnesota Extension research confirms that these sealants actually trap moisture and accelerate decay.
To address the "sail effect," crown thinning was performed. We selectively removed interior water sprouts and crossing branches, focusing on the lower third of the canopy. Crucially, we adhered to the 25% Rule: never removing more than 25% of the live foliage in a single season to prevent stressing the tree and triggering a massive flush of weak, reactive growth.
"Proper pruning is essential in developing and maintaining a tree with a strong structure and desirable form. Trees that receive the proper care early in life will require less corrective pruning as they mature." — Colorado State University Extension
Before vs. After: Visualizing the Change
The physical and ecological changes to the tree and the surrounding landscape were profound. Below is a data comparison detailing the metrics of the transformation six months after the late-winter pruning.
| Metric | Before Pruning | After Pruning (6 Months) |
|---|---|---|
| Canopy Deadwood | ~30% | < 2% |
| Sunlight Penetration | 15% (Heavy Shade) | 45% (Dappled Light) |
| Turfgrass Health | Bare Soil / Moss | Establishing Fine Fescue |
| Wind Resistance | Poor (High Sail Effect) | Excellent (Airflow) |
| Clearance Over Lawn | 4 Feet | 10 Feet |
| Property Value Impact | Liability / Hazard | + $5,000 Curb Appeal |
The "After" State: Post-Pruning Care and Lawn Recovery
With the canopy raised and thinned, dappled sunlight finally reached the soil surface. However, the transformation wasn't complete without addressing the root zone and the damaged lawn below.
Proper Mulching: The 3-3-3 Rule
After pruning, the tree's root flare was excavated to remove years of suffocating soil buildup. We applied a high-quality, double-shredded hardwood mulch using the 3-3-3 rule: the mulch was applied 3 inches deep, in a 3-foot radius around the trunk, and kept strictly 3 inches away from the trunk bark to prevent rot and rodent damage. This mulch ring retains soil moisture, regulates temperature, and keeps string trimmers away from the vulnerable bark.
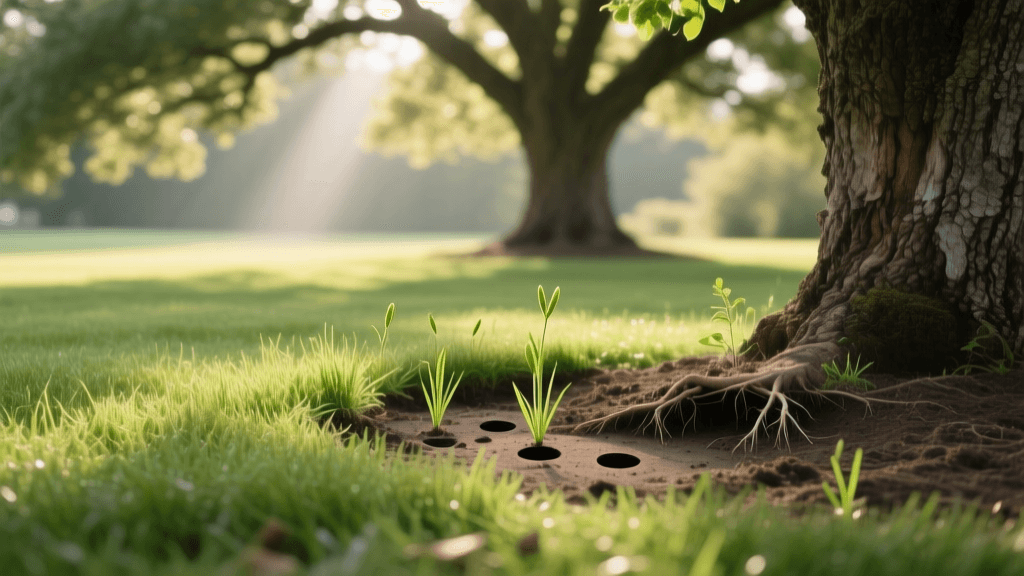
Lawn Recovery Underneath the Canopy
The newly available sunlight allowed us to rehabilitate the bare dirt beneath the oak. We performed core aeration to relieve soil compaction caused by years of foot traffic and falling debris. The area was then overseeded with a shade-tolerant mix consisting of 70% creeping red fescue and 30% chewings fescue. These fine fescues require less water and thrive in the dappled light provided by the newly thinned oak canopy.
Cost Breakdown: Hiring a Pro vs. DIY
Transforming a 60-foot oak tree is not a weekend DIY project. While you can safely prune lower water sprouts yourself, structural pruning of large limbs requires professional expertise, climbing gear, and heavy liability insurance. Here is a realistic cost breakdown for a project of this scale:
- ISA Certified Arborist (Crew of 3): $800 - $1,500. This includes a bucket truck, wood chipper, complete debris removal, and stump grinding of one dead surface root.
- DIY Tool Investment: $350 - $500 (Silky saw, pole pruner, safety goggles, helmet, and harness). Note: Only recommended for branches under 15 feet and under 3 inches in diameter.
- Lawn Rehabilitation: $150 (Core aeration rental, 10 lbs of fine fescue seed, starter fertilizer, and 2 cubic yards of hardwood mulch).
Investing $1,000 in professional pruning is a fraction of the $10,000+ cost of removing a dead oak tree or repairing a roof crushed by a falling co-dominant stem.
Conclusion
The before and after transformation of this overgrown oak tree proves that structural pruning is one of the highest-ROI investments you can make in your landscape. By removing hazardous deadwood, correcting structural defects, and opening the canopy to allow wind and light to pass through, you extend the life of the tree while revitalizing the lawn below. If your mature trees are casting deep shadows and harboring dead limbs, consult a local ISA Certified Arborist this winter to plan your own canopy transformation.