
Gardening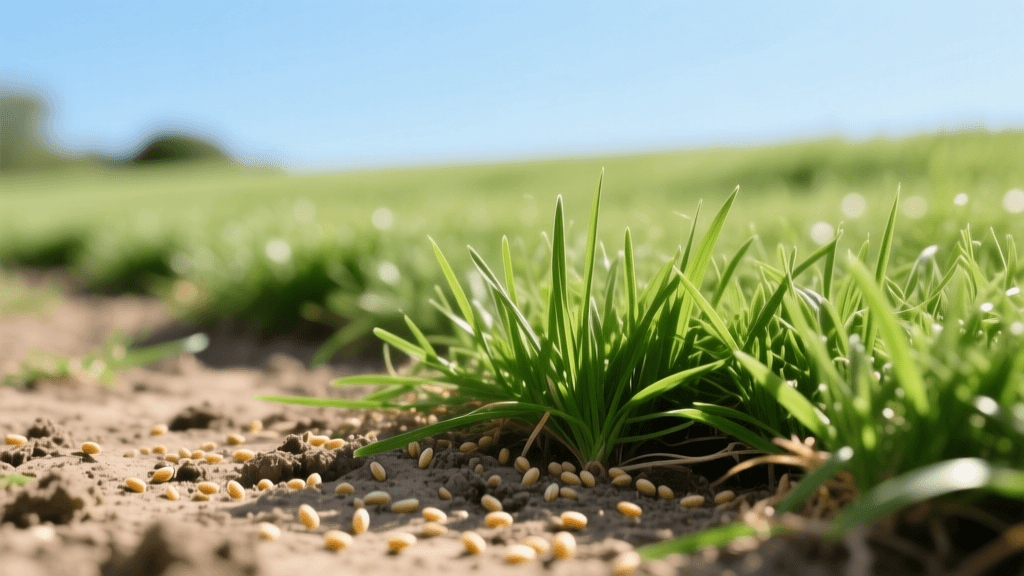
How to Overseed and Revive a Patchy, Drought-Damaged Lawn
Lawns endure a tremendous amount of stress throughout the year. Between scorching summer droughts, heavy foot traffic, and invasive weeds, it is entirely common for once-lush turf to devolve into a patchy, thin, and brown landscape. However, a damaged lawn rarely requires a complete and expensive teardown. With the right lawn renovation and recovery strategies, you can breathe new life into your existing turf. Overseeding and targeted soil amendments can transform a struggling yard into a thick, resilient carpet of green.
Assessing the Damage: Renovation vs. Total Replacement
Before purchasing seed and renting equipment, you must evaluate the current state of your lawn. The general rule of thumb recommended by the University of Minnesota Extension is that if your lawn is at least 50% healthy grass, renovation through overseeding and core aeration is the most cost-effective and environmentally friendly route. If the damage exceeds 50%—leaving mostly bare dirt, rampant weed infestations, and severe grading issues—a complete lawn replacement using sod or total reseeding might be necessary.
For lawns suffering from drought stress, the grass may appear brown and dead but could simply be dormant. To test this, pull on a handful of grass blades. If the roots hold firm in the soil, the grass is likely dormant and can be revived with proper watering, aeration, and fertilization. If the grass pulls up effortlessly with shallow, brittle roots, the turf is dead and requires overseeding.
Timing Your Lawn Recovery Project
Timing is the single most critical factor in lawn renovation. The goal is to plant seed when soil temperatures are warm enough to encourage rapid germination, but air temperatures are cool enough to prevent the delicate seedlings from scorching. Weeds should also be naturally dormant or slowing down to reduce competition.
- Cool-Season Grasses (Kentucky Bluegrass, Tall Fescue, Perennial Ryegrass): The absolute best time to overseed and recover cool-season lawns is early fall, typically between mid-August and mid-October. Spring is a secondary option, but you will face heavy competition from crabgrass and summer heat stress.
- Warm-Season Grasses (Bermudagrass, Zoysiagrass, Centipedegrass): Late spring to early summer (May through June) is the ideal window. The soil is warm, and the grass is entering its peak growing season, allowing for rapid stolon and rhizome spread.
Step 1: Soil Testing and Preparation
Healthy grass requires a healthy foundation. Before adding amendments, conduct a soil test to determine your pH and nutrient deficiencies. Turfgrass thrives in soil with a pH between 6.0 and 7.0. If your soil is too acidic (below 6.0), you will need to apply pelletized lime at a rate of roughly 50 lbs per 1,000 square feet to raise the pH. If it is too alkaline, elemental sulfur is required.
According to guidelines from the Environmental Protection Agency (EPA), maintaining proper soil health reduces the need for synthetic chemical interventions and improves water retention. Clear the lawn of debris, rocks, and large sticks. Mow the existing grass exceptionally short—down to about 1.5 inches. This scalping process ensures that the new seed will reach the soil surface rather than getting trapped in the existing thatch and grass canopy.
Step 2: Core Aeration and Dethatching
Compacted soil and thick thatch layers are the primary culprits behind drought-damaged lawns. Water and nutrients simply cannot penetrate to the root zone. Renting a gas-powered core aerator (typically costing between $75 and $100 for a half-day rental) is a vital investment. Core aeration pulls 2-to-3-inch plugs of soil out of the ground, relieving compaction and creating perfect micro-environments for new seed to fall into.
Run the aerator over the lawn in two perpendicular passes to ensure maximum coverage. Leave the extracted soil cores on the lawn; they will break down naturally with rainfall and irrigation, returning valuable microbes and organic matter to the surface. If your thatch layer exceeds 1/2 inch, use a power dethatcher or a heavy-duty thatching rake to remove the dead organic matter before aerating.
Step 3: Choosing the Right Seed for Renovation
Selecting the correct seed blend is paramount for long-term drought recovery and traffic tolerance. Avoid cheap, generic seed mixes that contain high percentages of annual ryegrass or weed seeds. Invest in premium, coated seeds that include a fungicide treatment and a moisture-retaining polymer. The NC State University Turfgrass Extension emphasizes matching your seed variety to your specific microclimate and sun exposure to ensure long-term survival.
| Grass Type | Drought Tolerance | Recovery Rate | Best Climate Zone | Overseeding Rate (per 1,000 sq ft) |
|---|---|---|---|---|
| Tall Fescue (Turf-Type) | High | Moderate (Bunchgrass) | Cool / Transition | 6 - 8 lbs |
| Kentucky Bluegrass | Moderate | High (Spreads via Rhizomes) | Cool | 2 - 3 lbs |
| Perennial Ryegrass | Low to Moderate | Fast Germination, Bunching | Cool / Transition | 5 - 7 lbs |
| Bermudagrass | Very High | Very High (Stolons/Rhizomes) | Warm | 1 - 2 lbs |
| Zoysiagrass | High | Slow to Moderate | Warm / Transition | 2 - 3 lbs |
For cool-season lawns, a blend of Turf-Type Tall Fescue and Kentucky Bluegrass is often the gold standard for renovation. The fescue provides deep, drought-resistant roots, while the bluegrass fills in bare patches aggressively via underground rhizomes.
Step 4: Seeding, Topdressing, and Fertilizing
Once the lawn is aerated and mowed short, it is time to spread the seed. Use a broadcast spreader for large, open areas and a handheld spreader for tight corners and edges. Apply the seed at the renovation rate listed on the bag, which is typically 50% higher than the standard maintenance overseeding rate.
After seeding, apply a high-quality starter fertilizer. Starter fertilizers are uniquely formulated with high phosphorus (the middle number in the N-P-K ratio) to stimulate rapid root development. A product like Scotts Turf Builder Starter Food for New Grass (24-25-4) or an organic alternative like Milorganite will provide the necessary nutrients without burning the tender seedlings.
Next, topdress the lawn with a thin layer of organic compost or peat moss. You only need about 1/4 inch of material. This topdressing acts as a mulch, retaining moisture around the seed, protecting it from birds, and adding vital organic matter to the soil profile. You can rent a peat moss spreader or use a landscaping rake to distribute the compost evenly over the seed.
Step 5: The Critical Post-Seed Watering Schedule
The most common reason lawn renovations fail is improper watering. New grass seed must remain consistently moist until it establishes a deep root system. If the seed dries out even once during the germination phase, the sprout will die, and your investment will be lost.
- Weeks 1 and 2 (Germination Phase): Water the lawn lightly 2 to 3 times per day for about 10 to 15 minutes per zone. The goal is not to flood the soil, but to keep the top 1 inch of soil and the seed constantly damp. Water early in the morning and again in the early afternoon.
- Weeks 3 and 4 (Establishment Phase): As the grass reaches 1.5 to 2 inches in height, reduce the frequency of watering to once a day, but increase the duration to 20 to 30 minutes. This encourages the roots to grow deeper into the soil profile in search of moisture, building the drought tolerance your lawn desperately needs.
- Week 5 and Beyond (Maintenance Phase): Transition to a standard deep and infrequent watering schedule. Provide about 1 to 1.5 inches of water per week, ideally delivered in one or two heavy morning sessions.
Mowing and Long-Term Maintenance
Do not mow the newly renovated lawn until the new grass has reached at least 3.5 inches in height. When you do make the first cut, ensure your mower blades are razor-sharp to prevent tearing the delicate new turf out of the ground by the roots. Set your mower deck to 3 inches or higher. Taller grass shades the soil, naturally suppressing weed seeds and drastically reducing water evaporation during hot summer months.
By following this comprehensive renovation protocol, you are not just applying a temporary bandage to a damaged yard. You are fundamentally rebuilding the soil structure, introducing modern, drought-resistant genetics, and establishing a deep root system. The result is a vibrant, thick, and resilient lawn capable of withstanding the environmental stressors that caused the initial damage, saving you hundreds of dollars in potential sod replacement costs while significantly boosting your home's curb appeal.

