
Landscaping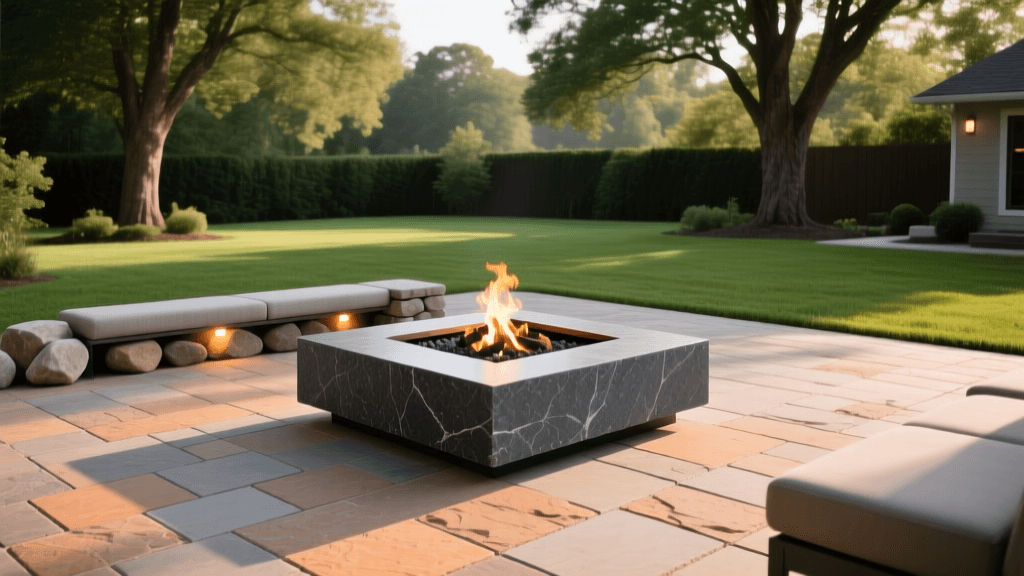
Paver Patio and Fire Pit Designs for Curb Appeal and Hosting
Transforming Your Backyard into an Entertaining Oasis
Outdoor living spaces have transitioned from a luxury upgrade to a fundamental expectation for modern homeowners. When it comes to boosting curb appeal and creating a functional area for outdoor entertaining, few hardscaping projects deliver a higher return on investment than a professionally designed paver patio with an integrated fire pit. Not only does this combination anchor your landscape design, but it also extends your home’s usable square footage into the outdoors. Whether you are hosting a lively summer barbecue or enjoying a quiet autumn evening by the fire, a well-planned patio serves as the ultimate backdrop. In this comprehensive guide, we will explore the design principles, material selections, and construction techniques required to build a stunning paver patio that maximizes both curb appeal and entertaining potential.
Strategic Layouts for Outdoor Entertaining
The foundation of any great entertaining space is its layout. A common mistake homeowners make is treating the patio as a single, monolithic slab. Instead, think of your outdoor space in terms of rooms or zones. For a medium-to-large backyard, allocate a 12x14-foot zone for outdoor dining, ensuring enough space for a table, chairs, and a comfortable walking perimeter. Adjacent to this, design a 10x10-foot or 12x12-foot conversation zone centered around a fire pit. Connecting these zones with a transitional walkway or a subtle change in paver patterns creates visual interest and guides foot traffic naturally. Always account for at least 3 feet of clearance around the perimeter of the patio for landscaping beds, which soften the hardscape edges and integrate the patio seamlessly into the surrounding lawn.
Choosing the Right Pavers for Maximum Curb Appeal
Selecting the right pavers is critical for achieving the desired curb appeal. The market offers a vast array of textures, colors, and shapes. To create a high-end, custom look, consider using a combination of paver sizes (such as a 3-piece modular pattern) rather than a single uniform size. Color blending is another professional technique; choose pavers that incorporate at least three complementary hues to mimic the natural variation of stone while hiding stains and debris.
| Material Type | Average Cost (Per Sq Ft) | Durability | Aesthetic Appeal | Maintenance Level |
|---|---|---|---|---|
| Concrete Pavers | $3 - $8 | High (Interlocking strength) | Versatile (Many shapes/colors) | Low (Occasional sealing) |
| Clay Brick | $5 - $10 | Very High (Centuries-long) | Classic, timeless elegance | Medium (Moss/weed growth) |
| Natural Flagstone | $15 - $25 | Exceptional | Rustic, premium organic look | High (Uneven settling) |
| Permeable Pavers | $6 - $12 | High (Eco-friendly design) | Modern, structured patterns | Medium (Vacuuming joints) |
The Secret to Longevity: Proper Base Preparation
A beautiful patio is only as good as the foundation beneath it. Improper base preparation is the leading cause of sinking, heaving, and weed infiltration. According to the University of Minnesota Extension, a stable patio requires proper excavation and a well-compacted aggregate base. Begin by excavating the area to a depth of 8 to 10 inches, depending on your soil type and climate. In regions with freeze-thaw cycles, a deeper base is mandatory to prevent frost heave. Lay down a high-quality geotextile landscape fabric to separate the native soil from your base material and prevent weed growth. Next, add a 6-inch layer of crushed angular gravel (often called 3/4-inch minus or road base). This material locks together when compacted, creating a concrete-like sub-base. Use a mechanical plate compactor to tamp the gravel in 2-inch lifts. Finally, spread a 1-inch layer of coarse, washed concrete sand or stone dust over the compacted gravel. Use screed rails and a straight 2x4 board to level the sand perfectly before laying your pavers.
Securing the Perimeter: Edge Restraints and Jointing Sand
Once your pavers are laid and cut to fit the perimeter, the patio must be locked into place. Without proper edge restraints, the outer pavers will gradually migrate outward, causing the entire surface to unravel. Install heavy-duty plastic or aluminum edge restraints along all exposed borders, securing them with 10-inch galvanized steel spikes driven directly into the compacted base. After the borders are secured, sweep polymeric sand over the entire surface of the patio. Unlike traditional masonry sand, polymeric sand contains special binding agents that harden when misted with water, creating a flexible, water-resistant joint that locks the pavers together and deters weed growth and ant infiltration. Use a plate compactor with a protective urethane pad to vibrate the sand deep into the joints before applying a gentle mist of water to activate the polymers.
Integrating a Built-In Fire Pit
A built-in fire pit acts as the focal point of your entertaining zone, drawing guests together and extending the usability of your patio well into the cooler months. You can choose between a wood-burning or gas-powered fire feature. Wood-burning pits offer the traditional crackle and aroma of a campfire but require more cleanup and are subject to local burn bans. Gas fire pits, fueled by natural gas or propane, offer instant ambiance at the flip of a switch with zero smoke. When constructing the pit, use specialized fire-rated retaining wall blocks and a heavy-duty steel fire ring liner to protect the masonry from extreme heat. Safety is paramount; always position the fire pit at least 10 feet away from your home, fences, and overhanging tree branches. Surround the pit with a 3-foot-wide hardscape border of gravel or flat pavers to provide safe seating and prevent stray embers from igniting nearby mulch or dry grass.
Lighting and Landscaping for Nighttime Curb Appeal
Curb appeal does not disappear when the sun goes down; it simply requires a different approach. Strategic outdoor lighting enhances safety while highlighting the architectural features of your home and the textures of your landscape. The U.S. Department of Energy recommends utilizing energy-efficient LED fixtures for all outdoor applications due to their longevity and low power consumption. Install low-voltage LED path lights along the walkways leading to the patio to guide guests safely. Use directional uplights at the base of mature trees or architectural columns to create dramatic shadows and depth. For the patio itself, consider integrating hardscape lights directly into the seating walls or beneath the capstones of the fire pit. These hidden fixtures cast a warm, indirect glow that is perfect for intimate entertaining without causing harsh glare.
Sustainable Options: Permeable Pavers
For homeowners looking to improve their property's drainage while maintaining a pristine look, permeable pavers are an outstanding option. Traditional impervious surfaces contribute to stormwater runoff, which can overwhelm municipal drains and cause localized flooding. The Environmental Protection Agency (EPA) highlights permeable pavement as a key green infrastructure strategy that allows rainwater to infiltrate through the joints and filter naturally into the underlying soil. Permeable pavers are installed over a deep bed of clean, washed, open-graded crushed stone rather than sand, creating a reservoir that temporarily holds water before it percolates into the ground. This not only mitigates pooling on your patio during heavy rains but also reduces the burden on your yard's French drains and swales.
Estimated Costs and ROI Breakdown
Budgeting for a hardscaping project requires an understanding of both material and labor costs. While DIY installation can save money on labor, the heavy lifting and specialized equipment (like plate compactors and masonry saws) make professional installation the preferred route for most homeowners.
| Project Component | Estimated Cost Range | Notes |
|---|---|---|
| Excavation & Base Prep | $2 - $4 per sq ft | Includes gravel, sand, and fabric |
| Paver Materials | $3 - $15 per sq ft | Varies wildly by material choice |
| Professional Labor | $6 - $12 per sq ft | Depends on regional rates and complexity |
| Built-in Fire Pit | $1,500 - $4,500 | Gas lines and masonry increase costs |
| Low-Voltage Lighting | $800 - $2,500 | Based on number of fixtures and transformer |
Final Thoughts on Outdoor Entertaining
Designing a paver patio with a built-in fire pit is a transformative landscaping project that pays dividends in both daily enjoyment and long-term property value. By prioritizing a solid structural base, selecting complementary materials, and integrating thoughtful lighting and sustainable drainage solutions, you create an outdoor entertaining space that is as durable as it is beautiful. Whether you are roasting marshmallows with family or hosting a sophisticated evening gathering, your new patio will serve as the perfect stage for making lasting memories.

