
Landscaping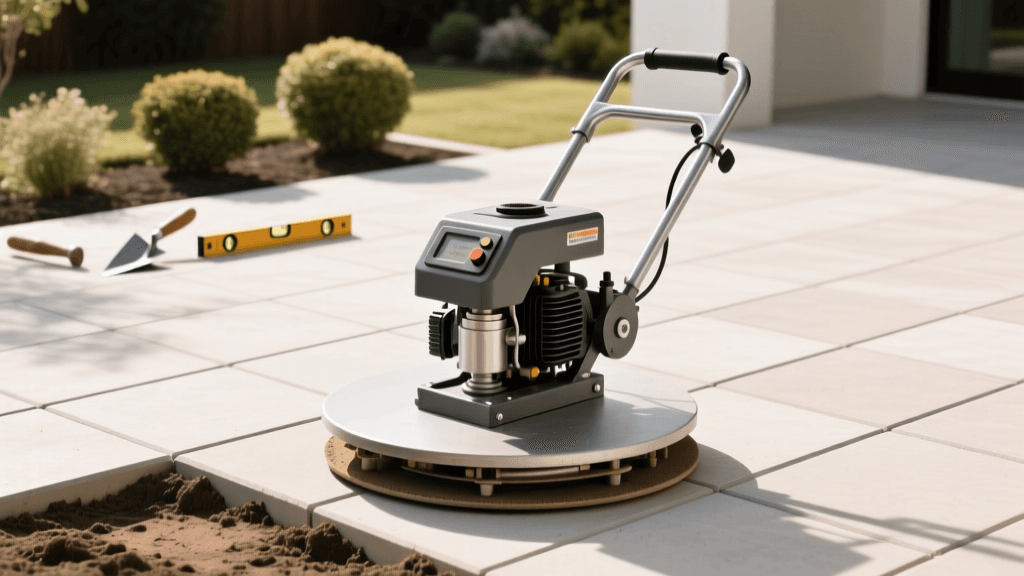
Best Plate Compactors for Paver Patios and Hardscaping
The Foundation of Hardscaping: Why Compaction Matters
Building a paver patio, retaining wall, or walkway is a rewarding landscaping project that instantly elevates your outdoor living space. However, the difference between a professional-grade hardscape that lasts decades and a DIY disaster that sinks and shifts within a single season comes down to one critical factor: base compaction. In the world of hardscaping, your surface materials are only as good as the foundation beneath them. Without proper mechanical compaction, soil and gravel bases will naturally settle over time, leading to uneven surfaces, pooling water, and cracked pavers.
According to the Interlocking Concrete Pavement Institute (ICPI), the leading authority on segmental pavement, proper subgrade and base preparation is the single most important step in hardscape installation. The ICPI emphasizes that achieving maximum density in the base materials through mechanical compaction prevents frost heave, mitigates soil erosion, and ensures proper load distribution. To achieve this, a high-quality plate compactor is not just a recommended tool; it is an absolute necessity.
Types of Plate Compactors for Landscaping
When browsing equipment rental yards or online retailers, you will generally encounter two main types of plate compactors. Understanding the difference is crucial for matching the tool to your specific hardscaping needs.
Single-Direction Plate Compactors
Single-direction (or forward-only) plate compactors are the most common choice for DIYers and residential landscaping projects. As the name suggests, the eccentric weight inside the machine generates a vibratory force that propels the plate forward. These machines are typically lighter, more maneuverable, and ideal for granular soils, crushed stone bases, and smaller interlocking paver projects. If you are building a standard 200-square-foot backyard patio or a simple walkway, a single-direction compactor is usually sufficient.
Reversible Plate Compactors
Reversible plate compactors feature a dual eccentric weight system that allows the operator to change the direction of the vibratory force, moving the machine both forward and backward. This capability provides superior maneuverability in tight spaces and allows for multiple passes over the same area without having to turn the heavy machine around. Reversible models are significantly heavier and generate much higher centrifugal force, making them the industry standard for deep base compaction, cohesive soils (like clay), and large-scale commercial hardscaping projects.
Key Specifications to Evaluate
Selecting the right equipment requires looking beyond the brand name and understanding the physics of compaction. Here are the critical specifications you must evaluate:
| Specification | What It Means | Ideal Range for DIY Patios |
|---|---|---|
| Centrifugal Force | The actual compaction force exerted on the ground, measured in pounds (lbs) or kilonewtons (kN). Higher force compacts deeper. | 3,000 to 6,000 lbs |
| Plate Size | The surface area of the base plate. A larger plate covers more ground but distributes the force over a wider area, reducing point pressure. | 15 to 20 inches wide |
| Frequency | The number of vibrations per minute (vpm). Higher frequency is better for granular soils and setting pavers. | 4,000 to 6,000 vpm |
| Engine Type | Gas engines offer high power and portability, while electric/battery models are quieter and emission-free but lack raw force. | Gas (Honda or Kohler) |
Matching the Compactor to Your Project
Using a compactor that is too light will result in an unstable base, while using one that is too heavy can fracture your expensive pavers or retaining wall blocks. Use the chart below to match your project scope with the appropriate equipment class.
| Project Type | Recommended Centrifugal Force | Recommended Equipment Type |
|---|---|---|
| Paver Walkways & Small Patios (Under 300 sq ft) | 3,000 - 4,500 lbs | Single-Direction (Light Duty) |
| Driveways & Large Patios (300 - 1,000 sq ft) | 5,000 - 8,000 lbs | Single-Direction (Heavy Duty) |
| Retaining Walls & Deep Trench Bases | 8,000 - 12,000+ lbs | Reversible Plate or Jumping Jack |
Step-by-Step Base Compaction Guide
Owning or renting the right plate compactor is only half the battle; knowing how to use it correctly is what guarantees a level, long-lasting hardscape. Follow this professional methodology for base preparation.
Phase 1: Subgrade Preparation
The subgrade is the native soil beneath your project. After excavating to the proper depth, you must compact the native soil before adding any gravel. If the subgrade is soft or clay-heavy, consider laying a geotextile fabric to prevent the gravel base from sinking into the mud over time. Run the plate compactor over the exposed soil in overlapping passes until no further indentation is visible.
Phase 2: Base Material Compaction
For most paver patios, a 4 to 6-inch layer of crushed angular gravel (often called crusher run or road base) is required. Never attempt to compact 6 inches of gravel all at once. The compactor's force will not reach the bottom of the layer, leaving a soft slip plane. Instead, spread the gravel in 2-inch to 3-inch layers, known as 'lifts.' Compact each lift thoroughly with 2 to 3 overlapping passes before adding the next layer of gravel. Lightly misting the gravel with a hose before compacting helps the stone dust bind together, creating a concrete-like sub-base.
Phase 3: Bedding Sand and Screeding
Once the gravel base is fully compacted and graded, you will add a 1-inch layer of coarse, angular bedding sand. Do not compact the bedding sand. The sand must remain loose so the pavers can settle into it. Use screed rails and a straight edge to pull the sand perfectly level. Once screeded, avoid walking on the sand bed.
Phase 4: Final Paver Compaction
After laying your pavers and cutting the perimeter pieces, it is time for the final compaction. This step vibrates the pavers down into the bedding sand and forces the jointing sand up into the seams, locking the entire pavement system together.
Pro-Tip: Always attach a urethane or rubber pad to the bottom of your plate compactor before compacting the final paver surface. Compacting bare concrete pavers with a steel or cast-iron plate will scratch, chip, and permanently ruin the aesthetic finish of your hardscape.
Renting vs. Buying: Financial Breakdown
For most homeowners and weekend warriors, renting a plate compactor is the most economical choice. A high-quality single-direction compactor from a reputable brand like Wacker Neuson or Multiquip typically rents for $80 to $130 per day at major equipment rental centers. Considering that a standard 200-square-foot patio requires only one day of compaction work, the rental cost is a fraction of the overall project budget.
Purchasing a professional-grade compactor costs anywhere from $1,200 to over $3,000. Unless you are a landscaping contractor who installs hardscapes weekly, the purchase price, combined with the costs of winterization, oil changes, and storage, rarely makes financial sense. However, if you are a property manager or a serial DIYer with multiple large projects planned, investing in a mid-tier consumer model (priced around $600 to $900) from brands like Tomahawk or NorthStar might be justifiable.
Safety, PPE, and Maintenance
Plate compactors are heavy, loud, and generate intense vibrations. The Occupational Safety and Health Administration (OSHA) provides strict guidelines regarding hand-arm vibration syndrome (HAVS) and noise exposure in construction environments. Even for residential DIY projects, these risks should not be ignored.
- Hearing Protection: Gas-powered compactors routinely exceed 90 decibels. Always wear over-ear hearing protection or high-grade foam earplugs.
- Vibration Gloves: Prolonged exposure to high-frequency vibrations can cause nerve damage in the hands and arms. Invest in anti-vibration work gloves with gel padding.
- Steel-Toe Boots: The edge of a moving steel plate can easily crush a toe. Wear proper work boots with reinforced toes.
- Eye Protection: Compacting gravel and sand kicks up fine particulate matter. Safety glasses are mandatory to prevent corneal abrasions.
From a maintenance perspective, the National Association of Landscape Professionals (NALP) emphasizes that equipment longevity relies on daily inspections. Before starting a gas-powered compactor, always check the engine oil level and the exciter housing oil. Running the vibratory mechanism without proper lubrication will destroy the internal bearings and eccentric weights in a matter of hours. After every use, thoroughly wash the bottom plate with a pressure washer to remove dried concrete dust and mud, which can unbalance the plate and cause premature engine wear.
By selecting the correct plate compactor, adhering to proper lift-thickness protocols, and prioritizing safety, you ensure that your landscaping hardscapes remain structurally sound and visually stunning for generations.

