Tree Care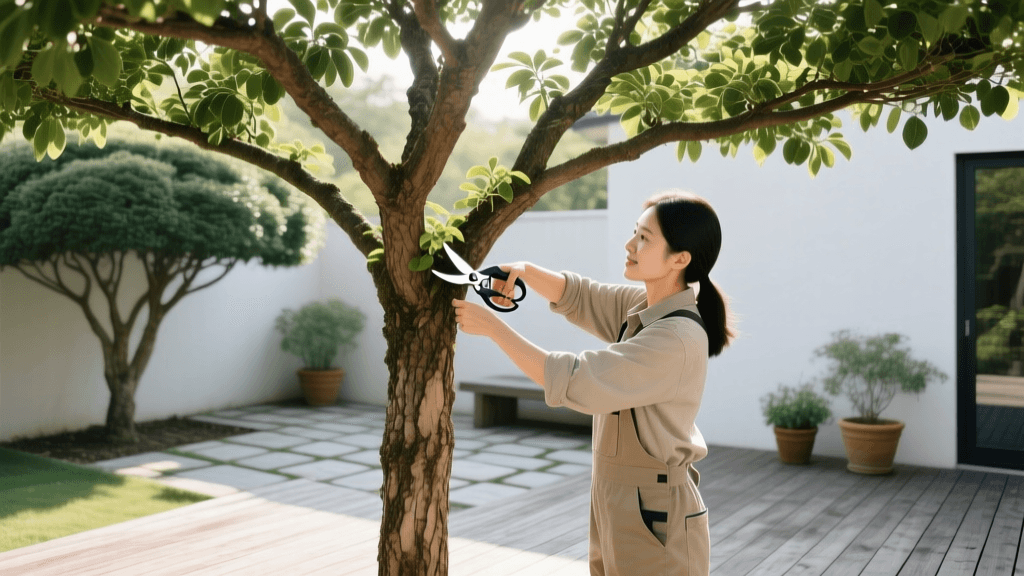
Pruning Trees for Patio Shade and Outdoor Entertaining
Transforming Your Patio: The Role of Tree Architecture
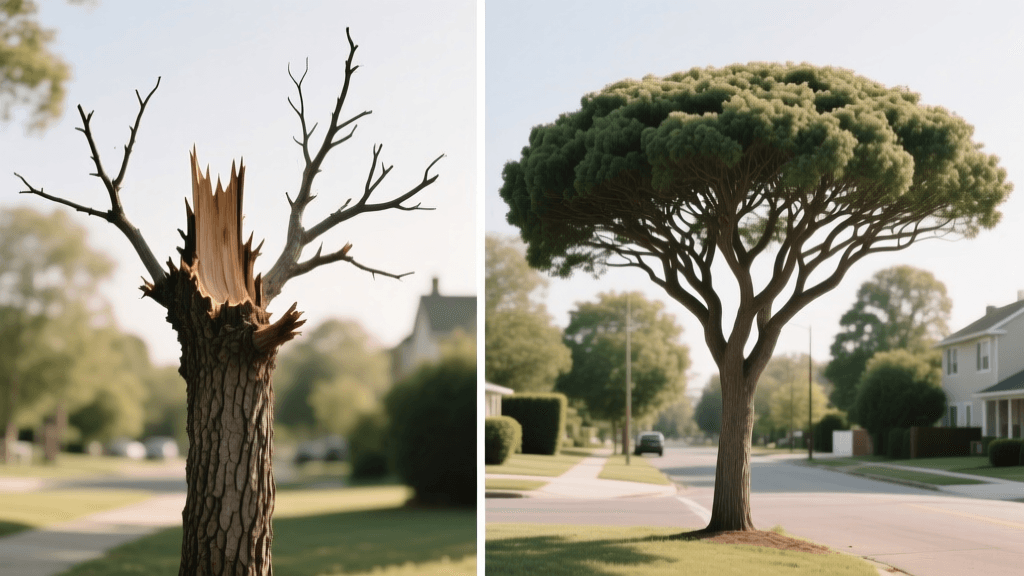
When designing the ultimate outdoor entertaining space, hardscaping, fire pits, and high-end patio furniture often steal the spotlight. However, the mature trees surrounding your deck or patio are the unsung heroes of curb appeal and guest comfort. A well-placed tree provides a natural umbrella, lowering the ambient temperature of your patio by up to 10 degrees on a hot summer afternoon. Yet, an unmanaged canopy can block evening breezes, drop debris into your dinner plates, and create a gloomy, uninviting atmosphere.
From the perspective of outdoor entertaining and curb appeal, tree care is not just about plant health; it is about sculpting the environment. Strategic pruning techniques, specifically canopy raising and crown thinning, can transform a dense, overgrown tree into a stunning architectural feature that perfectly frames your outdoor living space. This guide will walk you through the actionable steps to prune your patio trees for perfect shade, optimal airflow, and seamless integration with outdoor lighting.
Canopy Raising: Creating Headroom and Sightlines
Canopy raising is the selective removal of the lower branches on a tree to increase the clearance between the ground and the lowest foliage. For a patio or outdoor dining area, this is arguably the most critical pruning technique you can employ.
Why Canopy Raising Matters for Entertaining
- Headroom and Flow: Guests should never have to duck or brush against leaves when walking around the patio. Low branches disrupt the natural traffic flow of a party and can feel claustrophobic.
- Sightlines: Raising the canopy opens up views across your yard, making the entire property feel larger and more cohesive from the perspective of someone seated at your dining table.
- Space for Decor: An elevated canopy provides the perfect structural support for hanging string lights, paper lanterns, or even a shade sail without the foliage interfering with the bulbs.
The 8-to-10 Foot Rule
For most residential patios, you should aim for a minimum clearance of 8 to 10 feet from the patio surface to the lowest hanging branch. This allows tall guests to walk comfortably underneath and provides ample vertical space for hanging pendant lights above a dining table. According to guidelines published by Penn State Extension, when raising a canopy, you should never remove more than the lower one-third of the tree's total crown at one time, as this can stress the tree and stunt its root development.
Crown Thinning: Achieving Dappled Sunlight
While deep, heavy shade might seem appealing in the peak of July, a patio shrouded in darkness is uninviting for evening entertaining and prevents grass or shade-tolerant groundcovers from growing nearby. Crown thinning is the selective removal of smaller, weaker branches throughout the canopy to increase light penetration and air movement.
The Science of Dappled Shade
Dappled sunlight—the effect of light filtering gently through a thinned canopy—is the gold standard for outdoor dining. It reduces the harsh glare of direct sun while keeping the space bright and cheerful. Furthermore, increased airflow through a thinned canopy significantly reduces the tree's wind resistance, protecting both the tree and your patio furniture from severe storm damage.
How to Thin a Crown Safely
When thinning, focus on removing crossing branches, deadwood, and water sprouts (vigorous, upright shoots that clutter the interior). The experts at The Morton Arboretum emphasize the importance of maintaining the tree's natural shape. Never "lion-tail" a tree (stripping all interior branches and leaving foliage only at the very ends), as this leads to sunscald on the bark and structurally weak limbs.
The Golden Rule of Pruning: Never remove more than 15% to 20% of a tree's live foliage in a single year. Over-pruning starves the tree, triggers a panic response of weak water sprouts, and severely compromises its long-term health.
The 3-Cut Method for Flawless Branch Removal
When removing branches larger than 2 inches in diameter to raise your canopy, you must use the 3-cut method to prevent the heavy limb from tearing the bark down the trunk as it falls. A bark tear creates a massive, jagged wound that invites pests and diseases, ruining the curb appeal of your focal tree.
- The Undercut: About 6 to 12 inches away from the trunk, cut upward into the bottom of the branch, going about one-third of the way through.
- The Top Cut: Move an inch or two further out on the branch and cut straight down from the top. The branch will snap off cleanly at the undercut, leaving a manageable stub.
- The Collar Cut: Remove the stub by cutting just outside the "branch collar" (the swollen, wrinkled area where the branch meets the trunk). Never cut flush with the trunk, as the collar contains the cells necessary for the tree to heal and compartmentalize the wound.
Comparison Chart: Best Patio Trees and Pruning Needs
Not all trees are created equal when it comes to outdoor entertaining. Some drop messy sap or heavy pollen, while others require constant maintenance. Below is a comparison of popular patio trees and their specific care requirements.
| Tree Species | Shade Density | Debris Level | Pruning Frequency | Best For |
|---|---|---|---|---|
| Japanese Maple | Light / Dappled | Low | Every 2-3 years | Intimate dining areas, Asian-inspired themes |
| Crape Myrtle | Moderate | Low (petals only) | Annually (late winter) | Colorful patio borders, summer evening parties |
| Fruitless Olive | Light | Very Low | Annually | Mediterranean themes, low-maintenance lounging |
| Southern Magnolia | Heavy / Dense | High (large leaves) | Every 3-5 years | Deep shade lounging, privacy screening |
| Honeylocust (Thornless) | Light / Filtered | Moderate (small leaflets) | Every 2-3 years | Large patios, allowing grass to grow underneath |
Tools and Budget for DIY Tree Pruning
Investing in high-quality tools ensures clean cuts that heal quickly, preserving the aesthetic appeal of your trees. Dull tools crush plant tissue, leaving ragged edges that are highly susceptible to fungal infections.
- Bypass Hand Pruners ($30 - $50): Essential for branches up to 3/4 inch thick. Brands like Felco or Corona are industry standards.
- Bypass Loppers ($40 - $70): Provide the leverage needed for branches up to 2 inches thick.
- Telescoping Pole Saw ($80 - $150): Crucial for canopy raising, allowing you to reach branches 12 to 14 feet high without a ladder.
- Pruning Sealant ($15 - $25): Note: Modern arboriculture advises against using pruning paint or sealants on most trees, as they can trap moisture and promote decay. Let the tree heal naturally.
Cost Consideration: If your patio trees are mature and require significant canopy raising above 15 feet, it is highly recommended to hire an ISA-Certified Arborist. Professional pruning typically costs between $300 and $800 per tree, depending on the size and accessibility. This is a worthwhile investment to protect both your property and your guests from improperly cut, hazardous limbs.
Integrating Tree Care with Outdoor Lighting
The intersection of tree care and outdoor entertaining is most visible at night. How you prune directly impacts how you can illuminate your space.
Uplighting and Trunk Health
Uplighting a majestic oak or maple from the base creates dramatic curb appeal and a sophisticated ambiance for evening gatherings. However, as the tree grows, the trunk expands. If you strap lights or wire directly to the trunk, you risk girdling the tree, cutting off its vascular system. Always use loose, adjustable straps or mount lights on nearby stakes in the mulch bed rather than nailing or screwing fixtures directly into the bark.
String Lights and Branch Flexibility
When hanging bistro lights through a thinned canopy, remember that branches will sway in the wind and grow thicker over time. Use soft, UV-resistant zip ties or specialized tree-safe straps, and leave a few inches of slack. Never wrap copper wire tightly around a branch, as it will quickly become embedded in the wood, creating an unsightly scar and a vector for disease.
Seasonal Timing: When to Prune for the Best Results
Timing your pruning correctly is vital for minimizing stress on the tree and maximizing your patio's readiness for the entertaining season.
- Deciduous Trees (Late Winter): The best time to perform major canopy raising and structural thinning on deciduous trees (like maples, oaks, and crape myrtles) is during late winter while they are fully dormant. Without leaves, you can clearly see the branch architecture, and the risk of transmitting diseases via pruning tools is at its lowest.
- Spring-Flowering Trees (Post-Bloom): If your patio is anchored by a flowering dogwood or redbud, wait to prune until immediately after they finish blooming in the spring. Pruning them in the winter will remove the flower buds, robbing your early-season parties of their vibrant color.
- Summer Maintenance (Light Touch-Ups): Light pruning to remove a few rogue branches blocking a new patio umbrella can be done in early summer, but avoid heavy thinning, which can cause sunburn to previously shaded interior bark.
Conclusion: The Final Polish
Pruning your patio trees is an ongoing dialogue between horticulture and landscape design. By raising the canopy for headroom, thinning the crown for dappled light, and respecting the biological limits of the tree, you create an outdoor entertaining space that is both beautiful and functional. After your pruning session, be sure to rake up the debris, refresh the mulch ring around the base of the tree (keeping it 3 inches away from the trunk to prevent rot), and string up your lights. Your patio will not only boast exceptional curb appeal but will become the premier destination for every summer gathering.