
How to Recover Your Lawn After Patio or Pool Installation
The Hidden Cost of Outdoor Living Upgrades
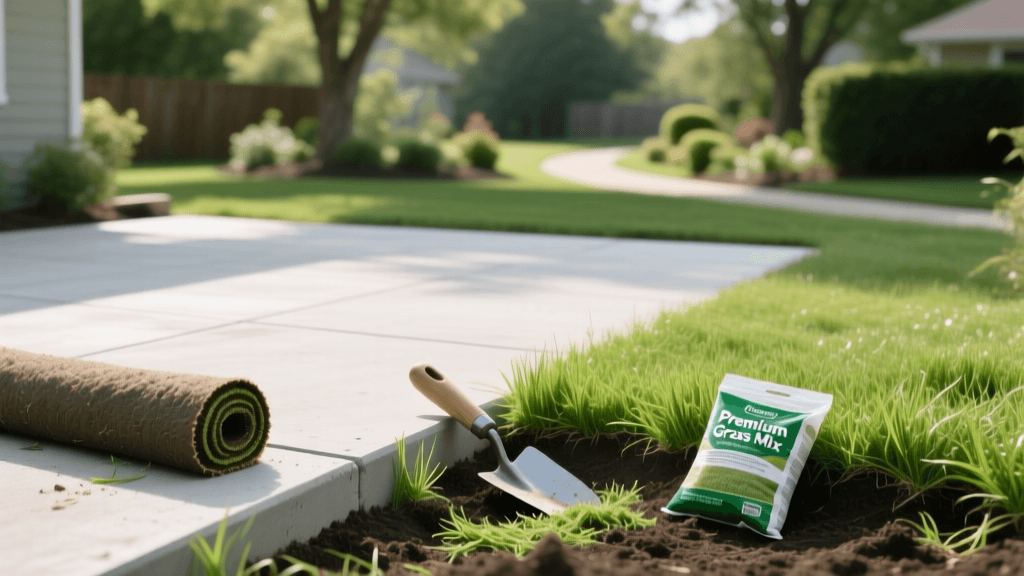
Upgrading your backyard with a new stamped concrete patio, an outdoor kitchen, a pergola, or a swimming pool dramatically elevates your home's outdoor living potential. These hardscape features bridge the gap between indoor comfort and outdoor recreation, creating the ultimate space for entertaining. However, the heavy machinery, material staging, and relentless foot traffic required for these construction projects often leave the surrounding lawn looking like a war zone. Excavator tracks tear through the topsoil, cement trucks create deep ruts, and piles of gravel or sand suffocate the existing turf.
Lawn renovation and recovery after major hardscape construction is not just about throwing down some grass seed and hoping for the best. It requires a systematic, science-backed approach to soil decompaction, precise grading, and modern smart irrigation technology. If you want your outdoor oasis to look pristine, you must treat the soil as a living ecosystem that has just undergone significant trauma. This comprehensive guide will walk you through the exact steps to recover, renovate, and upgrade your lawn after heavy outdoor construction.
Step 1: Assess the Damage and Soil Compaction
Before you rent an aerator or purchase premium grass seed, you must evaluate the extent of the structural damage to your soil profile. Construction equipment causes severe soil compaction, squeezing out the vital pore spaces necessary for oxygen, water, and root penetration. When soil particles are pressed tightly together, grass roots simply cannot establish themselves, and water will pool on the surface rather than soaking in.
The Screwdriver Test
To test for compaction, take a standard 6-inch flathead screwdriver and attempt to push it into the soil in the damaged areas. If you can easily slide it in up to the handle, your soil structure is relatively intact. If you meet heavy resistance and can only penetrate an inch or two, your soil is severely compacted from heavy machinery and foot traffic. According to turfgrass specialists at the Penn State Extension Lawns and Gardens program, addressing soil compaction is the mandatory first step in any successful lawn renovation project. Seeding over compacted soil is a waste of time and money, as the delicate new roots will dry out and die within days.
Step 2: Core Aeration and Soil Decompaction
Once you have identified the compacted zones, it is time to mechanically relieve the pressure. Do not use a spike aerator; spike aerators simply punch holes and can actually worsen compaction by pressing soil outward and downward. Instead, you must use a core aerator, which physically removes plugs of soil from the ground.
- Timing: Wait at least 14 days after heavy machinery leaves the site to allow the soil to settle slightly, but do not wait so long that the ground becomes rock hard.
- Depth: Set your core aerator to pull plugs that are at least 3 inches deep and 0.5 to 0.75 inches in diameter.
- Technique: Make two to three passes over the heavily damaged areas, crossing your paths in a crisscross pattern to ensure maximum soil fracture.
- Plug Management: Leave the extracted soil cores on the lawn. They will break down over the next few weeks, returning valuable microorganisms and topsoil to the surface.
For areas where excavators or skid steers have completely destroyed the topsoil layer, you may need to use a mechanical rototiller to break up the top 4 to 6 inches of earth before proceeding. This is especially common near the edges of newly poured concrete patios where the grading equipment repeatedly turned.
Step 3: Grading, Topdressing, and Soil Amendment
Hardscape installation often alters the natural drainage patterns of your yard. Your newly renovated lawn must slope away from the patio, pool deck, or home foundation at a minimum grade of 2% (a 2-inch drop for every 10 feet of horizontal distance) to prevent water from pooling against your hardscape and causing frost heave or foundation issues.
After rough grading, apply a layer of topdressing to amend the soil and create a perfect seedbed. For heavy clay soils damaged by construction, apply a 1/4-inch to 1/2-inch layer of pure, screened organic compost. For sandy soils, use an 80/20 mix of topsoil and compost. Rake the compost deeply into the aeration holes. This introduces vital organic matter, improves moisture retention, and provides a slow-release nutrient base for germinating seeds.
According to turfgrass specialists, the single biggest point of failure in post-construction lawn recovery is attempting to seed over compacted, unamended soil. Seed-to-soil contact is critical, but seed-to-compacted-dirt guarantees failure.
Step 4: Selecting the Right Turf for High-Traffic Zones
The areas surrounding your new outdoor living spaces will endure significantly more foot traffic, spilled food, and furniture dragging than the rest of your yard. You must select a grass variety known for aggressive lateral growth, high wear tolerance, and rapid recovery rates. When purchasing seed, avoid cheap contractor-grade mixes that contain high percentages of annual ryegrass or weed seeds. Invest in premium, coated seeds like Jonathan Green Black Beauty or Scotts Turf Builder, which contain fungicides and moisture-retaining polymers to aid in establishment.
Apply seed at the recommended rate using a broadcast spreader. For most cool-season grasses, this is 3 to 5 pounds per 1,000 square feet for overseeding, and 6 to 8 pounds per 1,000 square feet for a complete renovation. Lightly rake the seed into the compost layer so it is covered by no more than 1/8 inch of soil.
Grass Seed Comparison for High-Traffic Outdoor Living Zones
| Grass Type | Climate Zone | Traffic Tolerance | Recovery Rate | Best Use Case |
|---|---|---|---|---|
| Tall Fescue | Transition / Cool | High | Moderate | General entertaining areas, deep shade tolerance |
| Kentucky Bluegrass | Cool Season | Moderate-High | Very High (Rhizomes) | Edges of patios, high-end aesthetic lawns |
| Bermudagrass | Warm Season | Very High | Extremely High | Pool decks, high-traffic play areas, full sun |
| Zoysia | Warm / Transition | High | Slow | Luxury outdoor kitchens, low-maintenance borders |
| Perennial Ryegrass | Cool Season | High | Moderate | Quick germination, erosion control on slopes |
For region-specific turfgrass recommendations and precise renovation timelines, consult the University of Minnesota Turfgrass Science program or your local university extension office, as local microclimates heavily dictate which cultivars will thrive.
Step 5: Integrating Smart Irrigation for Precision Recovery
Watering a newly renovated lawn is a delicate balancing act. Overwatering leads to fungal diseases, seed washout, and shallow root systems, while underwatering will kill germinating seedlings within hours on a hot summer day. Because your new outdoor living space likely features impermeable surfaces like concrete or pavers, runoff from these areas can also flood adjacent lawn zones, creating localized mud pits.
This is where smart home integration becomes a game-changer for lawn recovery. Upgrading to a Weather-Based Irrigation Controller (WBIC) allows you to automate and precision-manage your watering schedule. The EPA WaterSense program certifies smart controllers that automatically adjust watering based on local weather data, soil moisture levels, and evapotranspiration rates.
- Zone Separation: Ensure the lawn zones immediately adjacent to your new patio are on separate valves from the rest of the yard. This allows you to water the newly seeded recovery zones lightly and frequently (2-3 times a day for 5 minutes) without drowning the established turf elsewhere.
- Smart Sensors: Install wireless soil moisture sensors in the renovated areas. These sensors override the smart controller if the soil is already saturated, preventing the muddy messes that often occur near hardscape drainage exits.
- App Monitoring: Modern controllers like the Rachio 3 or Orbit B-hyve allow you to monitor water usage and zone health directly from your smartphone, ensuring your investment is protected even when you are away from home.
Conclusion: Reclaiming Your Outdoor Oasis
Recovering a lawn after the installation of a patio, pool, or outdoor kitchen requires patience, physical labor, and a strategic approach to soil health. By systematically addressing compaction through core aeration, amending the soil with organic compost, selecting high-traffic turf varieties, and leveraging smart irrigation technology, you can transform a construction-damaged yard into a seamless extension of your home's living space. The transition between your beautiful new hardscape and a lush, vibrant lawn is what ultimately defines a truly premium outdoor environment. Take the time to renovate correctly, and your lawn will provide the perfect green carpet for years of outdoor entertaining.

