
Landscaping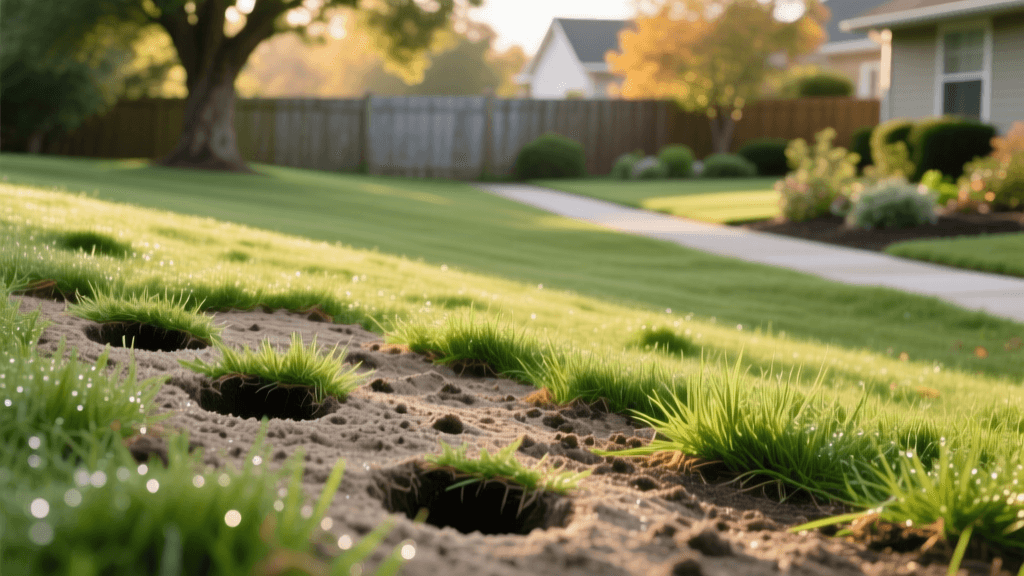
How to Renovate a Heat-Damaged and Compacted Lawn
Introduction: The Foundation of Your Landscape
A pristine, lush lawn is the foundational element of exceptional landscape design. It serves as the green canvas that highlights your hardscaping, garden beds, and outdoor living spaces. However, after a brutal summer of scorching heat, heavy foot traffic, or prolonged drought, even the most meticulously planned landscapes can suffer from severe turf decline. When your grass turns brown, thins out, and the soil becomes as hard as concrete, a simple mowing and watering routine will not suffice. You need a comprehensive lawn renovation and recovery strategy.
Renovating a heat-damaged and compacted lawn is one of the most cost-effective landscaping upgrades you can undertake. Rather than paying thousands of dollars for full sod replacement, you can revive your existing turf and integrate new seed through a systematic process of core aeration, strategic overseeding, and nutrient-rich topdressing. This guide provides a step-by-step, actionable blueprint to bring your lawn back to life and restore your property's curb appeal.
Evaluating Your Lawn's Viability
Before investing time and money into renovation materials, you must determine if your existing lawn is worth saving. If more than 50% of your turf is dead or overrun by aggressive weeds like crabgrass and quackgrass, complete renovation (killing everything and starting over) might be necessary. However, if you have at least 50% healthy grass remaining, overseeding and recovery are the best approaches.
Perform the "tug test" on brown patches. Grab a handful of grass and pull gently. If it pulls up easily with no root resistance, the grass is dead. If it holds firm, the grass is likely dormant due to heat stress and will recover with proper care. Additionally, check your thatch layer. If the spongy layer between the grass blades and the soil exceeds half an inch, it will block water and seed-to-soil contact, requiring dethatching before you proceed.
Step 1: Relieving Compaction with Core Aeration
Heat and heavy use cause soil particles to compress, choking out grassroots and preventing water infiltration. According to turf specialists at Penn State Extension, core aeration is the most effective method to alleviate this compaction. Unlike spike aerators, which merely poke holes and can further compress the surrounding soil, core aerators extract small plugs of soil, allowing the ground to expand and breathe.
Actionable Advice:
- Equipment: Rent a walk-behind gas-powered core aerator from a local hardware store. Expect to pay between $80 and $100 for a four-hour rental.
- Preparation: Water your lawn deeply 24 hours before aerating. The soil must be moist, not muddy, for the tines to penetrate effectively. Mark all shallow sprinkler heads and utility lines with bright flags to avoid damage.
- Execution: Make two passes over the lawn—one in a North-South direction and one in an East-West direction. Aim for 20 to 40 holes per square foot. The extracted plugs should be 2 to 3 inches deep. Leave the plugs on the lawn; they will break down naturally and return beneficial microbes to the surface.
Step 2: Selecting the Right Seed and Overseeding
Choosing the correct grass seed is critical for long-term landscape resilience. You must select a seed blend that matches your climate, sunlight conditions, and existing turf. The University of Minnesota Extension emphasizes that matching the seed to your specific microclimate ensures higher germination rates and better drought resistance.
When purchasing seed, avoid cheap "contractor mixes" that are filled with annual ryegrass and weed seeds. Look for certified seed with a germination rate of 85% or higher and less than 0.5% weed seed.
Grass Seed Comparison Chart for Lawn Renovation
| Grass Type | Climate Zone | Germination Time | Overseeding Rate (per 1,000 sq ft) | Best Use Case |
|---|---|---|---|---|
| Tall Fescue | Transition / Cool | 7 - 14 Days | 6 - 8 lbs | High traffic, drought-tolerant, deep roots |
| Kentucky Bluegrass | Cool Season | 14 - 28 Days | 2 - 3 lbs | Shade/sun mix, rich color, rhizome spreading |
| Perennial Ryegrass | Cool / Transition | 5 - 10 Days | 5 - 7 lbs | Quick cover, erosion control, high wear |
| Bermudagrass | Warm Season | 10 - 21 Days | 1 - 2 lbs (hulled) | Full sun, extreme heat tolerance, rapid spread |
| Zoysia Grass | Warm / Transition | 14 - 21 Days | 2 - 3 lbs | Low maintenance, dense turf, moderate shade |
Step 3: Topdressing and Soil Amendment
Once the seed is broadcasted across the aerated lawn, it needs a protective environment to germinate. Topdressing with organic compost provides a seedbed that retains moisture and supplies a slow release of essential nutrients.
Measurements and Costs: You will need approximately one cubic yard of premium screened compost for every 1,000 square feet of lawn to achieve a light 1/4-inch topdressing. Bulk compost typically costs $30 to $50 per cubic yard, while bagged compost is significantly more expensive. Use a landscape rake or a stiff push broom to work the compost and seed down into the aeration holes. The goal is to ensure direct seed-to-soil contact, which is the single most important factor in successful germination.
Step 4: Fertilization and the Critical Watering Schedule
Newly germinated grass seedlings have shallow root systems and are highly susceptible to drying out. The University of Nebraska-Lincoln Turfgrass Science program notes that inconsistent watering is the number one cause of overseeding failure.
Fertilizer Application: Apply a high-quality starter fertilizer immediately after seeding. Starter fertilizers are rich in phosphorus (the middle number on the bag, e.g., 18-24-12), which is crucial for rapid root development. Avoid standard weed-and-feed products, as the herbicides will prevent your new grass seed from germinating.
The Watering Schedule:
- Weeks 1-2 (Germination Phase): Water lightly 2 to 3 times per day for 5 to 10 minutes per zone. The top inch of soil must remain constantly moist, but not waterlogged.
- Weeks 3-4 (Establishment Phase): As seedlings reach 1 inch tall, reduce watering frequency to once daily, but increase the duration to 15 minutes to encourage deeper root growth.
- Weeks 5-8 (Maturation Phase): Transition to a standard deep and infrequent watering schedule—about 1 to 1.5 inches of water per week, applied in one or two heavy sessions.
Integrating the Recovered Lawn into Your Landscape Design
A renovated lawn does not exist in a vacuum; it must seamlessly integrate with the rest of your landscaping. As your new grass establishes, pay attention to the transition zones between your turf and your garden beds. Install steel or plastic edging to create crisp, clean lines that prevent aggressive grass rhizomes from invading your mulched areas.
Furthermore, adjust your mowing practices to support the new turf. Wait until the new grass reaches about 3.5 to 4 inches tall before the first mow, and never remove more than the top one-third of the grass blade. Taller grass shades the soil, naturally suppressing weed seeds and retaining moisture, which is vital for the overall health of your landscape ecosystem. By following this rigorous renovation protocol, your lawn will transition from a compacted, heat-scarred eyesore into the vibrant, lush centerpiece your landscape design deserves.

