
Lawn Care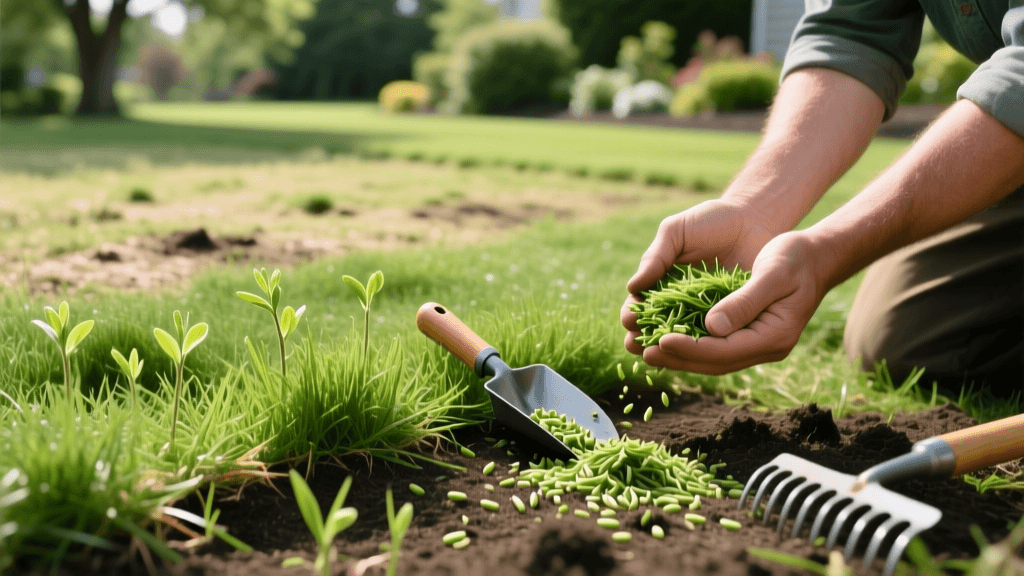
How to Renovate and Reseed a Neglected Cool-Season Lawn
Assessing Your Lawn: The 50% Rule for Renovation
When a cool-season lawn becomes overrun with weeds, compacted soil, and bare patches, standard maintenance practices like simple overseeding or spot-treating are no longer sufficient. Lawn renovation is the process of completely killing off the existing poor-quality turf and starting from scratch. According to turfgrass experts, you should consider a full renovation if your lawn fails the '50% Rule.' If more than 50% of your yard consists of bare dirt, invasive weeds like crabgrass or quackgrass, or dead thatch, it is time to hit the reset button. Renovation requires a significant investment of time, labor, and money, but the reward is a pristine, thick, and vibrant carpet of grass that will elevate your entire property.
Timing Your Cool-Season Renovation Project
Timing is the single most critical factor in lawn recovery. For cool-season grasses such as Tall Fescue, Kentucky Bluegrass, and Perennial Ryegrass, the optimal window for renovation is late summer to early fall—specifically between August 15 and September 15 in most northern and transition zones. The University of Minnesota Turfgrass Science program emphasizes that fall seeding allows cool-season grasses to establish deep root systems during the cool, moist autumn months while facing minimal competition from summer annual weeds. Spring renovations are highly discouraged because the young grass will be immediately stressed by summer heat and outcompeted by aggressive spring weeds.
Step 1: Eradicating the Existing Turf and Weeds
Before you can plant new seed, you must eliminate the existing vegetation. Begin by mowing the lawn as short as your mower will allow, a process known as scalping. This removes the canopy and exposes the base of the weeds and grass to herbicides and sunlight. Next, apply a non-selective systemic herbicide containing Glyphosate (commonly known as Roundup). Apply the herbicide on a calm, dry day when temperatures are between 60°F and 85°F. You will need to wait 7 to 14 days for the vegetation to completely die and turn brown. If stubborn perennial weeds or invasive grasses like quackgrass remain, a second application may be necessary. Once the lawn is entirely brown, use a heavy-duty dethatching rake or a power rake to remove the dead organic matter, exposing the bare soil beneath.
Step 2: Soil Testing and Strategic Amendment
Never skip the soil test. Planting premium seed into untested, nutrient-deficient soil is a recipe for failure. Collect 10 to 15 soil cores from across your yard, mix them in a clean bucket, and send a sample to a reputable laboratory, such as the UMass Extension Soil Testing Lab or your local university extension office. The results will dictate your exact amendment needs. Cool-season grasses thrive in a soil pH between 6.0 and 7.0. If your soil is too acidic (below 6.0), you will need to apply pelletized limestone based on the lab's recommendations. If it is too alkaline, elemental sulfur is required. Additionally, the soil test will reveal phosphorus and potassium deficiencies, which are crucial for early root development in new seedlings.
Step 3: Seedbed Preparation and Grading
A proper seedbed ensures maximum seed-to-soil contact, which is mandatory for germination. For a full renovation, rent a rotary tiller and till the top 4 to 6 inches of soil. This breaks up severe compaction and incorporates any lime, sulfur, or organic compost you need to add. After tilling, use a heavy landscaping rake to grade the yard. Ensure the soil slopes away from your home's foundation at a minimum grade of 1/4 inch per foot to prevent water pooling. Once graded, use a water-filled lawn roller to firm the soil. This step is vital; it prevents the soil from settling unevenly after heavy rains and creates a smooth, firm surface for seeding.
Step 4: Selecting Premium Seed
Do not buy cheap, generic seed from big-box stores. These bags often contain high percentages of filler, weed seeds, and annual ryegrass that will die off after one season. Instead, look for certified seed blends with zero weed seed content and a germination rate of 90% or higher. The National Turfgrass Evaluation Program (NTEP) is the premier authority on turfgrass performance, and consulting their regional trial data can help you select cultivars that resist local diseases and drought. Below is a comparison of the top cool-season grasses for renovation:
| Grass Type | Seeding Rate (per 1,000 sq ft) | Germination Time | Drought Tolerance | Best Use Case |
|---|---|---|---|---|
| Turf-Type Tall Fescue | 6 - 8 lbs | 7 - 14 days | Excellent | High traffic, transition zones, deep shade to full sun |
| Kentucky Bluegrass | 2 - 3 lbs | 14 - 28 days | Moderate | Full sun, premium aesthetics, rhizome spreading |
| Perennial Ryegrass | 5 - 7 lbs | 5 - 10 days | Low | Nurse crop, rapid erosion control, high wear areas |
For most homeowners, a blend of 90% Turf-Type Tall Fescue and 10% Kentucky Bluegrass offers the perfect balance of deep-rooted drought tolerance and the self-repairing rhizome spread of bluegrass.
Step 5: Sowing and Starter Fertilizer Application
Calibrate your broadcast spreader to the exact setting listed on the seed bag. Split your seed in half and apply it in two perpendicular passes (one north-to-south, one east-to-west) to ensure even coverage and avoid striping. Immediately after seeding, apply a high-quality starter fertilizer. Starter fertilizers are rich in phosphorus (the middle number on the bag, such as 10-18-10), which is essential for explosive root growth in young seedlings. Note that many states restrict phosphorus fertilizers on established lawns to protect waterways, but it is legally permitted and highly recommended for new lawn renovations. After fertilizing, lightly rake the soil to cover the seed with 1/8 to 1/4 inch of topsoil, and roll the yard one final time to press the seed firmly into the soil.
Step 6: The Critical Watering Phase
Water will make or break your renovation. Grass seed must remain consistently moist until it germinates and establishes roots. This means watering lightly but frequently. Set your sprinklers to run 2 to 3 times a day for 5 to 10 minutes per zone, keeping the top inch of soil damp but not waterlogged. If the seed dries out even once during the germination window, it will die. As the grass reaches 1 inch in height, gradually reduce the frequency of watering while increasing the duration. By week four, you should be watering deeply once every other day to encourage roots to chase the moisture deeper into the soil profile.
Post-Germination Care and Weed Control
It is common for weed seeds to germinate alongside your new grass, especially if you tilled the soil and brought dormant weed seeds to the surface. Do not use standard post-emergent herbicides like 2,4-D on a newly seeded lawn, as they will kill your young grass. Instead, apply a herbicide containing Mesotrione (commonly sold under the brand name Tenacity) at the time of seeding. Mesotrione is unique because it prevents weed seeds from germinating and bleaches existing weeds white, all while being completely safe for germinating Tall Fescue and Kentucky Bluegrass. Wait until the new grass has been mowed three times before applying any traditional broadleaf weed killers.
The First Mow
Patience is required for the first mow. Wait until the new grass reaches about 3.5 to 4 inches in height. Ensure your mower blades are freshly sharpened; dull blades will tear the tender young grass out by the roots. Set your mower deck to 3 inches and never remove more than the top 1/3 of the grass blade. Leave the clippings on the lawn to return valuable nitrogen and organic matter back to the soil.
Estimated Lawn Renovation Costs
Budgeting is an important part of the planning process. While DIY renovation saves thousands of dollars compared to hiring a professional landscaping crew, you must account for materials and equipment rentals. Below is an estimated cost breakdown for a DIY cool-season lawn renovation per 1,000 square feet:
| Material / Service | Estimated Cost | Notes |
|---|---|---|
| Glyphosate Herbicide | $5.00 - $8.00 | Concentrate mixed in a pump sprayer is most cost-effective |
| Soil Testing | $2.00 - $5.00 | Amortized cost per 1,000 sq ft based on a standard lab fee |
| Rototiller Rental | $8.00 - $15.00 | Amortized daily rental cost per 1,000 sq ft |
| Premium Grass Seed | $25.00 - $45.00 | Varies heavily by cultivar and brand (e.g., Jonathan Green, Scotts) |
| Starter Fertilizer | $6.00 - $10.00 | High-phosphorus formulation |
| Topsoil / Compost | $15.00 - $30.00 | For topdressing and grading low spots |
| Total Estimated DIY Cost | $61.00 - $113.00 | Per 1,000 sq ft (Excludes purchasing new spreaders/sprayers) |
Conclusion
Renovating a neglected cool-season lawn is a demanding but incredibly rewarding weekend project. By strictly adhering to the fall planting window, investing in NTEP-rated seed, preparing a pristine seedbed, and maintaining a rigorous watering schedule, you can transform a weedy, patchy yard into a luxurious, dark-green landscape. Remember that the first year of a renovated lawn is about root establishment; treat it gently, feed it properly, and it will serve as the foundation of your home's curb appeal for decades to come.

