Pest Control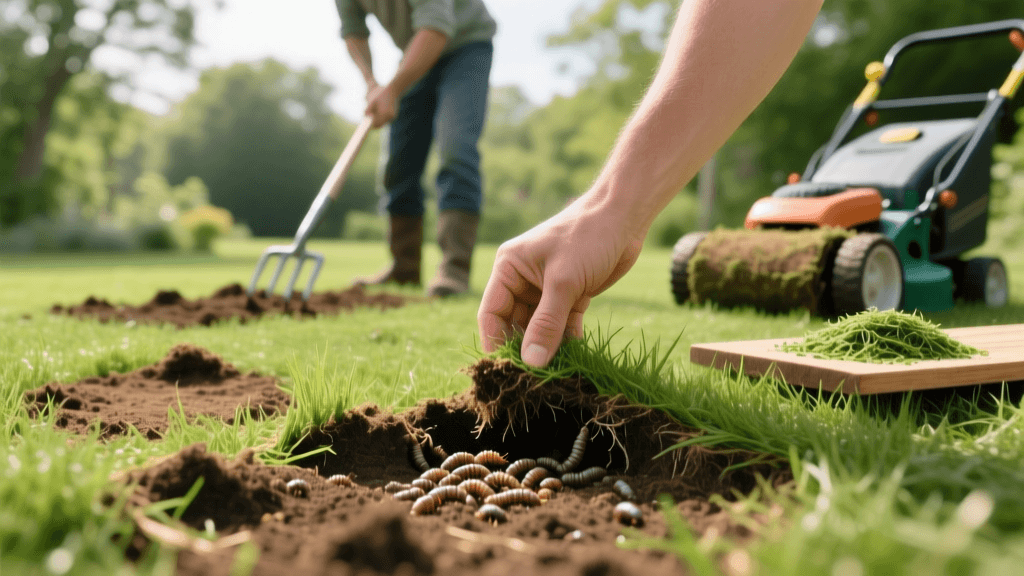
How to Repair Severe Grub Damage and Renovate Your Lawn
The Devastation of White Grubs: Why Renovation is Necessary
When it comes to lawn-destroying pests, few are as voracious and widespread as the white grub. These C-shaped, cream-colored larvae of various scarab beetles—including Japanese beetles, June bugs, and European chafers—feed aggressively on the root systems of turfgrass. As they sever the roots, the grass loses its ability to absorb water and nutrients, leading to large, irregular patches of dead, spongy turf. Furthermore, the presence of grubs often attracts secondary pests like skunks, raccoons, and crows, which will tear up your lawn in search of a protein-rich meal.
When grub populations exceed the damage threshold, simple overseeding or spot treatments are no longer sufficient. The structural integrity of the soil and the root zone has been compromised, necessitating a full-scale lawn renovation. This comprehensive guide will walk you through the integrated pest management (IPM) strategies required to eradicate the infestation, prepare the soil, and successfully renovate your lawn for long-term resilience.
Step 1: Confirming Grub Damage and Eradicating the Pests
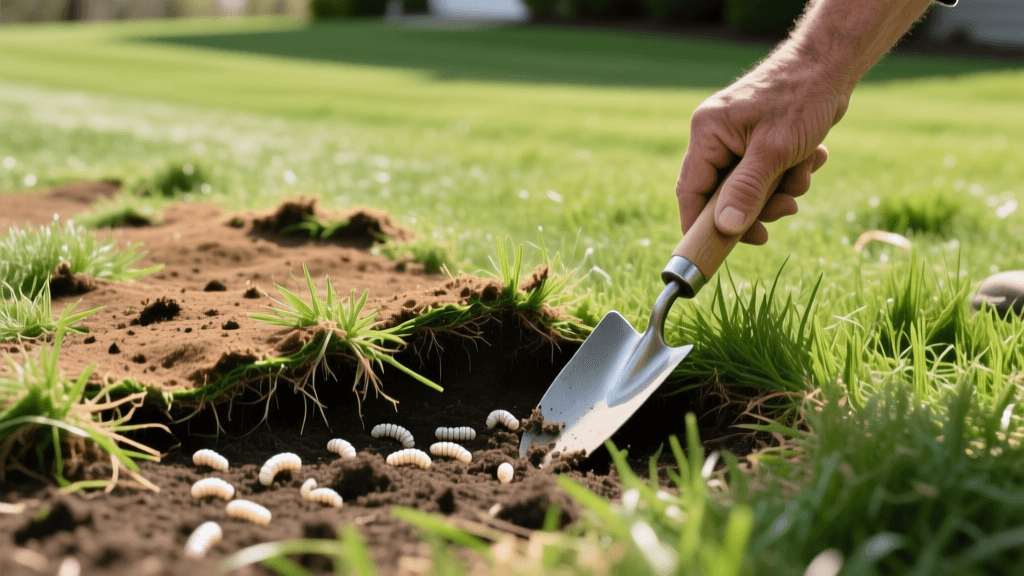
Before investing time and money into a lawn renovation, you must confirm that grubs are the primary culprit and eliminate the active population. The most reliable method for identification is the 'tug test.' Grab a handful of the damaged, brown turf and pull gently. If the grass rolls back like a loose carpet with no root resistance, you likely have a severe grub infestation.
According to the University of Kentucky Entomology, a healthy lawn can tolerate a few grubs, but treatment and renovation are required when you find more than 10 grubs per square foot. To check, cut a one-foot by one-foot square of turf, peel it back, and count the larvae in the top three inches of soil.
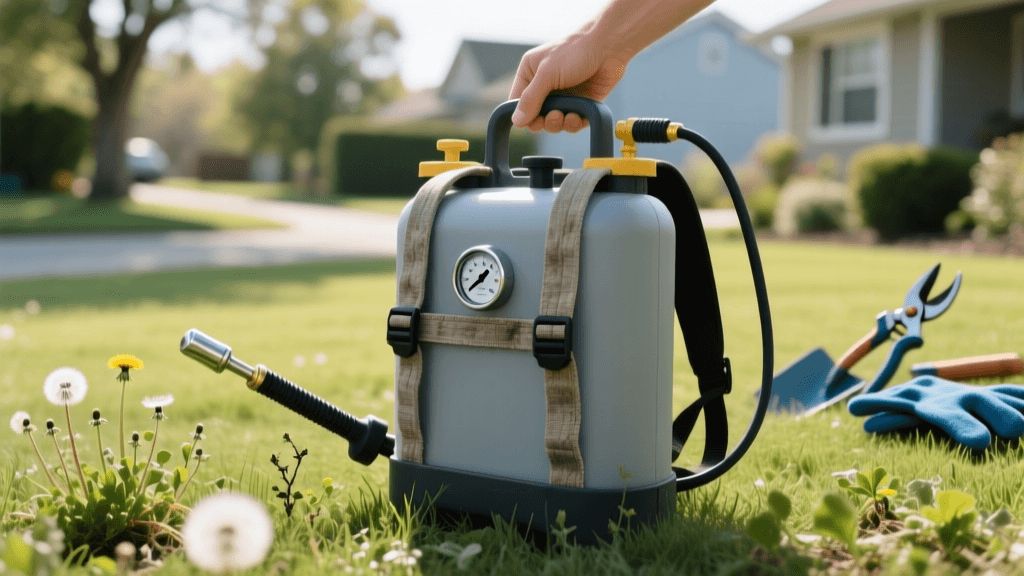
Curative Treatment Options
If you discover an active infestation in late summer or early fall, you must apply a curative insecticide before renovating. The most effective active ingredient for rapid knockdown of mature grubs is Trichlorfon (commonly sold under the brand name Dylox). Trichlorfon works quickly, killing grubs within 24 to 48 hours, but it degrades rapidly in the soil and must be watered in immediately with at least 0.5 inches of water to reach the root zone where the pests are feeding. A standard 10-pound bag of Dylox typically costs between $15 and $25 and covers up to 5,000 square feet.
Alternatively, for an organic IPM approach, you can apply beneficial nematodes, specifically Heterorhabditis bacteriophora. These microscopic worms seek out and infect grub larvae, releasing bacteria that kill the host within 48 hours. Nematodes are highly effective but require strict soil moisture management and must be applied in the late afternoon to avoid UV degradation. Expect to pay around $40 to $60 for a package containing enough nematodes to treat 3,000 square feet.
Step 2: Preparing the Soil for Lawn Renovation
Once the grubs have been eradicated, you cannot simply throw grass seed over the dead patches. Proper soil preparation is the cornerstone of successful lawn renovation.
- Remove Dead Turf and Thatch: Use a heavy-duty steel leaf rake or a motorized dethatcher to aggressively remove the dead grass, loose thatch, and debris. This ensures that your new seed will make direct contact with the soil.
- Core Aeration: Grub feeding and the subsequent animal digging often lead to severe soil compaction. Run a core aerator over the entire lawn to pull 2-to-3-inch soil plugs. This improves oxygen flow, water infiltration, and root penetration for the new grass.
- Top-Dressing and Soil Amendment: After aerating, spread a thin layer (about 1/4 inch) of high-quality, screened compost or a specialized topsoil blend over the lawn. This fills the aeration holes, introduces beneficial microbes, and creates an ideal seedbed. If you haven't done so recently, conduct a soil test. Turfgrass thrives at a pH between 6.0 and 7.0; apply pelletized lime if your soil is too acidic.
Step 3: Choosing the Right Grass Seed
Selecting the appropriate grass species is critical for a renovated lawn, especially in areas prone to pest pressure. You want a cultivar with deep root systems, high drought tolerance, and rapid establishment. Below is a comparison of the top three cool-season grasses used in lawn renovation.
| Grass Type | Germination Time | Seeding Rate (per 1,000 sq ft) | Drought Tolerance | Best Use Case |
|---|---|---|---|---|
| Turf-Type Tall Fescue | 7-12 Days | 6-8 lbs | High | High-traffic areas, deep shade to full sun |
| Kentucky Bluegrass | 14-28 Days | 2-3 lbs | Moderate | Sunny lawns, rhizomatous spread to fill gaps |
| Perennial Ryegrass | 5-7 Days | 5-6 lbs | Low-Moderate | Rapid erosion control, nurse grass for blends |
For most renovations, a blend of Turf-Type Tall Fescue and Kentucky Bluegrass is highly recommended. The Tall Fescue provides deep, grub-resistant roots and drought tolerance, while the Bluegrass spreads via rhizomes to naturally repair future minor damage. Avoid cheap contractor-grade seed mixes, which often contain high percentages of annual ryegrass or weed seeds. Invest in premium, certified seed, which typically costs $6 to $10 per pound.
Step 4: Seeding, Fertilizing, and Watering
Apply your chosen seed blend using a broadcast spreader, splitting the application into two passes (one horizontal, one vertical) to ensure even coverage. Immediately follow seeding with a high-quality starter fertilizer. Starter fertilizers are rich in phosphorus (the middle number in the N-P-K ratio, such as 10-18-10), which is essential for rapid root development in seedlings. Apply the fertilizer according to the manufacturer's label rates, usually around 3 to 4 pounds per 1,000 square feet.
The Crucial Watering Schedule
Watering is the most critical variable in lawn renovation. Grass seed must remain consistently moist to germinate; if it dries out even once during the germination phase, the embryo will die.
- Weeks 1 to 3 (Germination Phase): Water the lawn lightly 2 to 3 times per day for 5 to 10 minutes each session. The goal is to keep the top one inch of soil perpetually damp, not waterlogged.
- Weeks 4 to 6 (Establishment Phase): As the grass reaches 2 inches in height, reduce watering frequency to once daily, but increase the duration to 15 to 20 minutes to encourage deeper root growth.
- Week 8 and Beyond (Maturation): Transition to a standard deep-watering schedule of 1 to 1.5 inches of water per week, applied in one or two heavy sessions.
Wait until the new grass reaches about 3.5 inches tall before performing the first mowing. Ensure your mower blades are razor-sharp to avoid tearing the tender young seedlings out of the soil.
Step 5: Long-Term IPM and Preventative Grub Control
Renovating your lawn is a significant investment of time and money. To protect your new turf from future infestations, you must integrate preventative pest control into your annual lawn care calendar. According to Penn State Extension, preventative treatments are far more effective and environmentally sound than curative ones, as they target the pests when they are small and most vulnerable.
Synthetic Preventatives
The gold standard for preventative grub control is Chlorantraniliprole (widely available to consumers as Scotts GrubEx). This active ingredient has an excellent environmental profile, posing minimal risk to pollinators and earthworms. It must be applied in late May or early June, well before the eggs hatch in mid-summer. It costs approximately $25 for a bag covering 5,000 square feet and provides season-long protection. Alternatively, Imidacloprid can be applied in early July, though it carries a higher toxicity risk to foraging bees if applied to flowering weeds like clover.
Biological and Cultural IPM Strategies
If you prefer to maintain a strictly organic lawn, cultural practices are your best defense against grubs. Grubs thrive in lawns with shallow root systems caused by frequent, shallow watering. By watering deeply and infrequently (1 inch per week), you force your grass roots to grow deep into the soil profile, making them more resilient to minor surface-level grub feeding.
Additionally, you can introduce Milky Spore (Paenibacillus popilliae), a naturally occurring bacterium that specifically targets Japanese beetle grubs. While it can take 2 to 3 years to fully establish in the soil, a single application can provide biological control for up to 15 years. As noted by the University of Minnesota Extension, maintaining a diverse, healthy soil ecosystem through regular compost top-dressing and core aeration naturally suppresses pest populations by promoting robust turfgrass that can outcompete and withstand minor insect damage.
By following this comprehensive renovation and IPM protocol, you can transform a grub-devastated yard into a thick, vibrant, and resilient lawn that will resist future pest pressures for years to come.