
Gardening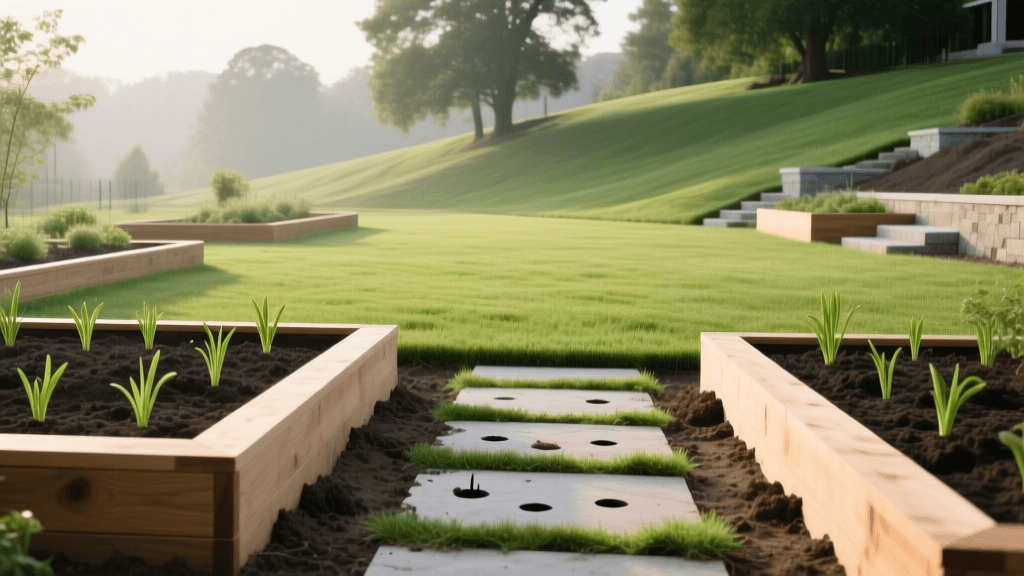
How to Repair Lawn Damage After Garden Bed Construction
The Hidden Toll of Garden Construction on Your Lawn
Building a new vegetable garden, installing raised cedar beds, or laying down gravel pathways is an exciting way to elevate your landscape. However, the construction process often wreaks havoc on the adjacent turf. Heavy wheelbarrows loaded with hundreds of pounds of topsoil, pallets of paving stones, and constant foot traffic from landscaping crews can severely damage your lawn. The result is often a ring of destroyed grass surrounding your beautiful new garden beds. According to turfgrass experts at the Penn State Extension Lawn and Garden program, soil compaction and physical turf destruction are the most common casualties of residential landscaping projects. If left unaddressed, these damaged zones become breeding grounds for weeds and invasive grasses. This comprehensive guide will walk you through the exact steps to diagnose, treat, and recover your lawn after a major garden construction project.
Diagnosing Lawn Damage from Landscaping Projects
Before you buy grass seed or rent an aerator, you must accurately diagnose the type of damage your lawn has sustained. Garden construction typically causes three distinct types of turf injury:
- Severe Soil Compaction: Caused by heavy loads like soil piles, stone pallets, and repeated wheelbarrow traffic. Compacted soil lacks pore space, preventing water, oxygen, and nutrients from reaching grassroots. You will notice water pooling on the surface and grass thinning out.
- Turf Smothering: Occurs when tarps, lumber, or mounds of compost are left on the grass for more than 48 hours. The grass turns yellow, then brown, and eventually dies due to a lack of sunlight and trapped moisture.
- Physical Tearing and Rutting: Shovels, bed edging tools, and careless foot traffic tear the grass blades and rip the root systems from the soil, leaving bare dirt ruts and jagged edges.
Step-by-Step Lawn Recovery Plan
Step 1: Clearing, Raking, and Leveling the Zone
Begin by removing all construction debris, stray nails, wood splinters, and leftover gravel. Use a stiff metal thatching rake to aggressively rake the damaged areas. This removes dead, smothered grass and scratches the soil surface, creating a vital seed-to-soil contact zone. If wheelbarrows have left deep ruts, fill them with a 50/50 mix of screened topsoil and compost, leveling the area with the back of a steel rake so it sits flush with the surrounding healthy turf.
Step 2: Deep Core Aeration for Compacted Tracks
If the soil is heavily compacted from staging materials, surface raking will not be enough. You must perform core aeration to physically remove plugs of soil and alleviate the pressure. A standard manual core aerator costs around $70 to $100, while renting a gas-powered walk-behind aerator typically runs $60 to $90 per day. Run the aerator over the damaged zones at least twice, making your second pass perpendicular to the first to ensure maximum soil fracturing. Aim for aeration depths of 2 to 3 inches. The Clemson University Extension highly recommends core aeration as the foundational step for any lawn renovation, as it immediately restores the soil's gas exchange capabilities.
Step 3: Topdressing and Restoring Soil Biology
Construction traffic doesn't just crush soil particles; it destroys the delicate microbial ecosystem required for healthy grass growth. To rebuild this, apply a topdressing of high-quality, screened organic compost. Apply the compost at a rate of 1 cubic yard per 1,000 square feet to achieve a thin, 1/4-inch layer over the damaged grass. Drag the compost into the aeration holes using a push broom or a drag mat. This introduces beneficial bacteria, fungi, and organic matter that will naturally break up remaining compaction over time while providing a nutrient-rich bed for new seed.
Step 4: Overseeding with High-Traffic Blends
When repairing high-traffic zones near garden beds, standard shade or sun mixes may not be durable enough. You need grass varieties that can withstand occasional foot traffic as you tend to your garden. Perennial Ryegrass is excellent for quick germination (often sprouting in 5 to 7 days) and provides immediate erosion control. Tall Fescue is ideal for borders due to its deep, drought-resistant root system. For cool-season lawns, Kentucky Bluegrass is highly recommended because its rhizomatous growth habit allows it to spread laterally and weave a dense, durable turf mat that resists tearing. Apply seed at a rate of 4 to 6 pounds per 1,000 square feet for overseeding, or 8 to 10 pounds if the area is completely bare.
Lawn Recovery Strategy Comparison Table
| Damage Type | Primary Cause | Recovery Method | Estimated Cost per 1,000 sq ft |
|---|---|---|---|
| Severe Compaction | Heavy wheelbarrows, material pallets | Core Aeration + Compost Topdressing | $45 - $90 |
| Turf Smothering | Soil piles, staging tarps left for weeks | Debris Removal + Slit-Seeding | $80 - $120 |
| Physical Tearing | Shovels, edging tools, foot traffic | Aggressive Raking + Overseeding | $20 - $40 |
| Edge Degradation | String trimmers, raised bed runoff | Trenching + Rhizome Barrier Installation | $15 - $30 |
Edge Repair: Fixing the Border Between Hardscape and Turf
One of the most frequently damaged areas during garden construction is the exact border where the new raised bed or stone pathway meets the lawn. When you build a raised bed, the soil level inside is often 10 to 12 inches higher than the lawn. This creates a microclimate that can bake the adjacent grass edge, and heavy watering of the garden bed can cause nutrient-rich, muddy runoff that smother the lawn edge. To fix this, use a half-moon edger to cut a clean, 4-inch deep trench along the border of the garden bed. This trench acts as a physical barrier, preventing aggressive garden groundcovers from invading the lawn and stopping muddy runoff. According to the University of California Agriculture and Natural Resources, maintaining a distinct physical edge reduces the need for chemical herbicides and prevents mechanical damage from string trimmers bouncing off hardscape borders.
Protecting Turf During Future Garden Builds
Prevention is always cheaper and faster than renovation. If you plan on expanding your garden beds, installing a greenhouse, or bringing in more landscaping materials in the future, implement a turf-protection plan. Lay down 3/4-inch thick plywood sheets to create temporary wheelbarrow paths. The plywood distributes the immense point-load of a heavy wheelbarrow across a wider surface area, preventing the wheels from sinking into and compacting the soil. For material staging, use breathable, permeable landscaping fabrics rather than heavy plastic tarps, and never leave materials in the exact same spot for more than 24 hours. If you must stage soil for a weekend, place the pile on a bed of straw or wood chips, which can later be raked up and added to your compost bin.
Post-Recovery Maintenance and Watering Schedule
Once the seed is down and the compost is raked in, the recovery phase begins. New grass seed requires consistent moisture to germinate and establish. Water the renovated areas lightly two to three times a day for the first 14 days, ensuring the top inch of soil remains damp but not waterlogged. Once the grass reaches a height of 2 inches, reduce watering frequency but increase the duration to encourage deep root growth. Hold off on applying synthetic nitrogen fertilizers until the new grass has been mowed at least twice; the organic compost you applied during topdressing will provide sufficient starter nutrients. By following this targeted renovation protocol, the transition zones between your lush garden beds and your vibrant lawn will seamlessly recover, creating a cohesive and beautiful outdoor living space.

