Pest Control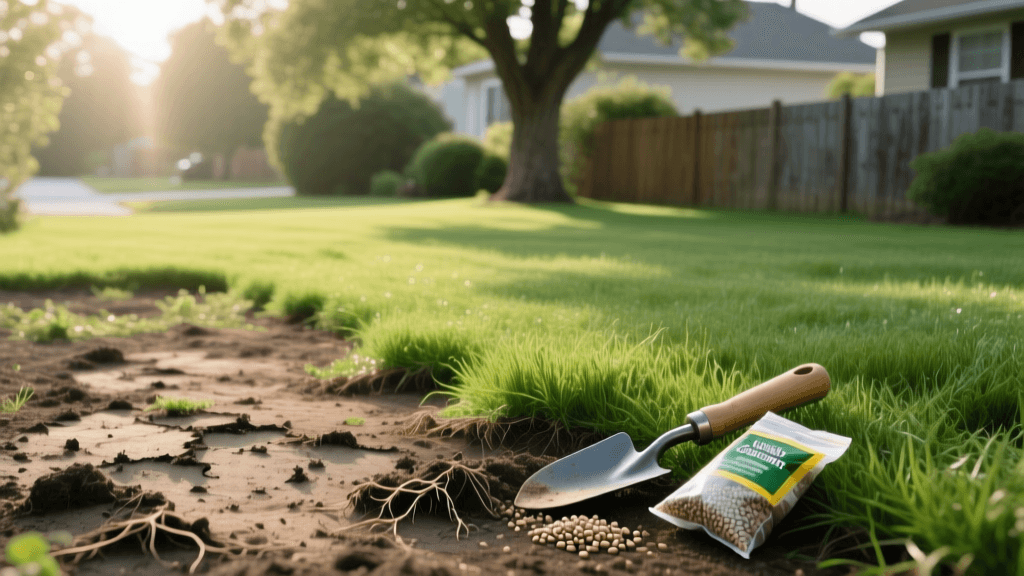
Lawn Renovation: How to Repair Grass After Grub Damage
Discovering that your once-lush lawn has been reduced to patchy, brown, dying grass is a frustrating experience for any homeowner. When the culprit is a severe white grub infestation, the damage goes far beyond mere surface discoloration. Grubs feed aggressively on the root systems of turfgrass, effectively severing the plant's connection to water and nutrients. The result is turf that feels spongy underfoot and can be rolled back like a freshly laid carpet. If you are dealing with the aftermath of a grub invasion, simple pest control is no longer enough; you need a comprehensive lawn renovation and recovery strategy. This guide will walk you through the exact steps to eradicate the remaining pests, prepare the soil, and successfully renovate your lawn to its former glory.
Understanding Grub Damage and the Need for Renovation
White grubs are the larval stage of various scarab beetles, including Japanese beetles, June bugs, and European chafers. These C-shaped, cream-colored larvae live just beneath the soil surface, munching on grass roots primarily in late summer and early fall. According to experts at Penn State Extension, a healthy lawn can tolerate a few grubs, but populations exceeding ten per square foot will cause significant, visible damage. Furthermore, secondary pests like skunks, raccoons, and crows often tear up grub-infested lawns in search of a protein-rich meal, compounding the destruction. Because the root system is completely destroyed, the grass cannot simply bounce back once the bugs are gone. The dead turf must be removed, the soil reconditioned, and new grass established.
Step 1: Ensure Complete Pest Eradication
Before you invest time and money into lawn renovation, you must confirm that the grub population has been neutralized. Planting new seed or laying sod over an active grub population is a recipe for disaster, as the newly germinated roots will be immediately consumed.
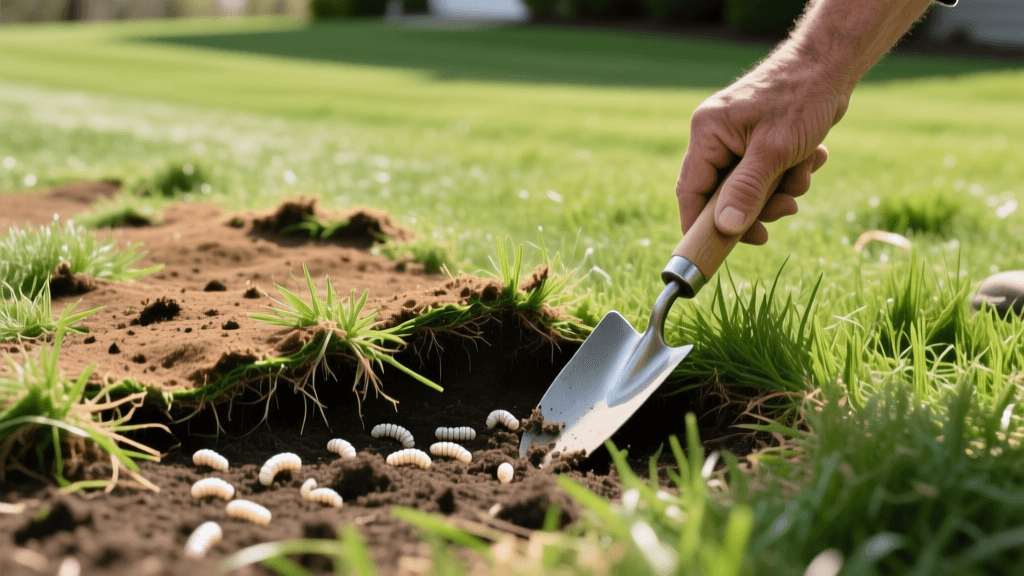
The Carpet Roll Test
Grab a handful of dead grass and pull. If it lifts away from the soil effortlessly with no roots attached, grubs are likely the cause. Dig into the top two inches of soil and count the grubs in a one-square-foot area. If you find more than ten, active eradication is required before renovation.
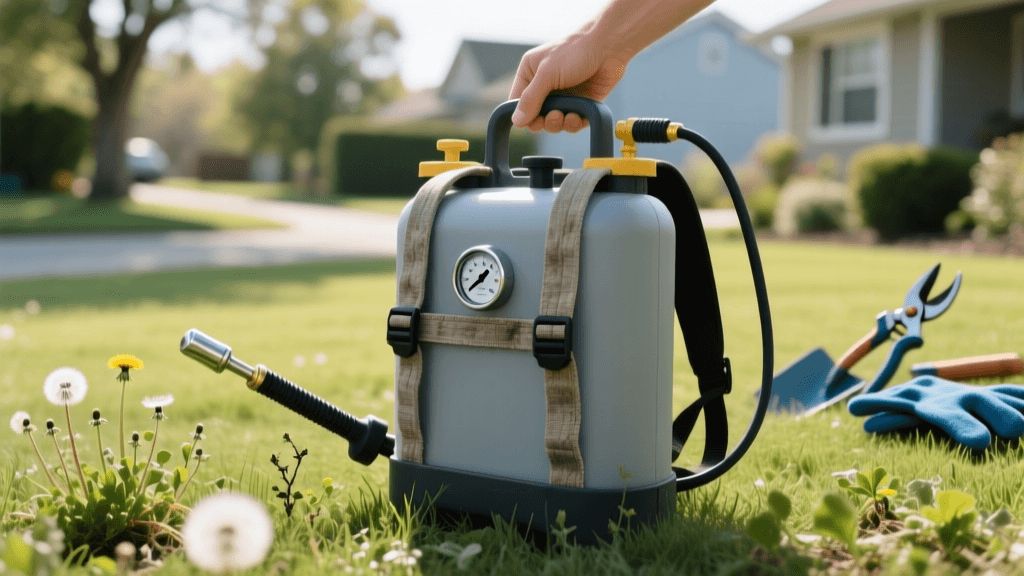
Curative Pest Control Treatments
If you find active grubs in the early fall or spring, you need a fast-acting curative insecticide. Products containing Trichlorfon (commonly sold under the brand name Dylox) are highly effective and work within 24 to 48 hours. Apply the granular treatment according to the manufacturer's label, and water it in deeply with at least a half-inch of irrigation to move the active ingredient into the root zone where the grubs are feeding. Wait at least two weeks after application before beginning your renovation process to ensure the pests are completely eradicated.
Step 2: Soil Preparation and Debris Removal
Once the pests are eliminated, the physical renovation begins. You cannot simply throw grass seed over dead, matted turf and expect a pristine lawn.
Removing Dead Turf
Use a heavy-duty thatch rake or a mechanical dethatcher to rip out the dead grass, loose roots, and debris. For severely damaged areas, a sod cutter may be necessary to strip the dead layer down to the bare soil. Removing this debris is critical; it allows new seed to make direct contact with the soil, which is mandatory for germination.
Aeration and Topdressing
Grub activity and the subsequent animal digging often leave the soil compacted and uneven. Perform core aeration to pull small plugs of soil from the ground, improving oxygen and water penetration. Follow this by spreading a thin layer (about 1/4 inch) of high-quality compost or topsoil over the area. This topdressing fills in the aeration holes, levels the grading, and introduces beneficial microbes to the soil ecosystem.
Step 3: Choosing Your Renovation Method
When renovating a lawn after pest damage, you have two primary options: reseeding or sodding. The University of Minnesota Extension notes that both methods can yield excellent results, but they require different investments of time, money, and labor.
| Feature | Reseeding | Sodding |
|---|---|---|
| Cost | Low ($0.05 - $0.15 per sq. ft.) | High ($0.50 - $1.50+ per sq. ft.) |
| Labor Intensity | Moderate (Prep, seeding, daily watering) | High (Heavy lifting, immediate installation) |
| Time to Usable Lawn | 8 to 12 weeks | 2 to 3 weeks |
| Grass Variety Options | Extensive (Custom seed blends) | Limited (Usually Kentucky Bluegrass or Fescue) |
| Erosion Risk | High (Seed can wash away before rooting) | Low (Instant root mat holds soil) |
Step 4: Reseeding and Sodding Best Practices
Reseeding Strategies
If you choose to reseed, timing is everything. Early fall is the ideal window for cool-season grasses, as soil temperatures are warm enough for rapid germination, but air temperatures are cooling down, reducing weed competition and water evaporation. Select a premium, disease-resistant seed blend. Turf-type tall fescue is an excellent choice for renovation because its deep root system makes it more resilient to future environmental stress and minor pest pressure. Apply a starter fertilizer high in phosphorus (such as a 10-18-10 NPK ratio) to promote rapid root development. Keep the top inch of soil consistently moist by watering lightly two to three times a day until the grass reaches mowing height.
Sodding Strategies
Sod provides an instant lawn and is particularly useful for sloped areas where seed might wash away. When laying sod, ensure the soil beneath is moist but not muddy. Stagger the seams in a brick-like pattern to prevent water channels from forming. Roll the newly laid sod with a lightweight lawn roller to eliminate air pockets between the sod roots and the topsoil. Water deeply immediately after installation, providing about an inch of water to encourage the roots to knit into the soil below.
Step 5: Long-Term Pest Prevention Strategies
Renovating your lawn is a significant investment, and you must protect it from future grub invasions using Integrated Pest Management (IPM) principles.
Preventative Chemical Controls
To stop the next generation of grubs, apply a preventative insecticide containing Chlorantraniliprole in late spring or early summer. This active ingredient is highly effective against young grubs and has a lower toxicity profile for beneficial insects and pollinators compared to older chemical classes.
Biological Controls: Beneficial Nematodes
For an organic approach, apply beneficial nematodes, specifically the species Heterorhabditis bacteriophora. These microscopic worms naturally occur in soil and actively seek out and infect grub larvae, releasing bacteria that kill the pest within 48 hours. Nematodes must be applied to moist soil in the late summer when grubs are small and near the surface. Because they are living organisms, avoid using chemical fertilizers or pesticides simultaneously, and keep the soil consistently moist for two weeks post-application.
Cultural Practices
Finally, adjust your lawn care habits to make your turf less attractive to egg-laying beetles. Japanese beetles prefer to lay their eggs in short, closely cropped grass. By raising your mower deck to 3 or 4 inches, you shade the soil, making it less hospitable for beetle eggs and encouraging deeper, more resilient grass roots. Additionally, water your lawn deeply and infrequently (about 1 to 1.5 inches per week) rather than giving it frequent, shallow sprinklings. Deep watering promotes deep roots, allowing your grass to tolerate minor grub feeding without showing visible surface damage.
By following this comprehensive renovation and pest management plan, you can successfully recover from severe grub damage and establish a thick, vibrant, and resilient lawn that will withstand future environmental and biological challenges.