Pest Control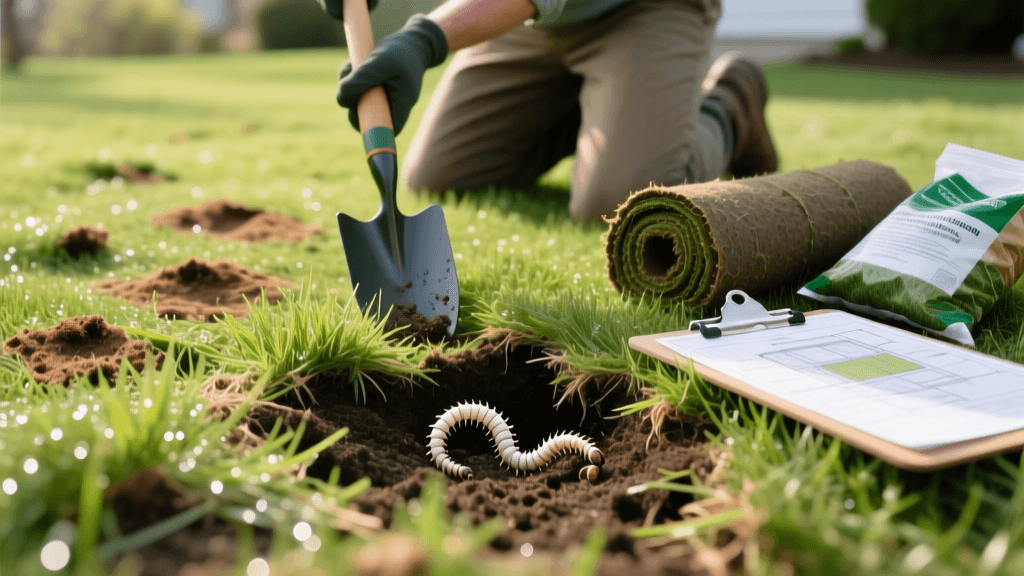
Repairing Grub Damage: Lawn Renovation and Pest Recovery Guide
The Hidden Threat: Identifying White Grub Damage
When your lawn begins to exhibit irregular, spongy, and brown patches that fail to respond to irrigation or fertilization, the culprit is often hiding just beneath the soil surface. White grubs—the larval stage of various scarab beetles, including Japanese beetles, June bugs, and masked chafers—are notorious for severing turfgrass roots. This destructive feeding habit essentially detaches the grass from its water and nutrient supply, leading to rapid decline and death. From a lawn renovation and recovery perspective, grub damage represents one of the most challenging scenarios. You cannot simply throw grass seed over a dead, grub-infested patch and expect a lush lawn to return. True recovery requires a dual-pronged approach: aggressive pest control to eliminate the soil-dwelling larvae, followed by a comprehensive soil preparation and reseeding strategy. According to the University of California Statewide Integrated Pest Management Program, accurate identification and threshold monitoring are the critical first steps before initiating any chemical or biological intervention.
Step 1: Confirming the Infestation and Assessing Damage
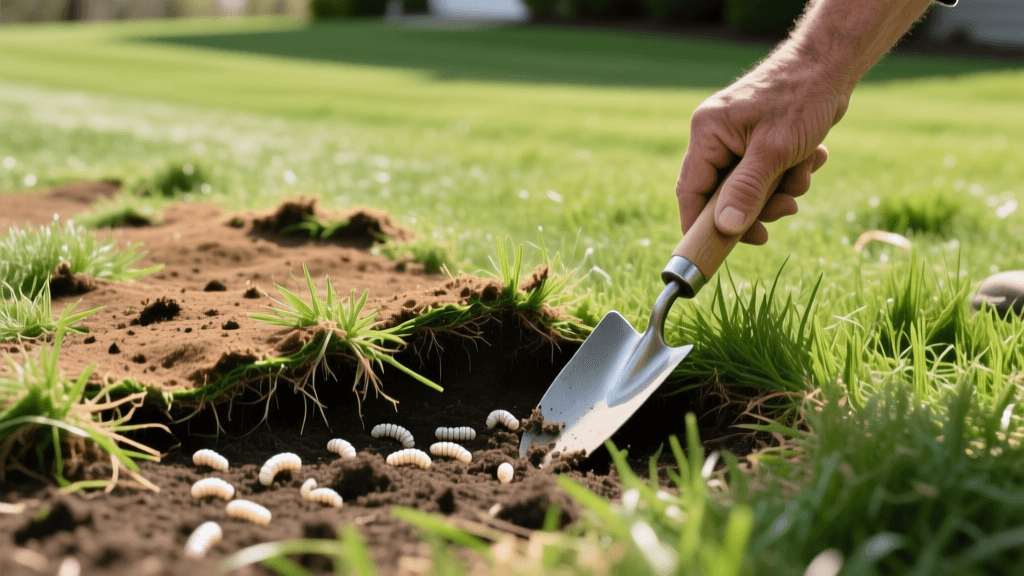
Before purchasing pest control products or renovation materials, you must confirm that grubs are the primary issue. Secondary problems, such as fungal diseases or drought stress, can mimic grub damage. Perform the classic "tug test": grab a handful of the brown, dying turf and pull gently. If the grass rolls back like a loose carpet with few to no roots attached, grubs have likely severed the root system. To quantify the infestation, use a flat-edged shovel to cut a one-foot by one-foot square of turf, about three inches deep, and peel it back. Count the C-shaped, milky-white larvae in the soil profile. Most turfgrass species can tolerate a few grubs, but if you count more than eight to ten grubs per square foot, the population has exceeded the economic injury threshold, and active intervention is mandatory prior to renovation.
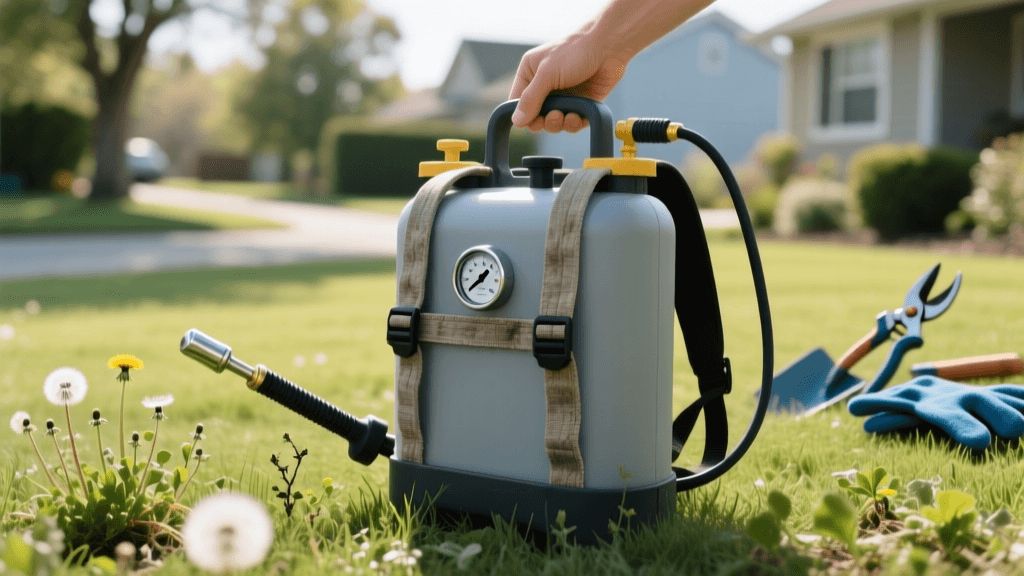
Step 2: Targeted Pest Control for Active Grubs
Attempting to overseed a lawn that still harbors an active, high-density grub population is a waste of time and money. The newly germinated grass seedlings possess extremely shallow, tender root systems that are highly susceptible to grub feeding. Therefore, eradication must precede renovation. As outlined by University of Kentucky Entomology, the timing of your application dictates the active ingredient you must select. Curative treatments are necessary in late summer and early fall when grubs are actively feeding and causing visible damage, whereas preventative treatments are applied in early summer to target newly hatched, vulnerable larvae.
Chemical vs. Biological Controls
Homeowners must choose between fast-acting synthetic chemicals and slower, environmentally friendly biological controls. If you are renovating in the fall, a fast-acting curative chemical is often required to protect new seedlings. If you are planning a spring renovation, biological controls applied the previous late summer can effectively clear the soil without leaving harmful chemical residues that might affect soil biology.
| Active Ingredient / Agent | Control Type | Best Application Window | Estimated Cost (per 1,000 sq ft) |
|---|---|---|---|
| Trichlorfon | Curative Chemical | Late Summer / Early Fall | $8.00 - $12.00 |
| Imidacloprid | Preventative Chemical | Early Summer (June) | $5.00 - $8.00 |
| Heterorhabditis bacteriophora | Biological (Beneficial Nematodes) | Late Summer (Soil > 60°F) | $15.00 - $25.00 |
| Paenibacillus popilliae (Milky Spore) | Biological (Bacteria) | Spring or Fall | $20.00 - $30.00 |
When utilizing beneficial nematodes, the Environmental Protection Agency (EPA) notes that these microscopic worms are highly effective, safe for humans and pets, and leave no toxic residue. However, they are living organisms that require strict handling protocols. Apply nematodes in the early morning or late evening to avoid UV light degradation, and irrigate the lawn immediately with at least a quarter-inch of water to wash the nematodes into the soil profile where the grubs reside.
Step 3: Lawn Renovation and Soil Preparation
Once the grub population has been neutralized and the dead turf has been removed or killed off, the physical renovation process begins. The soil left behind by grub activity is often compacted, uneven, and depleted of organic matter. Start by mowing the existing damaged lawn as short as your mower deck allows. Next, utilize a power rake or a heavy-duty thatch rake to vigorously remove the dead, rootless grass blades and the layer of thatch that accumulates during a pest infestation. This scarification process exposes the bare soil, which is essential for seed-to-soil contact.
Following dethatching, core aeration is a non-negotiable step in the renovation process. Rent a walk-behind core aerator and make two passes over the damaged area in perpendicular directions. Core aeration pulls small plugs of soil to the surface, alleviating compaction, improving water infiltration, and creating micro-environments for new seeds to settle and germinate. Leave the soil plugs on the lawn; they will break down over the next few weeks and act as a natural topdressing. After aeration, apply a thin layer (about 1/4 inch) of high-quality, screened compost over the entire area. This topdressing introduces vital soil microbes, improves moisture retention, and provides a nutrient-rich bed for the new grass seed.
Step 4: Reseeding and Post-Renovation Care
Selecting the correct turfgrass species is vital for long-term recovery and pest resistance. Cool-season lawns benefit greatly from endophyte-enhanced tall fescue or perennial ryegrass. Endophytes are naturally occurring, beneficial fungi that live within the grass plant and produce alkaloids that deter surface-feeding insects and improve drought tolerance. For warm-season lawns, vegetative plugs or sprigs of Zoysia or Bermuda grass are preferred over seed for rapid recovery.
Apply a starter fertilizer specifically formulated for new seedlings. Look for an NPK ratio high in phosphorus, such as 18-24-12, applied at a rate of 1 pound of actual nitrogen per 1,000 square feet. Phosphorus is critical for stimulating rapid, deep root development in young grass plants. Broadcast your grass seed using a rotary spreader at the manufacturer's recommended overseeding rate (typically 5 to 6 pounds per 1,000 square feet for tall fescue). Lightly drag a piece of chain-link fence or a leaf rake upside down over the seeded area to ensure the seed is nestled into the compost and aeration holes, covering it no deeper than 1/8 of an inch.
Post-renovation irrigation is the most critical factor determining your success. The top inch of soil must remain consistently moist until germination occurs. This usually requires watering two to three times daily for 5 to 10 minutes per session, depending on your soil type and local evaporation rates. Once the new grass reaches a height of two inches, gradually reduce the frequency of watering while increasing the duration to encourage deep root growth. Wait until the new grass has been mowed at least three times before applying any broadleaf herbicides or additional synthetic fertilizers.
Long-Term Prevention Strategies
A successfully renovated lawn must be protected from future grub generations to avoid repeating this costly and labor-intensive process. Maintain a mowing height of 3 to 4 inches for cool-season grasses. Taller grass develops deeper, more robust root systems that can tolerate minor grub feeding without exhibiting visible surface damage. Furthermore, avoid over-fertilizing with high-nitrogen synthetic fertilizers in the late spring, as this promotes lush, shallow growth that is highly attractive to egg-laying female beetles. By integrating proper cultural practices, timely biological or chemical interventions, and thorough soil preparation, you can transform a grub-devastated yard into a resilient, thriving landscape.