Tree Care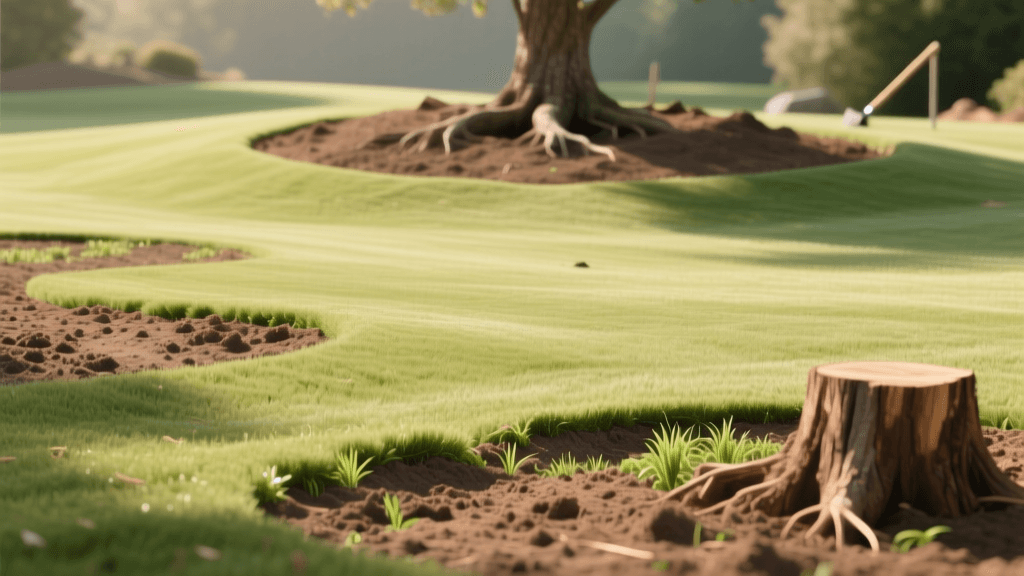
Repairing Lawn Damage After Tree And Stump Removal
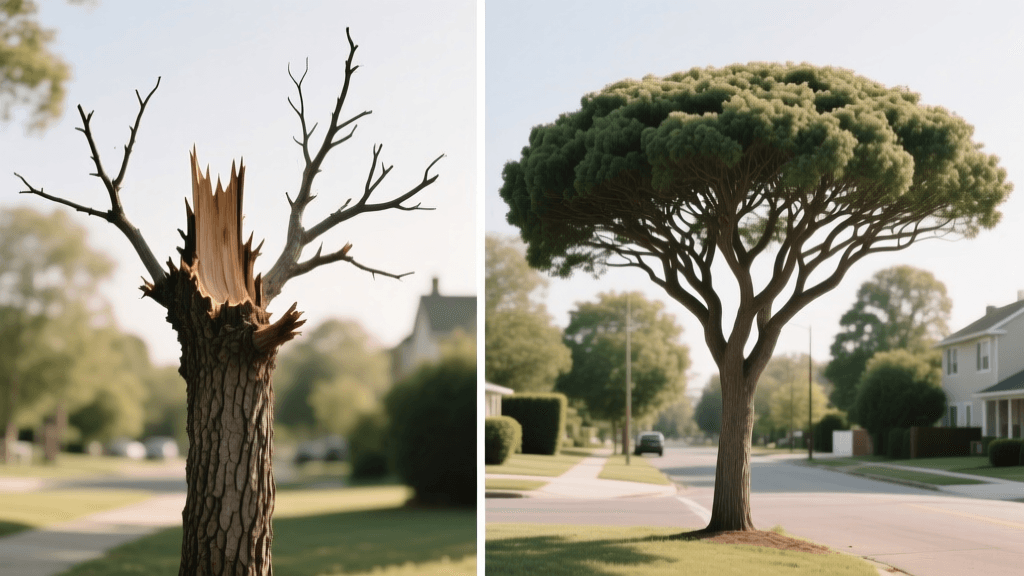
The Aftermath of Tree Removal: Why Your Lawn Needs Special Care
Removing a hazardous, diseased, or overgrown tree is often a necessary step in landscape management. However, once the arborists pack up their chainsaws and wood chippers, they leave behind a significant challenge for homeowners: a damaged, compacted, and nutrient-depleted zone where the tree and stump once stood. Lawn renovation in these specific areas requires more than simply tossing down a handful of grass seed and hoping for the best. The physical removal of a large tree, combined with the mechanical violence of stump grinding, fundamentally alters the soil structure and the local microclimate.
According to urban forestry guidelines from the USDA Forest Service, the soil surrounding mature trees often undergoes decades of compaction and organic matter depletion. When the tree is removed and the stump is ground down to a depth of eight to twelve inches, the resulting crater is filled with a mixture of pulverized wood, sawdust, and subsoil. If you attempt to plant grass directly into this mixture, you will almost certainly face failure. Understanding the biological and physical hurdles of the tree removal zone is the first step toward a successful lawn recovery.
The Hidden Challenges of the Tree Removal Zone
1. The Nitrogen Robbery Phenomenon
Stump grinding produces a massive volume of carbon-rich wood chips and sawdust. When this organic material is left in the soil, indigenous fungi and bacteria immediately begin the decomposition process. To break down the high-carbon wood fibers, these microorganisms consume vast amounts of nitrogen from the surrounding soil. This biological process, known as nitrogen immobilization or nitrogen robbery, starves the soil of the exact macronutrient your new grass seed needs to germinate and thrive. If you plant grass directly over unremoved stump grindings, the seedlings will emerge yellow, stunted, and highly susceptible to disease.
2. Severe Soil Compaction
Heavy equipment is a necessity for tree removal. Skid steers, bucket trucks, and stump grinders exert thousands of pounds of pressure per square inch on your lawn. This crushes the soil aggregates, destroys pore space, and creates a hardpan layer that prevents water infiltration and root penetration. The Arbor Day Foundation frequently highlights soil compaction as a primary barrier to healthy root establishment in renovated landscapes.
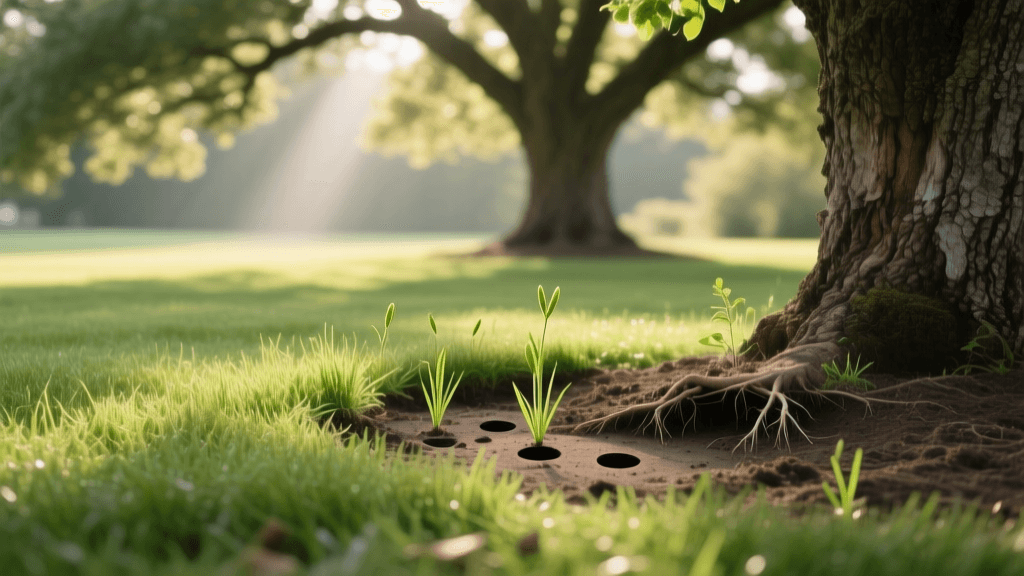
3. The Microclimate Shift
For years, the tree provided a canopy that filtered sunlight, retained soil moisture, and protected the ground from wind. Once removed, that patch of lawn is suddenly thrust into full, unfiltered sun and exposed to drying winds. Grass varieties that survived in the dappled shade will quickly scorch and die in the new, harsher solar environment.
Step 1: Excavating and Managing Stump Grindings
The most critical step in lawn renovation after tree removal is the complete extraction of the stump grindings. Do not attempt to till the sawdust into the soil, and do not simply cover it with a thin layer of topsoil.
- Define the Work Zone: Mark a circle that extends at least two feet beyond the visible edge of the stump grinding crater. Tree roots and wood debris often extend further than the trunk diameter.
- Excavate the Debris: Using a mattock, a heavy-duty spade, and a wheelbarrow, dig out the top six to eight inches of the wood chip and soil mixture. You want to reach the native, mineral-heavy subsoil beneath the grinding zone.
- Repurpose the Grindings: The excavated wood chips are excellent for composting or as mulch in distant ornamental beds, but they must be kept entirely out of the lawn renovation zone.
Step 2: Remediating Compacted Subsoil
Once the wood debris is removed, you are left with heavily compacted subsoil. Before adding new topsoil, you must fracture this hardpan layer to ensure proper drainage and deep root growth.
Use a garden fork or a motorized rotary tiller to break up the top four inches of the exposed subsoil. If the soil is heavy clay, incorporate a two-inch layer of coarse compost or well-rotted manure into the fractured subsoil. This introduces beneficial microbes and improves the soil texture, creating a transitional buffer between the dense subsoil and the new topsoil you will add next.
Step 3: Filling the Crater and Grading
With the crater cleared and the subsoil fractured, it is time to fill the void. The quality of the fill dirt you choose will dictate the long-term success of your lawn renovation.
Never use cheap, unscreened fill dirt to level a tree removal crater. Fill dirt is often heavy in clay, devoid of nutrients, and packed with weed seeds. Always invest in high-quality, screened topsoil blended with organic compost.
Purchase a premium topsoil-compost blend (often sold as a 70/30 or 80/20 mix). As you fill the crater, compact the soil lightly with your feet or a hand tamper every few inches to eliminate massive air pockets. However, the most important grading rule is to account for future settling. Freshly laid topsoil will inevitably sink as water percolates through it and air escapes. Mound the final layer of topsoil so that it sits one to two inches higher than the surrounding established lawn. Over the next few months, it will settle perfectly flush with the existing grade.
Step 4: Selecting Grass Seed for the New Microclimate
Because the shade canopy is gone, you must select a grass seed blend designed for the new light conditions. Expert turfgrass programs, such as those at the University of Minnesota Extension, emphasize that matching seed to the current solar environment is vital for turf survival.
| Previous Condition | New Condition | Recommended Grass Type |
|---|---|---|
| Heavy Shade | Full Sun (6+ hours direct light) | Turf-type Tall Fescue or Kentucky Bluegrass Blend |
| Partial Shade | Full Sun | Perennial Ryegrass and Fine Fescue Mix |
| Dappled Light | Bright Indirect Light | Shade-tolerant Tall Fescue Blend |
For most tree removal sites that transition to full sun, a high-quality Turf-type Tall Fescue blend is ideal. It offers deep rooting capabilities, excellent drought tolerance, and the resilience needed to handle the sudden increase in solar radiation and heat.
Step 5: Seeding, Fertilizing, and Mulching
Once the soil is graded, broadcast your grass seed at the rate recommended on the bag (typically 6 to 8 pounds per 1,000 square feet for new lawns). Follow this immediately with an application of a high-phosphorus starter fertilizer (such as a 10-18-10 NPK ratio). Phosphorus is crucial for stimulating rapid root development in new seedlings.
Instead of covering the seed with straw, which can introduce weed seeds and blow away, use a thin layer of peat moss or a specialized hydro-mulch. Peat moss retains moisture beautifully and darkens the soil, which helps absorb the sun's warmth to accelerate germination.
Lawn Recovery Timeline and Action Plan
| Timeframe | Action Required | Goal |
|---|---|---|
| Days 1 to 14 | Water lightly 2 to 3 times daily | Keep the top inch of soil consistently moist for seed germination. |
| Weeks 3 to 4 | Reduce watering frequency, increase depth | Encourage deep root growth as seedlings reach two inches tall. |
| Week 5 | First mowing (set blade high at 3 inches) | Trim the top third of the grass blade to encourage lateral tillering. |
| Month 2 | Apply a balanced, slow-release lawn fertilizer | Replenish nutrients and prepare the new turf for seasonal stress. |
Common Mistakes to Avoid During Lawn Renovation
- Ignoring the Root System: Even after the stump is ground, large lateral roots remain just beneath the soil surface. As these roots decay over the next few years, they will create depressions in your lawn. Keep a bag of topsoil handy to top-dress these settling areas annually.
- Overwatering the Crater: The newly added topsoil holds moisture differently than the surrounding established lawn. Monitor the crater closely to ensure you are not creating a waterlogged, anaerobic environment that will rot grass roots.
- Applying Pre-Emergent Herbicides: Never apply crabgrass preventers or broadleaf weed killers to a newly seeded lawn renovation site. These chemicals cannot distinguish between weed seeds and your expensive grass seed. Wait until the new grass has been mowed at least three times before applying any chemical herbicides.
Final Thoughts on Tree Site Recovery
Repairing lawn damage after tree and stump removal is a labor-intensive process that requires patience, physical effort, and an understanding of soil biology. By completely removing the nitrogen-robbing wood chips, fracturing the compacted subsoil, and selecting a grass seed suited to the newly exposed microclimate, you can seamlessly integrate the old tree site back into a lush, uniform lawn. The investment you make in proper soil preparation today will save you years of frustration dealing with patchy, failing turf in the future.