Tree Care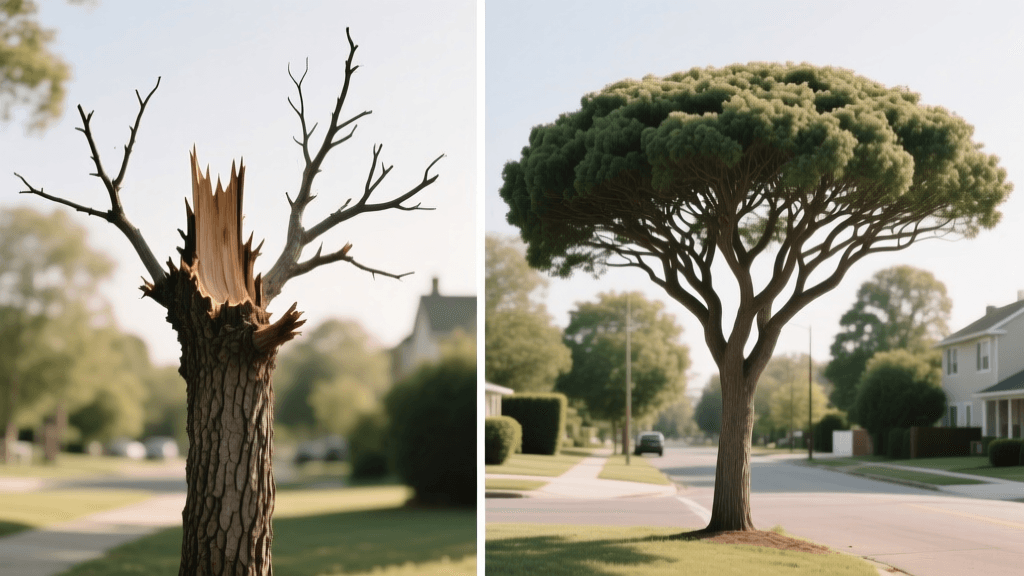
Crown Restoration: Transforming Topped Trees Before and After
The Tragedy of the Topped Tree: A Before and After Perspective
Every neighborhood has at least one: a once-majestic shade tree that was brutally 'topped' by an unqualified service, leaving behind a jagged, ugly silhouette. The 'before' picture of a topped tree is a portrait of biological stress and structural hazard. Often referred to as hat-racking or rounding over, tree topping is a practice that has been universally condemned by certified arborists. Yet, it remains a common sight in residential landscapes. The good news? With patience, proper arboricultural techniques, and a multi-year commitment, you can achieve a stunning 'after' transformation through a process known as crown restoration.
Crown restoration is the systematic, selective pruning of vigorous sprouts on a topped tree to rebuild a natural, structurally sound canopy. In this comprehensive guide, we will walk you through the physiological realities of the 'before' state, the step-by-step timeline for the 'after' transformation, and the exact tools and costs required to bring your tree back to life.
The 'Before' State: Understanding the Hidden Costs of Topping
To appreciate the 'after' transformation, you must first understand the severe trauma inflicted during the 'before' phase. Topping involves the indiscriminate cutting of large branches back to stubs or lateral branches that are not large enough to assume the terminal role. According to the University of Minnesota Extension, topping can remove 50 to 100 percent of a tree's leaf-bearing crown.
This sudden loss of foliage triggers a massive survival response. The tree is effectively starved, forcing it to activate dormant buds beneath the bark. This results in an explosion of 'water sprouts' or epicormic shoots. Unlike normal branches that develop deep, strong connections within the wood, these sprouts are anchored only in the outermost layers of the parent branch. They grow rapidly but are highly susceptible to breaking during wind and ice storms. Furthermore, the large, open wounds left by topping cuts rarely compartmentalize properly, inviting wood-decay fungi and boring insects into the heart of the tree.
The 'After' Vision: What is Crown Restoration?
The goal of crown restoration is not to return the tree to its exact original state—that is impossible once the primary scaffold branches are gone. Instead, the 'after' vision focuses on establishing a new, safe, and aesthetically pleasing canopy structure. A successfully restored tree will have a dominant leader or a well-spaced, multi-leader framework, free of weak, crossing, and inward-growing water sprouts. The end result is a tree that regains its shade value, wind resistance, and natural beauty.
The Transformation Timeline: A 5-Year Restoration Plan
Crown restoration is not a weekend project; it is a multi-year journey. Attempting to fix a topped tree in a single pruning session will shock the tree and trigger another massive flush of weak sprouts. Here is the standard timeline for a professional-grade transformation.
Year 1: Assessment, Cleaning, and Initial Thinning
The first year focuses on removing the immediate hazards and assessing the tree's vigor. Begin by removing all dead, diseased, or broken wood. Next, identify the most vigorous, well-attached water sprouts that are growing in a desirable upward and outward direction. Remove any sprouts that are growing inward toward the center of the canopy, rubbing against other branches, or growing straight down. Do not remove more than 25% of the live canopy in this first year.
Year 2 and 3: Subordination and Scaffold Selection
By the second and third years, the remaining sprouts will have thickened significantly. Your goal now is to select 1 to 3 primary scaffold branches per major stubbed limb. Use 'subordination cuts' (reduction cuts) on competing branches to slow their growth and encourage the selected scaffold branches to dominate. Ensure that the selected branches have wide crotch angles, ideally between 45 and 90 degrees, which provide the strongest structural attachment.
Year 4 and 5: Final Shaping and Canopy Establishment
In the final phase of the transformation, the tree will begin to look like a naturally growing specimen rather than a victim of hat-racking. Continue to thin out secondary branches to allow light and air penetration into the inner canopy. Remove any new epicormic shoots that appear on the lower trunk or inner branches. By Year 5, the 'after' transformation should be largely complete, requiring only standard maintenance pruning moving forward.
Before & After Transformation Data Table
Understanding the investment required for crown restoration helps homeowners weigh the costs against the alternative of complete tree removal and replacement. Below is a breakdown of the transformation phases, timelines, and estimated professional costs for a medium-to-large shade tree (e.g., a 40-foot Oak or Maple).
| Phase | Timeframe | Key Actions | Estimated Professional Cost |
|---|---|---|---|
| Phase 1: Cleaning | Year 1 | Deadwood removal, initial sprout thinning, hazard mitigation. | $350 - $600 |
| Phase 2: Subordination | Years 2-3 | Selecting scaffolds, reduction cuts on competing leaders. | $400 - $750 |
| Phase 3: Shaping | Years 4-5 | Final canopy thinning, establishing natural form. | $300 - $500 |
| Total Investment | 5 Years | Full crown restoration and structural training. | $1,050 - $1,850 |
Note: Removing a large tree and grinding the stump typically costs $1,500 to $3,000, plus $300 to $800 to plant and establish a new 15-gallon nursery tree. Restoration is often the more economical and environmentally beneficial choice.
Essential Pruning Techniques for the Best 'After' Results
The difference between a botched DIY job and a professional 'after' transformation lies in the placement of the cuts. Never use heading cuts (shearing off the end of a branch) during restoration, as this encourages more dense, weak sprouting. Instead, rely on two specific types of cuts:
- Removal Cuts: Removing a smaller branch entirely back to its parent branch or trunk. This is used to eliminate crossing branches and inward-growing sprouts. Always cut just outside the branch collar to promote proper healing.
- Reduction Cuts: Cutting a branch back to a lateral branch that is large enough to assume the terminal role. The University of Florida IFAS Extension emphasizes a critical rule of thumb: the lateral branch you are cutting back to must be at least one-third the diameter of the parent stem you are removing. This ensures the lateral branch has enough vascular capacity to sustain the remaining tissue and suppress excessive water sprout growth.
Tools of the Trade
To execute these cuts cleanly and safely, you need the right equipment. Dull tools crush bark and invite disease. Invest in:
- Hand Pruners: High-quality bypass pruners (such as the Felco 2) for cuts up to 1 inch in diameter.
- Loppers: Bypass loppers with 24-inch handles for branches up to 2 inches thick.
- Pole Saw: A manual or gas-powered pole saw (like a Silky Hayauchi) for reaching higher scaffolds without using a ladder, which is inherently dangerous when pruning.
- Sanitization: A spray bottle with 70% isopropyl alcohol to sterilize blades between trees to prevent the spread of pathogens.
Post-Transformation Aftercare
The 'after' phase of your tree's transformation requires dedicated aftercare to support the energy-intensive process of rebuilding a canopy. A stressed tree cannot compartmentalize wounds or fight off secondary pests without proper cultural support.
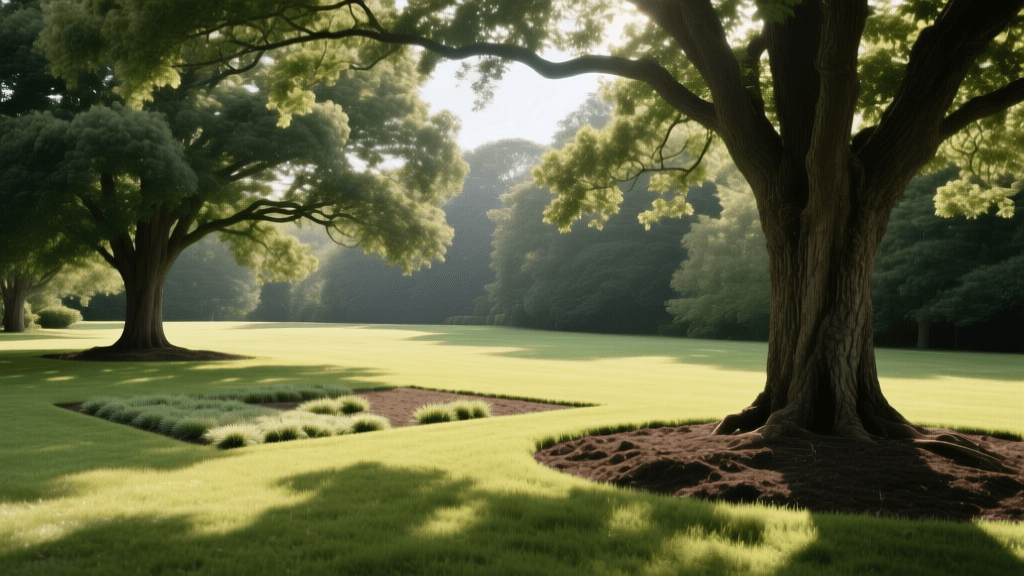
The 3-3-3 Mulching Rule
Proper mulching is non-negotiable for a recovering tree. The Arbor Day Foundation recommends the 3-3-3 rule: apply a layer of organic mulch (like shredded hardwood or pine bark) 3 inches deep, in a 3-foot radius around the trunk, and keep it 3 inches away from the trunk bark itself. This retains soil moisture, regulates temperature, and prevents lawnmower damage, which is a leading cause of decline in restored trees.
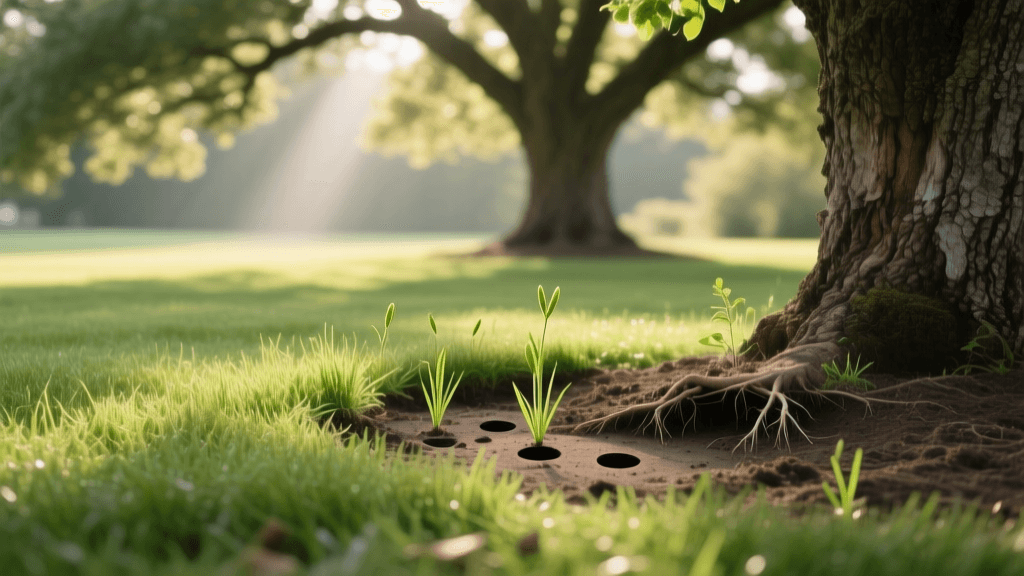
Deep Watering and Fertilization
Topped trees have compromised root-to-shoot ratios. During the first two years of restoration, provide deep, infrequent watering. Use a soaker hose to deliver 10 to 15 gallons of water per week during dry spells, ensuring the moisture penetrates 12 to 18 inches into the soil. Avoid high-nitrogen synthetic fertilizers, which force rapid, weak, and sappy growth that attracts aphids and borers. Instead, top-dress the mulch ring with a 1-inch layer of organic compost in the early spring to provide a slow-release nutrient profile.
'Patience is the most important tool in an arborist's kit when it comes to crown restoration. You are not just cutting wood; you are redirecting the biological energy of a living organism. Rush the process, and the tree will fight you every step of the way. Guide it gently over five years, and it will reward you with a lifetime of shade.'
— Board-Certified Master Arborist Perspective
Conclusion: Embracing the Transformation
The journey from a mutilated, topped tree to a restored, majestic shade tree is one of the most rewarding projects a homeowner can undertake. While the 'before' state may look hopeless, the biological resilience of trees is extraordinary. By following a disciplined, multi-year crown restoration plan, utilizing proper reduction cuts, and providing diligent aftercare, you can erase the mistakes of the past. The 'after' transformation will not only increase your property value and landscape aesthetics but also preserve the vital environmental benefits that only a mature, established tree can provide.