
Landscaping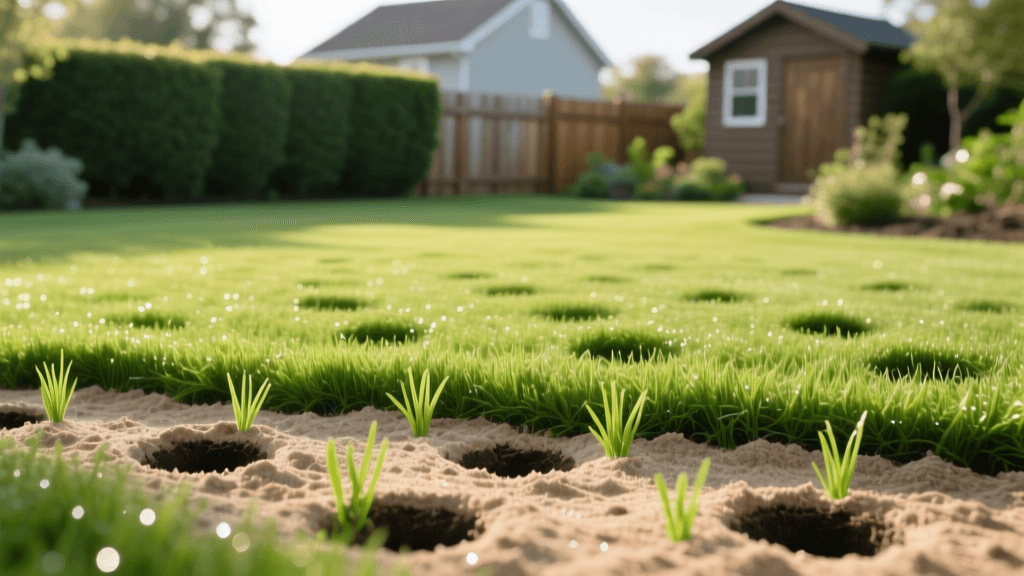
How to Revive a Dead Lawn: Aeration and Overseeding
The Anatomy of a Failing Lawn
Watching a once-vibrant lawn succumb to patchy brown spots, aggressive weeds, and compacted soil is a frustrating experience for any homeowner. Lawn deterioration rarely happens overnight; it is usually the cumulative result of environmental stressors, poor soil biology, and inadequate maintenance routines. Heavy foot traffic, prolonged drought, and the natural accumulation of thatch can choke out grassroots systems, leaving your landscape looking barren and lifeless.
However, a dead or severely thinning lawn does not necessarily require a complete tear-out and expensive resodding. Through a strategic landscaping process known as lawn renovation, you can breathe new life into your existing turf. The cornerstone of this recovery process relies on a powerful triad of landscaping practices: core aeration, strategic topdressing, and precision overseeding. When executed correctly, this combination addresses the root causes of turf failure and establishes a resilient, drought-tolerant, and visually stunning landscape.
Step 1: Site Preparation and Mowing
Before introducing new seed or altering the soil profile, you must prepare the existing turf canopy. The goal is to expose the soil surface to maximize seed-to-soil contact, which is the single most critical factor in successful germination.
- Scalp the Lawn: Lower your mower deck to its lowest setting, aiming for a cutting height of about 1 to 1.5 inches. This severe haircut reduces competition from existing grass and weeds.
- Bag the Clippings: Use a bagging attachment to remove all debris. Leaving clippings behind will create a barrier that prevents new seeds from reaching the soil.
- Dethatch if Necessary: If your thatch layer (the spongy organic matter between the soil and the grass blades) exceeds half an inch, use a power dethatcher or a vigorous manual thatching rake to tear it out. According to the University of Minnesota Extension, excessive thatch prevents water, air, and nutrients from penetrating the root zone, making renovation efforts futile if left unaddressed.
Step 2: Core Aeration for Deep Soil Relief
Soil compaction is the silent killer of lawns. When soil particles are pressed too tightly together, grassroots cannot expand, and beneficial microbes suffocate. Core aeration involves using a machine to physically extract plugs of soil—typically 2 to 3 inches deep and 0.5 inches wide—from the lawn.
For a thorough renovation, rent a walk-behind core aerator from a local equipment rental center (expect to pay around $80 to $100 for a half-day rental). Avoid spike aerators or aerator shoes, as these merely punch holes and can actually increase compaction along the hole walls.
Pro Tip: Run the core aerator over your lawn in two perpendicular directions (e.g., north-south, then east-west). This double-pass method ensures you pull enough plugs to adequately fracture the compacted soil layers and create ample micro-nurseries for your new grass seed.
Leave the extracted soil plugs on the lawn. They will break down naturally over the next few weeks, depositing beneficial soil microbes back onto the surface and helping to decompose any remaining thatch.
Step 3: Strategic Topdressing
Topdressing is the process of applying a thin layer of organic or inorganic material over the lawn. In a renovation scenario, topdressing fills the aeration holes, levels out minor grading imperfections, and introduces vital organic matter to depleted soils. Choosing the right topdressing material depends on your existing soil composition.
| Material | Best Used For | Application Rate | Pros & Cons |
|---|---|---|---|
| Screened Compost | Clay or sandy soils lacking organic matter | 1/4 to 1/2 inch deep | Pros: Adds nutrients and microbes. Cons: Can smother grass if applied too thick. |
| Mason Sand | Heavy clay soils needing drainage improvement | 1/4 inch deep | Pros: Improves drainage, levels bumps. Cons: Adds zero nutritional value. |
| Peat Moss | Alkaline soils requiring pH reduction | 1/4 inch deep | Pros: Excellent moisture retention. Cons: Hydrophobic when dry, environmentally debated. |
After spreading your chosen topdressing material, use a stiff push broom or a drag mat to work the material deeply into the aeration holes and down to the soil surface.
Step 4: Overseeding with Precision
Overseeding introduces new, improved turfgrass cultivars into your existing lawn. Modern grass varieties are bred for superior drought tolerance, disease resistance, and darker color. As noted in the UMN guide to seeding home lawns, selecting a seed mix that matches your site's sun exposure and your region's climate is paramount for long-term survival.
- Cool-Season Lawns: Use a mix of Kentucky Bluegrass, Perennial Ryegrass, and Fine Fescues. Apply at a rate of 3 to 5 pounds per 1,000 square feet for overseeding.
- Warm-Season Lawns: Use Bermudagrass or Zoysia seed (or plugs/sprigs). Apply Bermudagrass seed at 1 to 2 pounds per 1,000 square feet.
Use a broadcast spreader for even distribution. Split your seed application in half, applying the first half walking horizontally and the second half walking vertically. This cross-hatching technique prevents unsightly striping and ensures uniform coverage.
Step 5: The Germination Watering Schedule
Water is the catalyst for germination. Newly sown seed must remain consistently moist—but never waterlogged—until the root system is established. The Environmental Protection Agency (EPA) notes that landscape irrigation accounts for nearly one-third of all residential water use, making efficient, targeted watering essential for both your lawn's survival and your utility bill.
| Grass Type | Days to Germinate | Daily Watering Needs (First 21 Days) |
|---|---|---|
| Perennial Ryegrass | 5 - 10 Days | 2 to 3 light waterings daily (5-10 mins each) |
| Tall Fescue | 7 - 14 Days | 2 light waterings daily (5-10 mins each) |
| Kentucky Bluegrass | 14 - 30 Days | 3 light waterings daily (crucial to prevent drying) |
| Bermudagrass | 10 - 21 Days | 2 to 3 light waterings daily (requires warm soil) |
Set your sprinkler system on a smart timer to deliver short, frequent bursts of water. As the grass seedlings reach 2 inches in height, gradually reduce the frequency of watering while increasing the duration to encourage deep root growth.
Post-Renovation Fertilization
New grass seedlings require immediate access to phosphorus to develop strong root systems. Apply a high-quality starter fertilizer (look for an N-P-K ratio like 18-24-12) on the same day you sow the seed. Avoid using standard weed-and-feed products, as the pre-emergent herbicides contained within them will prevent your new grass seed from germinating. Wait until the new grass has been mowed at least three times before applying any broadleaf weed control.
Common Lawn Renovation Mistakes to Avoid
Even with the best intentions, homeowners often sabotage their lawn recovery efforts by falling victim to common landscaping errors:
- Mowing Too Soon: Resist the urge to mow until the new grass reaches at least 3.5 inches in height. When you do mow, ensure your blade is razor-sharp to prevent tearing the tender young seedlings out of the soil.
- Ignoring Soil Tests: If your soil pH is severely imbalanced (below 6.0 or above 7.5), the grass will struggle to uptake nutrients regardless of how much fertilizer you apply. Always conduct a soil test prior to renovation.
- Overwatering to the Point of Runoff: Soggy soil invites fungal diseases like Pythium blight, which can wipe out a newly seeded lawn in a matter of days. If water begins to pool or run off into the street, your watering cycles are too long.
Conclusion
Reviving a dead or failing lawn is a highly rewarding landscaping project that drastically improves your property's curb appeal and ecological health. By systematically relieving soil compaction through core aeration, amending the soil profile with topdressing, and introducing resilient turf cultivars via overseeding, you can transform a barren yard into a lush, durable outdoor living space. Patience and strict adherence to the germination watering schedule are your greatest tools in this recovery journey.

