
Gardening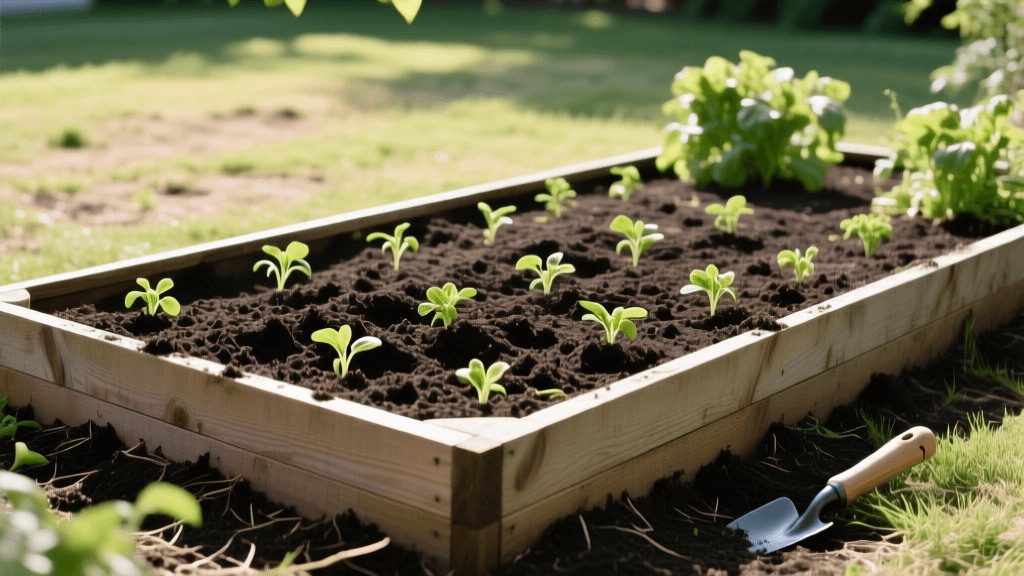
Revive Dead Lawn Soil For Thriving Vegetable Garden Beds
The Opportunity in Lawn Recovery
When a lawn fails, homeowners often default to aggressive chemical treatments, endless reseeding, or expensive sod replacement. However, lawn renovation and recovery do not always mean you must stick to turfgrass. In fact, a failing, compacted, or weed-choked lawn presents a unique opportunity to transition your landscape into a highly productive edible garden. Dead lawn soil is often plagued by severe compaction, depleted organic matter, and a disrupted soil food web. By pivoting your renovation strategy from turf recovery to vegetable garden preparation, you can transform a barren yard into a thriving agricultural space.
This guide details the exact steps, costs, and timelines required to recover dead lawn soil and construct raised vegetable beds that will yield abundant harvests for years to come.
Step 1: Eradicating the Old Turf Without Chemicals
Before you can build healthy garden soil, you must eliminate the existing turf and deep-rooted weeds like bindweed or quackgrass. While glyphosate is a common choice, it can negatively impact the soil microbiome you are trying to rebuild. For organic lawn recovery and garden transition, we recommend two primary methods: soil solarization and sheet mulching.
Soil Solarization (Best for Summer Renovations)
Soil solarization uses the sun's radiant energy to heat the soil to temperatures that kill turfgrass, weed seeds, and soil-borne pathogens. According to the University of California Statewide IPM Program, solarization is most effective during the hottest 4 to 6 weeks of summer.
- Preparation: Mow the dead lawn as short as possible and water the soil deeply to a depth of 12 inches. Moist soil conducts heat better than dry soil.
- Application: Cover the area with clear, 2-mil to 6-mil UV-resistant plastic sheeting. Bury the edges in a 6-inch deep trench to create an airtight seal.
- Timeline: Leave the plastic in place for 4 to 6 weeks. Soil temperatures at a 6-inch depth can reach 110°F to 125°F, effectively cooking the turf and sterilizing the top layer.
- Cost: Approximately $0.15 to $0.30 per square foot for heavy-duty clear plastic.
Sheet Mulching (Best for Fall/Winter Renovations)
If you are renovating in the cooler months, sheet mulching (lasagna gardening) is ideal. Mow the grass, cover the area with overlapping sheets of plain brown cardboard, and top with 4 to 6 inches of wood chips or arborist chips. Over 4 to 6 months, the grass will decompose, feeding the earthworms and leaving you with a soft, workable base.
Step 2: Diagnosing and Breaking Soil Compaction
Years of foot traffic and heavy mowing equipment create a hardpan layer in lawn soil, typically 4 to 8 inches below the surface. This hardpan prevents water infiltration and suffocates beneficial aerobic bacteria. The USDA Natural Resources Conservation Service (NRCS) emphasizes that minimizing soil disturbance while maximizing root diversity is key to restoring soil health.
Instead of using a rototiller—which destroys soil structure, chops up beneficial mycorrhizal fungi, and brings dormant weed seeds to the surface—use a broadfork.
How to Use a Broadfork for Lawn Recovery
A broadfork (costing between $100 and $150) features long, sturdy tines that you push into the hardpan and gently pull back. This action fractures the compacted soil, allowing oxygen and water to penetrate deeply without inverting the soil layers.
Pro Tip: Never step on the fractured soil after broadforking. Work backward across the lawn area to ensure the newly aerated soil remains light and fluffy, preserving the macro-pores you just created.
Step 3: Constructing Your Raised Garden Beds
While you can plant directly into the recovered ground soil, building raised beds over the aerated lawn base provides superior drainage, warms up faster in the spring, and allows for precise control over your soil chemistry. The University of Minnesota Extension recommends raised beds that are no wider than 4 feet so you can reach the center from either side without stepping on the soil.
Material and Sizing Specifications
- Dimensions: 4 feet wide by 8 feet long. Depth should be at least 12 inches, though 18 inches is ideal for deep-rooting crops like tomatoes and carrots.
- Materials: Untreated cedar or redwood ($150–$300 per bed) offers natural rot resistance. Avoid pressure-treated lumber containing copper azole near edible root crops. Alternatively, composite boards ($250–$400) offer a lifetime lifespan with zero chemical leaching.
- Base Layer: Do not put a weed fabric barrier at the bottom of the bed. This blocks earthworms and drainage. Instead, lay down the cardboard from your sheet mulching phase directly on the broadforked lawn soil.
Step 4: The Ultimate Soil Recovery Blend
The most critical step in transitioning from a dead lawn to a vibrant garden is the soil mix. Native lawn soil, even after aeration, lacks the organic matter and cation exchange capacity (CEC) required for heavy-feeding vegetables. You must import a specialized blend.
A modified 'Mel's Mix' (from the Square Foot Gardening method) is highly effective for raised beds over recovered lawn zones. Here is the optimal ratio and breakdown for filling a standard 4x8x12-inch bed (which requires roughly 32 cubic feet of soil):
| Component | Volume Ratio | Purpose & Benefits | Estimated Cost (per cu. ft.) |
|---|---|---|---|
| High-Quality Compost | 33% | Provides slow-release nutrients, beneficial microbes, and improves moisture retention. Use a blend of composted manure, mushroom compost, and homemade yard waste. | $1.50 - $3.00 |
| Coconut Coir | 33% | A sustainable alternative to peat moss. Acts as a sponge, holding up to 10 times its weight in water while keeping the soil structure light and airy. | $1.00 - $2.00 (bulk) |
| Coarse Vermiculite | 17% | A volcanic mineral that expands when heated. It permanently improves soil aeration and prevents the bed from compacting over time. | $2.50 - $4.00 |
| Native Screened Topsoil | 17% | Adds essential trace minerals and bulk density to anchor heavy plants like corn and indeterminate tomatoes. | $0.50 - $1.00 |
Mixing Instructions: Blend these materials thoroughly in a wheelbarrow or on a tarp before adding them to the raised bed. Water the mix heavily as you fill the bed to settle the coir and eliminate large air pockets.
Step 5: Transitioning to a Productive Garden
Once your beds are filled, the final phase of lawn recovery is establishing a living root system to protect your newly engineered soil. Bare soil is vulnerable to erosion, UV degradation, and weed invasion.
Immediate Planting and Mulching
If planting in the spring or summer, transplant your vegetable starts immediately. After planting, apply a 2-inch layer of organic mulch, such as straw, shredded leaves, or grass clippings (ensure clippings are from a lawn that has not been treated with persistent herbicides like clopyralid). This mulch regulates soil temperature, retains moisture, and slowly breaks down to feed the soil biology.
Off-Season Cover Cropping
If you complete your lawn renovation in the late fall, do not leave the soil empty. Plant a cover crop mix of winter rye and hairy vetch. The rye will scavenge leftover nutrients and prevent erosion, while the vetch (a legume) will fix atmospheric nitrogen into the soil. In the spring, simply chop the cover crop down and drop it on the soil surface as a 'green manure' before planting your summer vegetables.
Conclusion
Recovering a dead, compacted lawn does not have to mean fighting an endless battle with turfgrass. By utilizing solarization or sheet mulching, breaking the hardpan with a broadfork, and constructing raised beds filled with a biologically active soil blend, you permanently solve your lawn care headaches. You transition from spending weekends mowing and fertilizing a struggling yard to harvesting pounds of fresh, organic produce from a space you successfully brought back to life.

