
Landscaping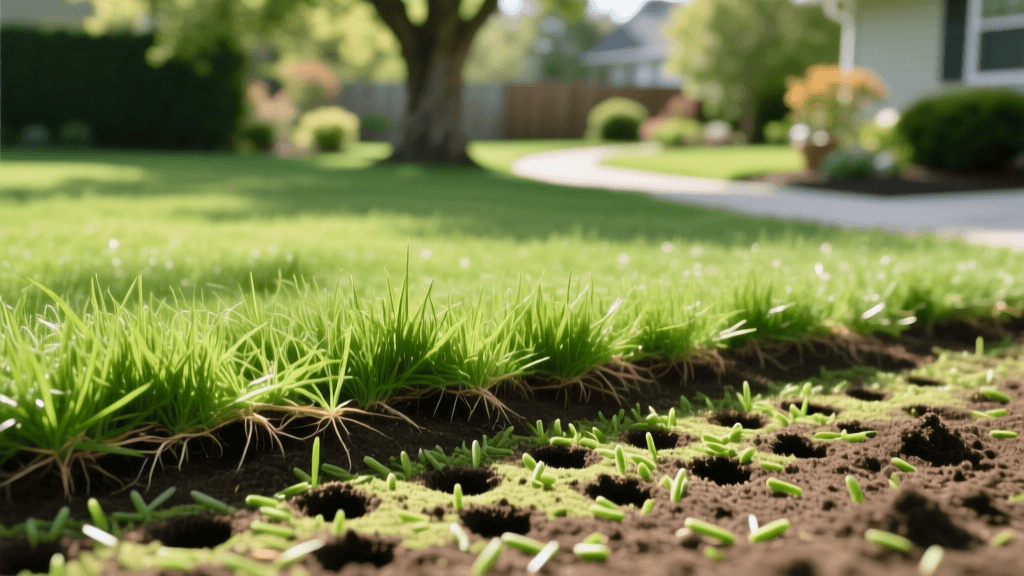
Lawn Renovation Guide: Reviving Drought Damaged Turfgrass
Introduction to Lawn Renovation After Drought Stress
Drought conditions can severely compromise the aesthetic and functional value of your landscaping, leaving behind brown patches, thinning turf, and compacted soil. When a lawn experiences prolonged water scarcity, the root systems shrink, and the grass plants enter a state of dormancy or die off completely. Lawn renovation and recovery require a strategic, multi-step approach that goes far beyond simply turning on the sprinklers. To truly restore your outdoor living space, you must address the underlying soil health, introduce resilient turfgrass varieties, and implement sustainable landscaping practices. This comprehensive guide will walk you through the exact steps, measurements, and timelines required to bring a drought-damaged lawn back to vibrant life.
Step 1: Assess the Damage and Test Your Soil
Before purchasing seed or renting equipment, you must determine whether your lawn is merely dormant or completely dead. Perform the tug test: grab a handful of brown grass and pull gently. If the grass resists and stays rooted, it is likely dormant and may recover with deep watering. If it pulls up easily with no root resistance, the turf is dead and requires complete renovation. Next, conduct a comprehensive soil test. Drought-stressed soils often suffer from pH imbalances and depleted organic matter. You can purchase a mail-in soil test kit from your local university extension office. The results will dictate exactly how much lime or sulfur you need to adjust the pH to the optimal 6.0 to 7.0 range for most turfgrasses.
Step 2: Eradicate Weeds and Clear Debris
Drought-weakened lawns are highly susceptible to weed invasions, particularly from opportunistic species like crabgrass, spurge, and dandelions. These weeds compete aggressively for whatever limited moisture and nutrients remain in the soil. For localized weed patches, manual removal using a stand-up weeder tool is highly effective and prevents chemical runoff. For widespread infestations, apply a non-selective herbicide containing glyphosate to the dead and weedy areas, waiting at least seven to ten days before proceeding to the next step. Rake the area vigorously with a heavy-duty thatch rake or a power dethatcher to remove dead organic matter, ensuring that new seed will have direct contact with the soil surface.
Step 3: Core Aeration for Soil Decompaction
Compacted soil is one of the primary reasons lawns fail to recover from drought. When soil particles are pressed tightly together, water and air cannot penetrate the root zone. Core aeration is the process of removing small plugs of soil, typically 2 to 3 inches deep and 0.5 inches in diameter, to alleviate this compaction. According to experts at the Purdue University Turfgrass Science program, core aeration is vastly superior to spike aeration because it physically removes soil mass, allowing the surrounding ground to expand and increasing the soil's water-holding capacity. Rent a walk-behind core aerator and make two passes over the lawn in perpendicular directions. Leave the extracted soil cores on the lawn; they will break down naturally during the next rainfall or watering cycle, acting as a natural topdressing that introduces beneficial microbes back into the thatch layer.
Step 4: Selecting the Right Seed and Overseeding
Choosing the correct seed is critical for long-term drought resilience. You must select a turfgrass species that aligns with your climate zone, sun exposure, and foot traffic requirements. When overseeding a renovated area, seed-to-soil contact is paramount. Broadcast the seed evenly using a rotary spreader, then lightly drag a piece of chain-link fence or a grass drag mat over the area to work the seeds into the aeration holes and soil crevices. Below is a comparison chart of popular drought-tolerant grass types to help you make an informed decision.
| Grass Type | Seed Rate (per 1,000 sq ft) | Drought Tolerance | Establishment Time |
|---|---|---|---|
| Tall Fescue (Cool-Season) | 5.0 - 8.0 lbs | Excellent (Deep root system) | 10 - 14 days |
| Kentucky Bluegrass (Cool-Season) | 2.0 - 3.0 lbs | Good (Goes dormant, recovers well) | 14 - 21 days |
| Bermudagrass (Warm-Season) | 1.0 - 2.0 lbs | Exceptional (High heat tolerance) | 10 - 14 days |
| Zoysiagrass (Warm-Season) | 1.0 - 2.0 lbs (Seed) / Plugs preferred | Exceptional (Slow growth retains moisture) | 14 - 21 days |
Step 5: Topdressing and Starter Fertilizer Application
After overseeding, apply a thin layer of topdressing to protect the seeds from drying out and being washed away. Use a finely screened compost or a peat moss blend, spreading it to a depth of exactly 1/4 inch. This layer acts as a mulch, retaining vital moisture around the germinating seeds. Immediately following topdressing, apply a high-phosphorus starter fertilizer. Look for an NPK ratio similar to 10-18-10 or 18-24-12. Phosphorus is essential for rapid root development in new seedlings. Apply the fertilizer at the rate specified on the manufacturer's label, typically around 4 pounds per 1,000 square feet, and water it in immediately to prevent the salts from burning the exposed seeds.
Step 6: The Critical Watering and Establishment Schedule
The most common point of failure in lawn renovation is improper watering during the establishment phase. New grass seed must remain consistently moist until the roots anchor firmly into the soil. The University of Minnesota Extension advises that frequent, light waterings are necessary initially, transitioning to deeper, less frequent waterings as the grass matures. Follow this strict watering schedule for the first month:
- Days 1 to 10 (Germination Phase): Water 2 to 3 times per day for 5 to 10 minutes each session. The goal is to keep the top 1 inch of soil damp without creating puddles or washing away the seed.
- Days 11 to 21 (Seedling Phase): Reduce watering to once per day for 15 to 20 minutes. This encourages the young roots to stretch deeper into the soil profile in search of moisture.
- Days 22 to 30 (Establishment Phase): Water every other day for 30 minutes. By this stage, the grass should be roughly 2 inches tall and ready for its first mowing.
- Day 31 and Beyond (Maintenance Phase): Transition to the standard 1 to 1.5 inches of water per week, applied in one or two deep soakings to promote maximum drought resistance.
Long-Term Landscaping Maintenance for Drought Resilience
Once your newly renovated lawn has fully established, your landscaping maintenance practices must evolve to protect your investment against future droughts. Raise your mower blade to a minimum height of 3 to 4 inches. Taller grass blades shade the soil, significantly reducing evaporation rates and keeping the root zone cooler. Furthermore, leaving grass clippings on the lawn after mowing returns valuable nitrogen and organic matter back to the soil ecosystem. To further enhance your landscape's sustainability, consider integrating smart irrigation controllers that adjust watering schedules based on local weather data and soil moisture sensors. According to the Environmental Protection Agency's WaterSense program, upgrading to water-efficient landscaping practices and smart irrigation can reduce outdoor water use by up to 50 percent while maintaining a lush, vibrant curb appeal. By combining proper soil aeration, resilient seed selection, and intelligent watering strategies, your lawn will not only recover from severe drought damage but will emerge stronger and more resilient than ever before.

