
Best Smart Irrigation Controllers for Water-Efficient Lawns
The Shift to Smart Outdoor Water Management
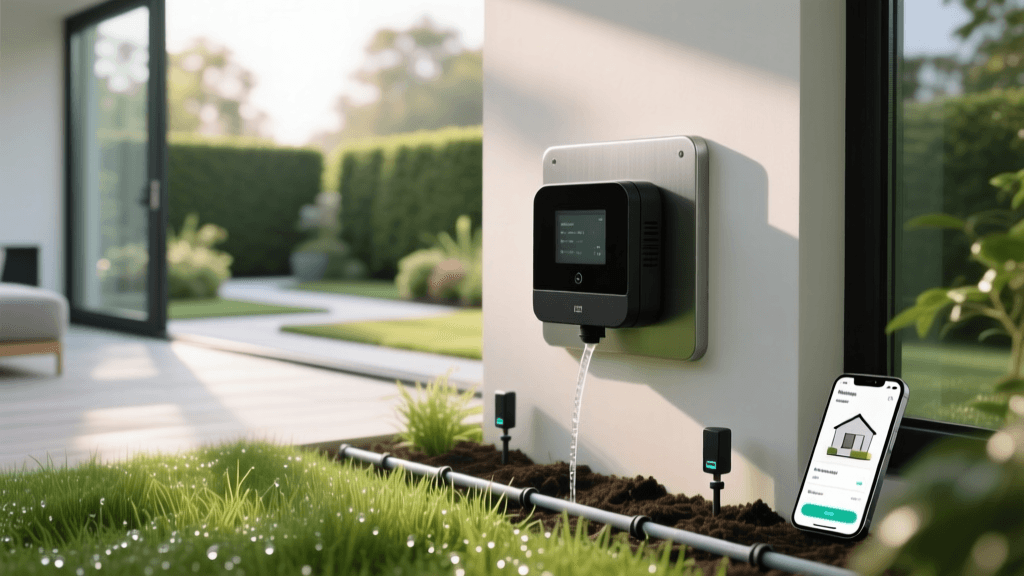
Bridging the gap between indoor smart home technology and outdoor landscaping is one of the most effective ways to modernize your property. For decades, homeowners have relied on traditional, clock-based sprinkler timers that operate on rigid schedules. These outdated systems ignore rainfall, humidity, and soil conditions, leading to overwatered lawns, fungal diseases, and wasted resources. Upgrading to a smart irrigation controller is a foundational step in energy-efficient landscaping and modern home maintenance.
A smart controller acts as the brain of your outdoor water system, adjusting watering schedules in real-time based on local weather data, soil moisture levels, and specific plant needs. Whether you are maintaining a pristine turfgrass lawn or managing a delicate garden-to-table vegetable bed, smart controllers provide the precision required for optimal plant health while drastically reducing your water bill.
Why Upgrade from Traditional Timers?
Traditional timers operate on a set-it-and-forget-it mentality. If you program your system to run for 20 minutes every morning at 6:00 AM, it will do so whether the soil is bone dry or completely saturated from a midnight thunderstorm. This not only wastes water but can drown plant roots and promote shallow root growth, making your lawn more susceptible to drought stress later in the season.
According to the EPA WaterSense program, smart irrigation controllers can save the average home nearly 7,600 gallons of water annually. By utilizing local weather data and evapotranspiration (ET) rates—the process by which water is transferred from the land to the atmosphere by evaporation and plant transpiration—these devices ensure your landscape receives only the exact amount of water it needs, exactly when it needs it.
Weather-Based vs. Soil Moisture Sensors
When shopping for a smart controller, you will generally encounter two primary technologies:
- Weather-Based (ET) Controllers: These connect to your home Wi-Fi and pull real-time data from local weather stations or national meteorological services. They calculate ET rates based on temperature, wind speed, solar radiation, and humidity, automatically skipping scheduled runs if rain is in the forecast.
- Soil Moisture Sensor Controllers: These rely on physical probes buried in the root zones of your landscape. They measure the actual volumetric water content of the soil. While highly accurate, they require more complex installation and are typically used in commercial settings or highly specialized garden-to-table raised beds.
For most residential applications, a Wi-Fi-enabled, weather-based controller offers the best balance of ease of use, cost-effectiveness, and water savings.
Top Smart Sprinkler Controllers Compared
Selecting the right hardware depends on your yard's size, the number of irrigation zones, and your desired level of smart home integration. Below is a comparison of the top models on the market:
| Model | Max Zones | Smart Features | EPA WaterSense Certified | Approx. Cost |
|---|---|---|---|---|
| Rachio 3 | 8 or 16 | Weather Intelligence Plus, IFTTT, Alexa/HomeKit | Yes | $220 - $270 |
| Orbit B-hyve XR | 6, 8, or 16 | WeatherSense, Bluetooth backup, App control | Yes | $160 - $200 |
| Rain Bird ST8I-2.0 | 8 | Wi-Fi connectivity, basic weather adjustments | Yes | $140 - $160 |
Note: Prices fluctuate based on seasonal sales and zone capacity. Always verify current EPA WaterSense certification status on the manufacturer's website.
Step-by-Step Installation and Wiring Guide
Replacing an old mechanical timer with a smart controller is a highly manageable DIY project that typically takes under an hour. Here is a practical guide to getting your new system online:
- Safety First: Locate your irrigation system's dedicated circuit breaker and turn off the power. If your old controller plugs into a standard outlet, simply unplug it.
- Document the Wiring: Before removing any wires from your old controller, take a clear, well-lit photograph of the terminal board. Ensure you can clearly see which colored wire corresponds to which zone number and the common (C) terminal.
- Mount the New Backplate: Most smart controllers are designed to use the same mounting holes as legacy models. If not, use the provided drywall anchors and screws to secure the new backplate.
- Connect the Wires: Loosen the terminal screws on your new smart controller. Insert the wires according to your photograph. The white or black wire usually designated as 'Common' must go into the 'C' terminal. The remaining wires go into their respective zone terminals (1, 2, 3, etc.).
- Power On and Connect: Restore power to the system. Download the manufacturer's app on your smartphone, create an account, and follow the on-screen prompts to connect the controller to your 2.4GHz Wi-Fi network. (Note: Most smart home outdoor devices do not support 5GHz networks).
Hydrozoning for Garden-to-Table and Turf
A smart controller is only as effective as the physical layout of your irrigation system. To maximize efficiency, your landscape should be divided into 'hydrozones'—areas with plants that have similar water requirements.
Turfgrass requires frequent, shallow watering to maintain a lush appearance, whereas garden-to-table vegetable beds and deep-rooted native shrubs benefit from infrequent, deep watering. If your vegetable garden is wired to the same zone as your front lawn, one area will inevitably be overwatered or underwatered.
Actionable Tip: Use your smart controller's app to set custom 'Crop Coefficients' for each zone. Tell the app that Zone 1 is Cool-Season Turf, Zone 2 is a Vegetable Garden (Drip Irrigation), and Zone 3 is Drought-Tolerant Shrubs. The algorithm will automatically adjust the run times and frequency for each zone based on these specific plant profiles, ensuring your tomatoes get the deep soaking they need without drowning your lawn.
Smart Home Integration and Automation
The true power of these tools lies in their integration with the broader smart home ecosystem. By linking your irrigation controller to platforms like Amazon Alexa, Apple HomeKit, or IFTTT (If This Then That), you can create powerful automations:
- Freeze Protection: Set an IFTTT routine that automatically disables all irrigation schedules if your local smart weather station reports temperatures dropping below 32°F (0°C), preventing dangerous ice buildup on walkways and driveways.
- Wind Skip: Configure your system to skip watering if local wind speeds exceed 15 mph, preventing water from blowing onto the sidewalk and wasting resources.
- Voice Control: Use voice commands to manually trigger a specific zone while you are in the yard inspecting sprinkler heads for clogs or misalignments.
Troubleshooting Common Smart Controller Issues
While smart controllers are highly reliable, outdoor environments can present unique challenges. The most common issue is Wi-Fi connectivity. Because controllers are often mounted in garages, basements, or on exterior brick walls, they may struggle to reach your home's main router. If your app frequently reports the device as 'offline,' consider installing a simple Wi-Fi range extender halfway between your router and the controller.
Another common issue is a 'Valve Fault' or 'Solenoid Error' alert in the app. This rarely means the smart controller is broken; rather, it indicates a break in the low-voltage wiring leading to a specific sprinkler valve in the yard, or a failed solenoid. Use a multimeter to test the voltage at the controller terminals and trace the wire to the valve to locate the break.
Seasonal Adjustments and Winterization
Even with automated weather adjustments, seasonal maintenance is crucial. In late autumn, before the first hard freeze, you must winterize your system. This involves shutting off the main water supply to the irrigation system and using an air compressor to 'blow out' the lines, preventing frozen water from cracking your PVC pipes and sprinkler bodies.
Once the lines are clear, use your smart app to put the controller into 'Sleep' or 'Off' mode for the winter. Do not simply unplug the controller, as this will erase your carefully programmed zone data and plant profiles. Keeping it plugged in and connected to Wi-Fi ensures that all your settings are preserved and ready for the spring thaw.
Conclusion: The ROI of Smart Irrigation
Investing in a smart irrigation controller is a win for both your wallet and the environment. While the upfront cost of a premium Wi-Fi controller ranges from $150 to $300, the reduction in your monthly water and sewer bills typically allows the system to pay for itself within one to two growing seasons. Furthermore, by delivering precise hydration, you promote deeper root systems, reduce weed germination in overly damp soil, and protect local waterways from fertilizer runoff caused by overwatering. For a comprehensive look at how outdoor water usage impacts your overall home footprint, review the EPA's Outdoor Water Use FAQs to understand the broader environmental benefits of making the switch.

