
Smart Patio Upgrades for Curb Appeal and Entertaining
Transforming Your Outdoor Living Space
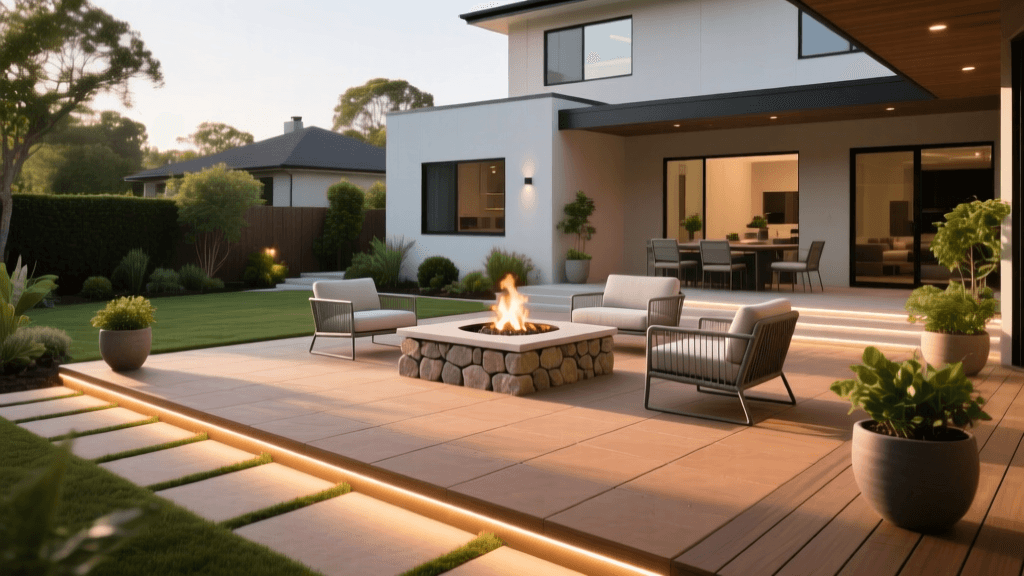
The modern home extends far beyond its interior walls. Today, the patio serves as a secondary living room, a dining area, and the ultimate hub for outdoor entertaining. Upgrading your patio is not just about creating a comfortable space for weekend barbecues; it is a strategic investment in your property's curb appeal and overall market value. According to landscape industry experts, well-designed outdoor living spaces can yield a return on investment of up to 80% when it comes time to sell your home. However, achieving a high-end, functional outdoor space requires moving beyond basic concrete slabs and string lights. By integrating eco-friendly hardscaping, smart home technology, and strategic landscaping, you can bridge the gap between indoor luxury and outdoor durability.
This comprehensive guide will walk you through actionable, high-impact patio upgrades. We will cover the installation of permeable pavers, the integration of smart LED landscape lighting, the selection of the perfect fire feature, and the use of privacy screens to frame your entertaining space.
The Foundation: Permeable Pavers for Eco-Friendly Patios
Traditional concrete patios contribute to stormwater runoff, which can overwhelm municipal sewer systems and cause localized flooding. Permeable pavers offer a stunning, durable, and environmentally responsible alternative. These pavers are designed with wider joints filled with small, crushed aggregate, allowing rainwater to percolate through the surface and into the soil below.
According to the Environmental Protection Agency (EPA), permeable pavements can significantly reduce runoff volume and filter out pollutants like oil, heavy metals, and fertilizers before they reach groundwater. Beyond the environmental benefits, permeable pavers offer superior freeze-thaw durability compared to poured concrete, as the flexible joints prevent cracking during winter shifts.
Installation Specifications and Costs
To ensure proper drainage and structural integrity, the base preparation is critical. Here are the standard measurements for a residential patio designed for foot traffic and standard outdoor furniture:
- Excavation: Dig to a depth of 9 to 12 inches below the final grade.
- Geotextile Fabric: Lay a non-woven geotextile fabric over the soil to prevent weed growth and base contamination.
- Base Layer: Add 4 to 6 inches of 3/4-inch clean, washed crushed stone. Compact this layer using a mechanical plate compactor.
- Bedding Layer: Add a 1-inch layer of 1/4-inch crushed stone (often called stone dust or bedding sand). Do not use fine sand, as it will clog the permeable joints.
- Pavers and Joints: Lay the pavers and sweep 1/8-inch or 1/4-inch clean, angular aggregate into the joints to lock them in place while maintaining permeability.
Cost Estimate: Expect to pay between $12 and $25 per square foot for professional installation, or $6 to $12 per square foot if you tackle the excavation and base preparation as a DIY weekend project.
Illuminating the Night: Smart Landscape Lighting
Outdoor entertaining often extends well into the evening, making landscape lighting a non-negotiable element of patio design. However, outdated halogen fixtures and manual timers are a thing of the past. Modern smart landscape lighting systems offer energy efficiency, enhanced security, and customizable ambiance directly from your smartphone.
The U.S. Department of Energy notes that LED lighting uses at least 75% less energy, and lasts 25 times longer, than incandescent lighting. When upgrading your patio lighting, opt for a 12-volt low-voltage LED system equipped with a smart Wi-Fi transformer.
Lighting Design and Lumens Guide
To create a layered, inviting atmosphere, avoid overly bright floodlights. Instead, use a combination of path lights, hardscape lights, and uplighting. Follow these lumen and color temperature guidelines for optimal entertaining:
- Path and Step Lights: 150 to 300 lumens. Place them 6 to 8 feet apart along walkways to guide guests safely without creating glare.
- Hardscape and Under-Cap Lights: 100 to 200 lumens. Install these beneath patio seating walls or stair treads for a luxurious, hidden glow.
- Tree Uplighting: 300 to 500 lumens. Position fixtures at the base of surrounding trees to draw the eye upward and expand the perceived size of your yard at night.
- Color Temperature: Stick to 2700K (warm white) for entertaining areas to mimic the cozy glow of firelight. Use 3000K for security or task lighting near outdoor kitchens.
Smart Integration: Upgrade to a smart transformer (such as those by Kichler or VOLT) that connects to your home Wi-Fi. This allows you to set schedules, dim the lights for late-night conversations, or integrate the lighting with voice assistants like Alexa or Google Home.
The Focal Point: Choosing the Right Fire Feature
A fire feature acts as the natural gathering point for any outdoor living space. It extends the usability of your patio into the cooler months of autumn and early spring. When selecting a fire feature, you must balance aesthetics, fuel availability, maintenance, and local municipal burn ordinances.
Below is a comparison chart to help you choose the best fire feature for your specific entertaining needs:
| Feature Type | Fuel Source | Heat Output (BTU) | Avg. Cost | Maintenance & Best Use |
|---|---|---|---|---|
| Wood-Burning Fire Pit | Firewood | 60,000 - 100,000+ | $300 - $1,500 | High (ash cleanup). Best for rustic ambiance and roasting marshmallows. Check local burn bans. |
| Propane Fire Table | 20lb Propane Tank | 40,000 - 60,000 | $500 - $2,000 | Low. Best for quick, smokeless heat and doubling as a coffee table when not in use. |
| Natural Gas Fire Bowl | Municipal Gas Line | 50,000 - 80,000 | $1,500 - $4,000+ | Very Low. Best for permanent, high-end installations with unlimited fuel supply. |
| Tabletop Ethanol Burner | Bioethanol Gel | 2,000 - 5,000 | $100 - $400 | Low. Best for small balconies or dining tables where ambient flame is preferred over heat. |
Pro Tip: If you opt for a propane fire table, look for models with a hidden tank compartment and a built-in wind guard. Ensure the unit is CSA-certified for safety and features an automatic shut-off valve in case the flame is extinguished by a sudden gust of wind.
Framing the Space: Privacy Screens and Vertical Gardens
True outdoor living requires a sense of enclosure and privacy. Instead of building expensive and visually heavy wooden fences, consider using living privacy screens to frame your patio. Evergreen trees and large shrubs soften the hardscaping, absorb street noise, and provide a lush, green backdrop for your entertaining area.
The Arbor Day Foundation highlights that strategically placed trees and shrubs not only provide privacy but also act as windbreaks, reducing winter heating costs and summer cooling costs for the home. For a narrow, fast-growing privacy screen, the 'Emerald Green' Arborvitae (Thuja occidentalis 'Smaragd') is a top choice.
Planting Specifications for Privacy Hedges
- Spacing: Plant Emerald Green Arborvitae 3 feet apart (measured from the center of the trunk) to create a dense, continuous screen within 3 to 4 years.
- Distance from Patio: Keep the planting bed at least 4 feet away from the edge of your permeable pavers to prevent root intrusion and allow space for mulch and maintenance.
- Soil and Mulch: Amend the native soil with organic compost. Apply a 2-to-3-inch layer of hardwood mulch over the root zone to retain moisture and regulate soil temperature. Keep mulch 3 inches away from the trunk to prevent rot.
If your patio is bordered by a blank exterior wall or a fence, integrate a vertical garden or a trellis system. Growing climbing vines like Star Jasmine (Trachelospermum jasminoides) not only provides a beautiful visual screen but also releases a stunning fragrance during evening gatherings.
Smart Irrigation for Patio Planters and Raised Beds
To complete the bridge between your garden and your entertaining space, incorporate large, architectural planters or raised garden beds adjacent to the patio. These are perfect for growing garden-to-table herbs like rosemary, basil, and mint for your outdoor bar. However, container plants dry out much faster than in-ground gardens, especially when exposed to the radiant heat of pavers and fire features.
Integrate a smart drip irrigation system into your patio design. Run 1/2-inch poly tubing along the back edge of your patio planters, branching off with 1/4-inch micro-tubing and adjustable drip emitters (rated at 1 to 2 gallons per hour) directly into the soil of each pot. Connect the main line to a smart hose timer, such as a Rachio or B-hyve controller. These devices connect to local weather stations via Wi-Fi and will automatically skip watering if rain is in the forecast, ensuring your patio herbs remain healthy without wasting water or requiring manual intervention while you are busy hosting guests.
Project Plan: Budgeting and Timing Your Patio Upgrade
Executing a multi-faceted patio upgrade requires careful sequencing to protect your investment and ensure a smooth build. Here is a recommended timeline for a standard 400-square-foot patio upgrade:
- Weekend 1: Demo and Base Prep. Remove old concrete or sod. Excavate to 12 inches, lay geotextile fabric, and install the compacted crushed stone base. Install PVC sleeves under the base if you plan to run natural gas or low-voltage lighting wires across the patio.
- Weekend 2: Hardscaping and Lighting. Lay the bedding layer and install the permeable pavers. Run your 12-voltage lighting cables through the pre-laid sleeves and set your path lights and hardscape fixtures.
- Weekend 3: Landscaping and Finishing Touches. Dig the perimeter trenches and plant your privacy screens. Set up the smart drip irrigation for your planters. Finally, position your outdoor furniture, connect the smart lighting transformer to your Wi-Fi, and unbox your new propane fire table.
By thoughtfully combining eco-friendly hardscaping, intelligent lighting, and strategic landscaping, you can create an outdoor entertaining space that is as functional as it is beautiful. These upgrades not only elevate your daily living experience but also serve as a powerful boost to your home's long-term curb appeal and market value.

