
Gardening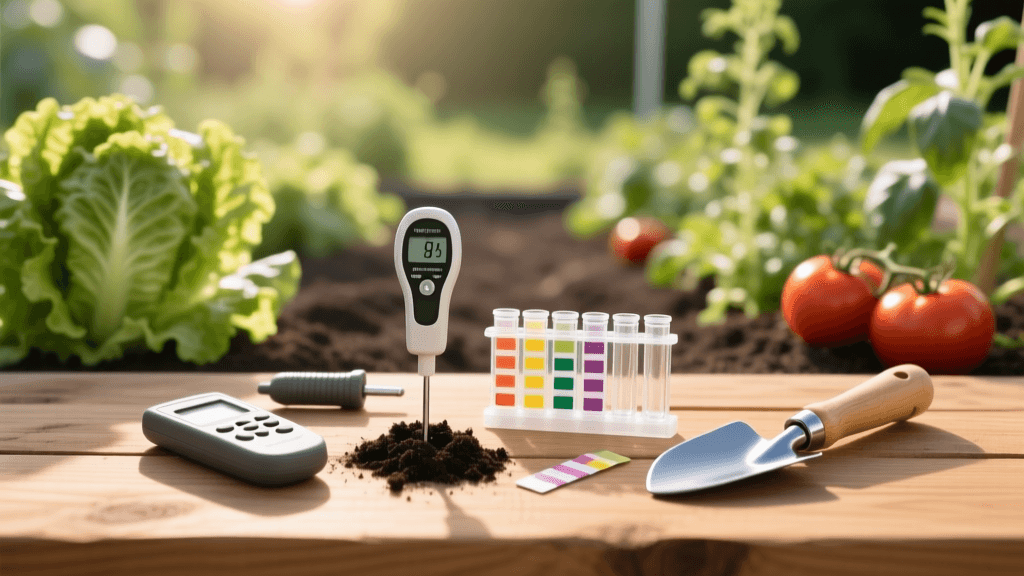
Essential Soil Testing Tools and Kits for Vegetable Gardens
The Foundation of a Thriving Garden: Why Test Your Soil?
Gardening is as much a science as it is an art, and nowhere is this more evident than in the soil beneath your feet. Before you plant a single seed or transplant a fragile seedling into your raised beds, understanding your soil's chemical and physical properties is the single most important step you can take. Soil testing removes the guesswork from fertilization, helping you avoid nutrient lockout, over-application of amendments, and poor crop yields.
Vegetables are heavy feeders that require a precise balance of macronutrients (nitrogen, phosphorus, and potassium) and micronutrients (iron, calcium, magnesium) to thrive. However, the availability of these nutrients is heavily dictated by soil pH. If your pH is too acidic or too alkaline, essential nutrients become chemically bound in the soil and unavailable to plant roots, regardless of how much fertilizer you apply. According to the University of Wisconsin-Madison Extension, testing your soil every three to five years is critical for maintaining optimal fertility and preventing the toxic buildup of certain minerals like phosphorus.
To get accurate readings, you need the right equipment. This comprehensive guide covers the essential soil testing tools, sampling equipment, and analytical kits required for serious home vegetable gardening and small-scale market farming.
Essential Soil Sampling Tools
Before you can test your soil, you must extract a representative sample. Using the wrong tools can lead to cross-contamination or samples that only represent the very top layer of soil, ignoring the deeper root zone where vegetables draw their moisture and nutrients.
1. Stainless Steel Soil Probes
For the most accurate and undisturbed soil cores, a professional-grade soil probe is indispensable. The AMS Stainless Steel Soil Probe (typically 1 inch in diameter with a cross-handle) is a favorite among agronomists and serious gardeners. It allows you to extract a clean, cylindrical core of soil down to 6 or 12 inches without mixing the soil layers. Stainless steel is crucial because galvanized or brass tools can leach trace amounts of zinc or copper into your sample, skewing micronutrient lab results.
2. The Japanese Hori Hori Knife
If a professional probe is out of your budget, a high-quality Hori Hori knife is the ultimate multi-tool for garden sampling and daily tasks. Originating in Japan, this knife features a concave, serrated blade with depth markings etched into the metal. To use it for sampling, you can plunge the blade to the 6-inch mark, pull back the soil, and extract a slice from the root zone. It is also invaluable for cutting through tough cover crop roots, dividing perennials, and precisely measuring planting depths for garlic and spring bulbs.
3. Handheld Soil Augers
For gardens with heavy clay or compacted soils where a push-probe might bend, a handheld soil auger is the tool of choice. Resembling a large corkscrew attached to a T-handle, an auger bores into the earth, bringing up deep soil profiles with minimal physical strain. This is particularly useful for prepping deep-rooted crops like daikon radishes, carrots, and parsnips.
Choosing the Right Soil Testing Method
Once you have your soil sample, you must decide how to analyze it. The market offers a spectrum of tools ranging from inexpensive chemical kits to high-end digital meters and professional laboratory analyses. Below is a comparison chart to help you choose the right method for your specific gardening needs.
| Testing Method | Accuracy | Estimated Cost | Turnaround Time | Best Used For |
|---|---|---|---|---|
| Chemical Colorimetric Kits | Low to Moderate | $15 - $30 | Immediate (10 mins) | Quick pH checks and rough N-P-K estimates |
| Digital pH / EC Meters | High (for pH/EC) | $50 - $150 | Immediate | Monitoring pH drift and soluble salt levels |
| University / Commercial Lab | Very High | $20 - $50 | 1 to 3 Weeks | Baseline testing, CEC analysis, and precise amendment prescriptions |
Top At-Home Soil Test Kits and Digital Meters
For ongoing monitoring between professional lab tests, at-home kits and digital meters are excellent tools to keep in your garden shed.
Luster Leaf Rapitest 4-Way Analyzer
The Luster Leaf Rapitest is one of the most popular at-home chemical kits on the market. It uses color-coded capsules and a simple plastic chamber to test for pH, Nitrogen, Phosphorus, and Potassium. You mix your soil with distilled water, add the powder from a capsule, and compare the resulting color change to a provided chart. While it will not give you exact parts-per-million (PPM) readings, it is highly effective for identifying severe deficiencies or dangerous pH imbalances before the planting season begins.
Oakton EcoTestr pH 2 Digital Meter
When it comes to digital pH testing, cheap 'pen' meters often fail after a single season due to poor waterproofing and fragile glass bulbs. The Oakton EcoTestr pH 2 is a rugged, waterproof pocket meter designed for field use. It features Automatic Temperature Compensation (ATC), which is vital because soil temperature affects pH readings. To use it, you must create a soil slurry (typically a 1:1 or 1:2 ratio of soil to distilled water), let it settle, and insert the probe into the supernatant liquid. It provides laboratory-grade pH accuracy in the palm of your hand.
Bluelab PENPH pH Pen
Widely used by hydroponic growers and greenhouse managers, the Bluelab pH Pen is another top-tier digital tool. It is fully waterproof, replaceable, and features a double-junction probe that resists clogging from soil particles and organic matter. It requires regular calibration using pH 4.0 and 7.0 buffer solutions, but the precision it offers is unmatched for gardeners who frequently amend their soil with acidic materials like peat moss or elemental sulfur.
How to Take a Proper Soil Sample
Even the most expensive laboratory analysis is useless if the sample you send in is not representative of your garden. The Clemson University Home & Garden Information Center emphasizes that a proper composite sample is the key to accurate results. Follow these steps to ensure a flawless sample collection:
- Map Your Garden: Divide your garden into zones based on soil type, drainage, and past use. Do not mix samples from a low-lying, wet clay area with a sandy, well-drained raised bed.
- Clean Your Tools: Wipe down your soil probe or Hori Hori knife with a clean cloth. Never use soapy water or chemical cleaners, as the residue will contaminate the sample.
- Extract Subsamples: Walk in a zig-zag pattern across your garden zone. Extract 10 to 15 core samples from the top 6 to 8 inches of soil (the primary root zone for most annual vegetables). Discard the surface mulch or grass before probing.
- Mix the Composite: Place all 10 to 15 subsamples into a clean plastic bucket. Break up any clods and mix the soil thoroughly. Avoid using galvanized metal buckets, which can contaminate zinc and copper readings.
- Dry and Package: Spread the mixed soil on a newspaper or paper towel in a shaded, well-ventilated area to air dry. Once dry, place about two cups of the composite soil into the clean, sealable bag provided by your testing lab or kit.
Understanding Soil Health Beyond N-P-K
While at-home kits focus primarily on N-P-K and pH, professional lab tests offer a deeper dive into the physical and biological health of your soil. One of the most critical metrics provided by a lab is the Cation Exchange Capacity (CEC). CEC measures your soil's ability to hold onto positively charged nutrients (like calcium, magnesium, and potassium) and prevent them from leaching away with rainfall. Sandy soils have a low CEC, meaning they require frequent, light applications of fertilizer. Clay soils and soils rich in organic matter have a high CEC, acting like a sponge to hold nutrients for long-term plant use.
The USDA Natural Resources Conservation Service (NRCS) emphasizes that understanding your soil's baseline health, including organic matter percentages and microbial activity, is essential for sustainable land management. By utilizing professional lab testing alongside your daily digital meters and hand tools, you can build a resilient soil food web that naturally suppresses diseases and retains moisture during drought conditions.
When and How Often to Test
Timing is everything when it comes to soil testing. The best time to test your vegetable garden is in the early fall, after the main harvest but before the ground freezes. This gives you ample time to apply slow-acting amendments like agricultural lime, elemental sulfur, or rock phosphate, which can take several months to break down and alter the soil chemistry. If you miss the fall window, early spring—about four to six weeks before your last frost date—is the second-best option. Avoid testing immediately after heavy rains or right after applying fresh fertilizer, as this will yield highly skewed and inaccurate results.
Conclusion
Investing in high-quality soil testing tools and sampling equipment is one of the most cost-effective decisions a vegetable gardener can make. By combining the precision of a stainless steel soil probe, the daily utility of a Hori Hori knife, and the analytical power of both digital pH meters and university lab tests, you take complete control of your garden's ecosystem. Stop guessing with generic fertilizer schedules and start gardening with data. Your vegetables, your soil, and your harvest will thank you.

