
Gardening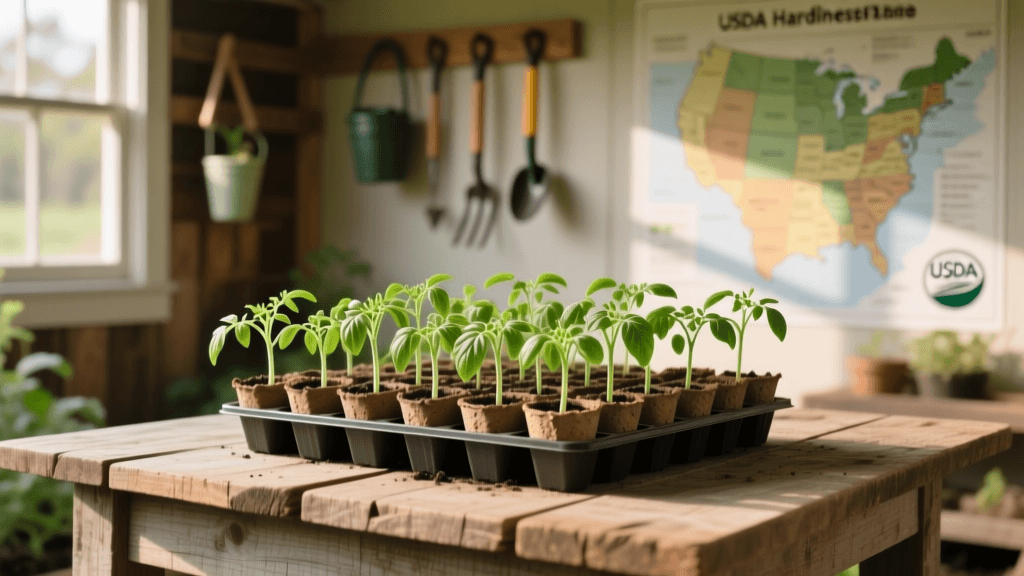
Spring Tomato Planting Schedule by USDA Hardiness Zone
Why Timing is Everything for Tomatoes
Tomatoes (Solanum lycopersicum) are the undisputed kings of the summer vegetable garden, but their success hinges almost entirely on your seasonal planting schedule. Because tomatoes are highly sensitive to frost and require a long, warm growing season to produce fruit, starting them at the exact right time is critical. Planting too early in cold, wet soil can lead to stunted growth, root rot, and fatal transplant shock. Conversely, planting too late shortens your harvest window and exposes developing fruit to early autumn frosts.
Whether you are growing compact determinate varieties for patio containers or sprawling indeterminate heirlooms for your raised beds, understanding the intersection of your local climate and the plant's biological needs is the first step toward a bountiful harvest. This guide will walk you through the precise seasonal timing, seed-starting protocols, and transplanting schedules necessary to maximize your tomato yield.
Understanding Your USDA Hardiness Zone and Frost Dates
Before you purchase seeds or fill a single seed tray, you must identify your local frost dates. The USDA Plant Hardiness Zone Map is the standard by which gardeners determine which plants are most likely to thrive in a given location. However, for annual vegetables like tomatoes, your last spring frost date is the single most important metric on your calendar.
Tomato seeds should generally be started indoors 6 to 8 weeks before your last expected spring frost date. Transplanting into the garden should only occur 1 to 2 weeks after that last frost date, once soil temperatures have consistently reached at least 60°F (15°C). Relying on the calendar date alone is a common beginner mistake; always monitor local weather forecasts and soil temperatures using a digital soil thermometer.
The Ultimate Tomato Seed-Starting and Transplant Schedule
The following table provides a general timeline for seed starting and outdoor transplanting based on broad USDA Hardiness Zones. Use this as a baseline, but always adjust based on your specific microclimate and local meteorological data.
| USDA Zone | Typical Last Frost Window | Start Seeds Indoors | Transplant Outdoors |
|---|---|---|---|
| Zones 3-4 | Mid-May to Early June | Early to Mid-March | Early to Mid-June |
| Zones 5-6 | Late April to Mid-May | Early to Mid-March | Late May to Early June |
| Zones 7-8 | Late March to Mid-April | Early to Mid-February | Late April to Early May |
| Zones 9-10 | Rare / Year-Round Growing | Dec-Jan (Spring Crop) | Feb-Mar (Spring Crop) |
Step-by-Step Seed Starting Indoors
Starting tomatoes from seed gives you access to thousands of heirloom and hybrid varieties unavailable at local garden centers. To ensure robust, stocky seedlings, follow these precise actionable steps:
- Seed Trays and Soil: Use clean, sterile 72-cell seed starting trays with humidity domes. Fill them with a high-quality, soilless seed starting mix (such as Espoma Organic Seed Starter or Miracle-Gro Seed Starting Mix). Do not use garden soil or heavy potting soil, as these compact easily and harbor soil-borne pathogens like damping-off fungus.
- Sowing Depth and Moisture: Plant two seeds per cell at a depth of exactly 1/4 inch. Mist the surface gently with water to avoid displacing the seeds. Maintain consistent moisture, but never let the mix become waterlogged.
- Temperature Control: Tomato seeds require warmth to germinate. Place your trays on a seedling heat mat set to 75°F to 80°F (24°C to 27°C). At this temperature range, germination typically occurs within 5 to 10 days. Once sprouts emerge, remove the humidity dome and the heat mat.
- Lighting Requirements: Seedlings require 14 to 16 hours of intense light daily to prevent them from becoming 'leggy'. Position a 40-watt LED grow light or fluorescent shop light just 2 to 3 inches above the seedling canopy. Raise the light as the plants grow.
- Up-Potting: When seedlings develop their second set of true leaves (about 3-4 weeks after sowing), transplant them into 3-inch or 4-inch pots filled with a standard potting mix amended with a slow-release organic fertilizer.
Hardening Off: The Crucial Transition Period
Moving indoor seedlings directly into the harsh outdoor elements is a recipe for disaster. The ultraviolet radiation, wind, and temperature fluctuations will scorch and break tender stems. You must 'harden off' your tomatoes over a 7 to 10-day period.
Begin by placing the seedlings in a fully shaded, sheltered outdoor spot for just two hours on the first day. Gradually increase their outdoor time by 1 to 2 hours each day, slowly introducing them to dappled sunlight, and eventually, direct morning sun. By day 7, they should be spending the entire day outside and staying out overnight, provided nighttime temperatures remain strictly above 50°F (10°C). This process thickens the plant's cuticle and stimulates stronger stem development.
Transplanting into the Garden: Soil Prep and Spacing
According to experts at the University of Minnesota Extension, tomatoes thrive in well-draining, loamy soil with a pH between 6.2 and 6.8. Weeks before your transplant date, prepare your raised beds or garden rows by working in 2 to 3 inches of finished compost. Avoid high-nitrogen fertilizers, which will promote lush, green foliage at the expense of flower and fruit production.
When transplanting, employ the 'deep planting' method. Tomatoes possess the unique ability to sprout adventitious roots along their buried stems. Pinch off the lowest sets of leaves and dig a hole deep enough to bury the stem up to the top few sets of leaves. This creates a massive, resilient root system capable of withstanding summer droughts.
Spacing is equally critical for airflow and disease prevention. The North Carolina State Extension recommends the following spacing guidelines:
- Determinate (Bush) Varieties: Space plants 24 inches apart in rows that are 3 feet apart. These are ideal for smaller spaces and container gardening.
- Indeterminate (Vining) Varieties: Space plants 36 inches apart in rows that are 4 to 5 feet apart, especially if you are using tall trellises or the Florida Weave staking method.
Companion Planting and Early Season Maintenance
Once your tomatoes are safely in the ground according to your zone's schedule, consider integrating companion plants to maximize garden health. Planting French Marigolds (Tagetes patula) around the base of your tomatoes can help deter root-knot nematodes, while intercropping with sweet basil improves pollinator activity and may subtly enhance the flavor profile of your harvest. Avoid planting tomatoes near the Brassica family (cabbage, broccoli) or fennel, as these can inhibit tomato growth and attract competing pests.
During the first two weeks after transplanting, monitor your plants daily for signs of transplant shock or cutworm damage. Placing a small collar made from a cardboard toilet paper tube around the base of the stem, pushed one inch into the soil, creates an impenetrable physical barrier against nocturnal cutworms. Consistent, deep watering at the soil level—avoiding overhead irrigation that wets the foliage—will establish your plants rapidly and prepare them for the heavy fruiting phase of mid-summer.
Common Seasonal Mistakes to Avoid
Even with a perfect schedule, gardeners can stumble during the execution phase. Avoid these frequent seasonal pitfalls:
- Ignoring Soil Temperature: Air temperature might be 70°F, but if the soil is still 50°F, tomato roots will stall, and the plant may suffer from phosphorus deficiency (indicated by purple leaves). Always verify soil warmth before transplanting.
- Inconsistent Watering: Fluctuating soil moisture levels lead to Blossom End Rot, a physiological disorder caused by the plant's inability to uptake calcium. Apply a 2-inch layer of organic straw mulch immediately after planting to retain soil moisture and regulate temperature.
- Overcrowding: It is tempting to squeeze more plants into a raised bed, but poor air circulation invites devastating fungal diseases like Early Blight and Septoria Leaf Spot. Respect the spacing charts and prune lower suckers to maintain airflow.
Final Thoughts on Seasonal Timing
Mastering the seasonal timing and planting schedule for tomatoes transforms your garden from a source of frustration into a reliable producer of high-quality, vine-ripened fruit. By respecting your local frost dates, rigorously controlling the indoor seedling environment, and properly hardening off and deep-planting your transplants, you set the stage for a vibrant, productive summer garden. Keep a detailed garden journal each year to track your specific microclimate's quirks, and refine your planting schedule season after season for even greater success.

