Tree Care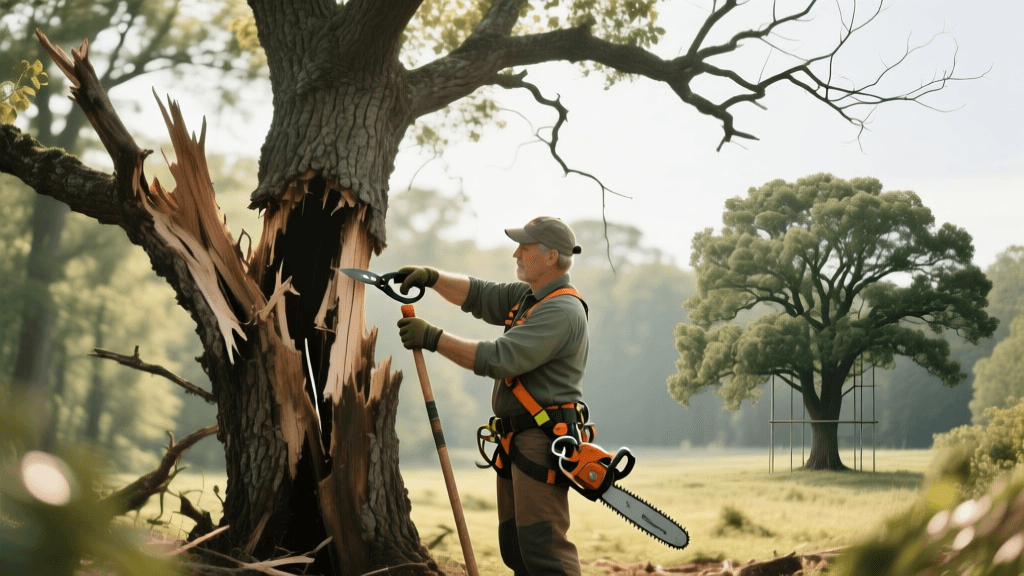
Transforming Storm-Damaged Oaks: A Before & After Pruning Guide
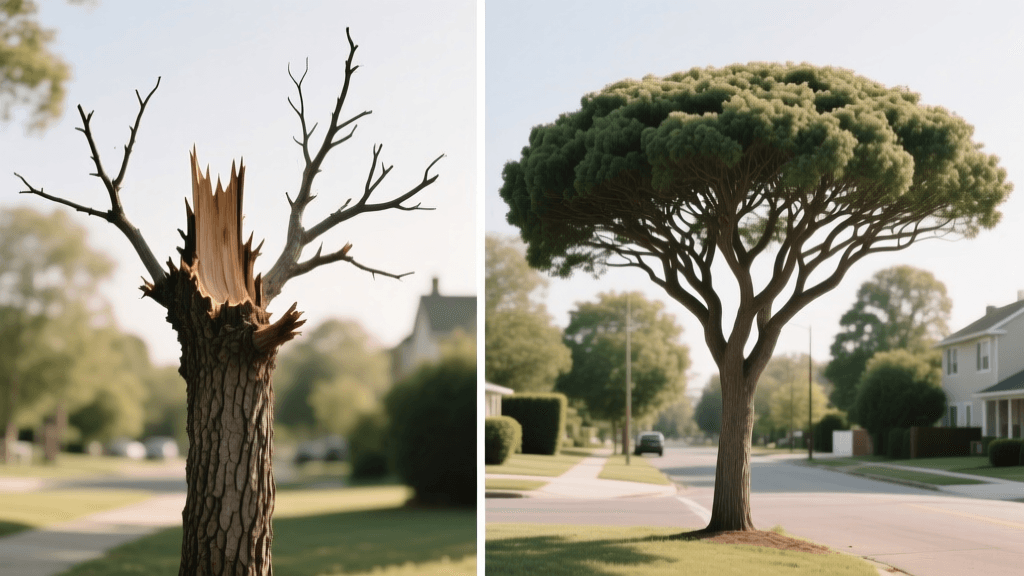
The Before: A Majestic Oak Brought Down by a Microburst
There are few sights more heartbreaking to a homeowner than walking into the yard after a severe summer storm to find a mature, 60-year-old Red Oak (Quercus rubra) with a shattered central leader and torn lateral branches. The "Before" state of storm-damaged trees is often chaotic, dangerous, and visually devastating. Splintered heartwood is exposed to the elements, jagged bark flaps peel away from the cambium layer, and heavy, hanging limbs threaten to crush underlying landscaping or structures. However, with proper assessment and strategic crown restoration pruning, what looks like a total loss can be transformed into a thriving, structurally sound specimen tree. In this comprehensive before-and-after guide, we will walk through the exact timeline, tools, and techniques required to rescue a storm-damaged oak, drawing on principles endorsed by the Arbor Day Foundation and leading forestry experts.
Assessing the Damage: Is Your Oak Worth Saving?
Before you pick up a chainsaw, you must evaluate the tree's viability. Not every damaged tree can be saved, and attempting to restore a fatally compromised oak is both a waste of resources and a long-term safety hazard. According to the University of Minnesota Extension, the decision to save or remove a storm-damaged tree hinges on the extent of the canopy loss, trunk damage, and root plate stability.
| Damage Category | Save the Tree (Favorable) | Consider Removal (Unfavorable) |
|---|---|---|
| Canopy Loss | Less than 50% of branches destroyed | More than 50% of the crown is gone |
| Trunk Damage | Wounds affect less than 25% of the trunk circumference | Vertical splits extending deep into the heartwood or >25% bark loss |
| Root System | Root plate is undisturbed; no soil heaving at the base | Visible root snapping, severe leaning, or soil mounding on one side |
| Pre-Existing Health | Tree was vigorous, with no major decay or pest issues | Advanced oak wilt, severe borer infestation, or extensive interior rot |
If your oak falls into the "Save" column, you are ready to begin the transformation process. If it leans heavily toward removal, consult a certified professional, as the International Society of Arboriculture (ISA) strongly recommends hiring an arborist for hazardous takedowns.
The Transformation Process: Step-by-Step Crown Restoration
Phase 1: Immediate Hazard Mitigation (Days 1-3)
The immediate aftermath requires a focus on safety. The "Before" yard is a minefield of tension-filled, hanging branches known as "widowmakers." Your first step is to remove all completely detached or dangerously suspended limbs. For limbs under 3 inches in diameter, use a high-quality bypass pruner like the Felco 8. For larger, hanging limbs, a pole saw or a lightweight battery-powered chainsaw like the Stihl MSA 220 C-B allows for safe distance cutting. Crucial Timing Note: If the storm occurs during the active oak wilt season (April through July in many northern regions), you must immediately seal any fresh pruning wounds on oaks with a specialized pruning paint or latex-based wound dressing to prevent sap-feeding beetles from transmitting the fatal oak wilt fungus. Outside of this window, wound paint is entirely unnecessary and actually hinders the tree's natural healing process.
Phase 2: The Three-Cut Method and Callus Formation (Months 1-2)
Once the immediate hazards are cleared, the aesthetic and structural transformation begins. The goal is to convert jagged, torn stubs into clean cuts that the tree can compartmentalize. Trees do not "heal" in the human sense; they seal off damaged tissue through a process called Compartmentalization of Decay in Trees (CODIT). To facilitate this, every torn lateral branch must be removed using the precise Three-Cut Method:
- Cut 1 (The Undercut): Using a sharp handsaw (we recommend the Silky Bigboy 2000 with its aggressive 6.5 teeth-per-inch blade), cut upward from the underside of the branch, about 12 to 18 inches away from the trunk. Cut about one-third of the way through. This prevents the heavy limb from tearing the bark down the trunk as it falls.
- Cut 2 (The Top Cut): Move 2 inches further out from your undercut and saw straight down from the top. The branch will snap cleanly at the undercut, dropping safely without stripping the trunk bark.
- Cut 3 (The Collar Cut): This is the transformation cut. Locate the branch collar (the swollen area where the branch meets the trunk) and the branch bark ridge. Make a clean, angled cut just outside the collar, parallel to the trunk. Never cut flush to the trunk. Flush cutting destroys the collar's chemical defense zones, inviting rampant interior decay.
Phase 3: Subordination Pruning for Future Structure (Year 1 Dormant Season)
When a central leader snaps off, the tree will desperately try to replace it by sending up multiple, weakly attached vertical shoots (water sprouts). The "Before" phase of this secondary growth looks like a chaotic broom. During the first dormant season (late winter), you must perform subordination pruning. Select one strong, upward-growing lateral branch with a wide crotch angle (ideally 45 to 60 degrees) to become the new central leader. Reduce the length of competing lateral branches by cutting them back to a secondary lateral branch that is at least one-third the diameter of the branch being cut. This slows the growth of competitors and directs the tree's energy into establishing a dominant, structurally sound new apex.
The After: Tracking the Recovery Timeline
6 Months Post-Pruning: The Sealing Phase
Six months after your precise collar cuts, the visual transformation is striking. The jagged, splintered wounds of the "Before" stage are gone. In their place, you will see a thick, donut-shaped ridge of woundwood (callus tissue) rolling over the cut surface. If the tree was healthy, this roll should be uniform around the entire circumference of the cut, indicating successful CODIT and a robust energy reserve.
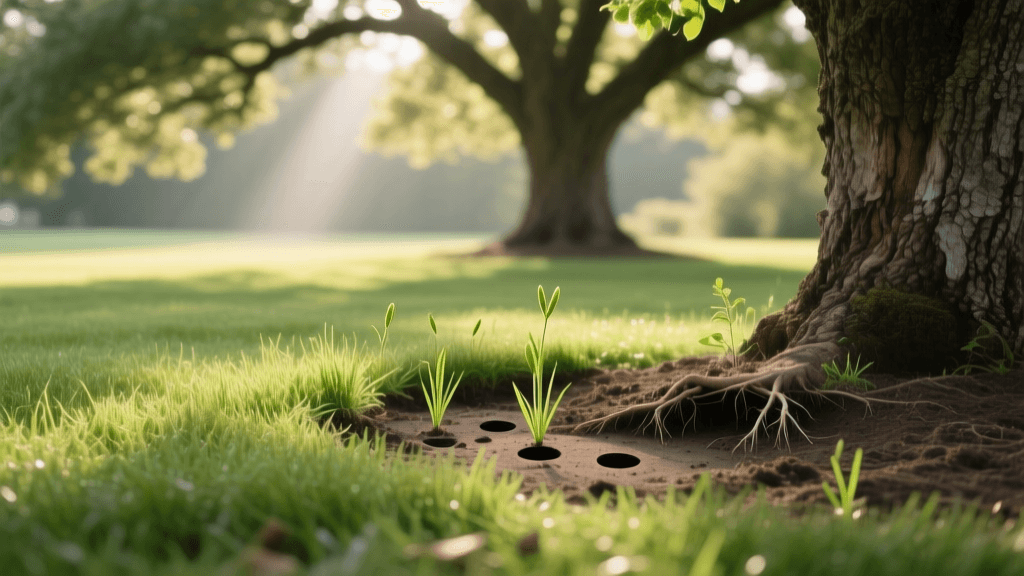
3 Years Post-Pruning: The New Canopy
By year three, the oak has fully adapted to its new architecture. The subordinated lateral branches have thickened, and the chosen new leader has pushed significant vertical growth. The canopy has filled in, masking the old wounds, which are now mostly sealed over with fresh bark. The tree has transitioned from a hazardous, broken relic into a resilient, storm-hardened survivor. The deep, extensive root system of the mature oak has supported this vigorous regrowth without the need for heavy fertilization, provided the soil was properly mulched with a 3-inch layer of arborist wood chips (kept 6 inches away from the trunk to prevent rot).
Tool Arsenal and Cost Breakdown
Restoring a mature oak is an investment. Below is a comparison of the costs and equipment required for a DIY approach versus hiring a professional tree care service for a medium-sized (50-foot) storm-damaged oak.
| Category | DIY Restoration (Moderate Damage) | Professional Arborist (ISA Certified) |
|---|---|---|
| Labor Cost | $0 (15-20 hours of your time) | $800 - $1,800 |
| Primary Tools | Silky Bigboy 2000 Saw ($65), Felco 8 Pruners ($60), Stihl MSA 220 Chainsaw ($450) | Crane, bucket truck, professional rigging gear included in quote |
| Safety Gear | Climbing helmet, safety glasses, Kevlar chaps ($150) | Full PPE, rigging harnesses, and insurance coverage |
| Debris Removal | Renting a wood chipper or municipal yard waste pickup ($75 - $150) | Complete site cleanup and chipping included |
| Total Estimated Cost | $800 - $875 (One-time tool investment) | $800 - $1,800 (Service fee) |
Warning: DIY restoration should only be attempted if all required cuts can be made with both feet firmly on the ground or on a stable, secured ladder. If the storm damage is located high in the canopy, the risk of fatal falls or being struck by falling timber is extreme. In these cases, the professional cost is non-negotiable for your safety.
Final Thoughts on Tree Resilience
The transformation of a storm-damaged oak from a shattered wreck to a thriving landscape anchor is a testament to the incredible resilience of nature, guided by human science. By respecting the tree's natural defense mechanisms, making precise cuts at the branch collar, and practicing patient subordination pruning, you can rewrite the story of your landscape. The "After" is not just a healed tree; it is a stronger, safer, and more beautiful oak that will continue to provide shade, habitat, and property value for decades to come.