Tree Care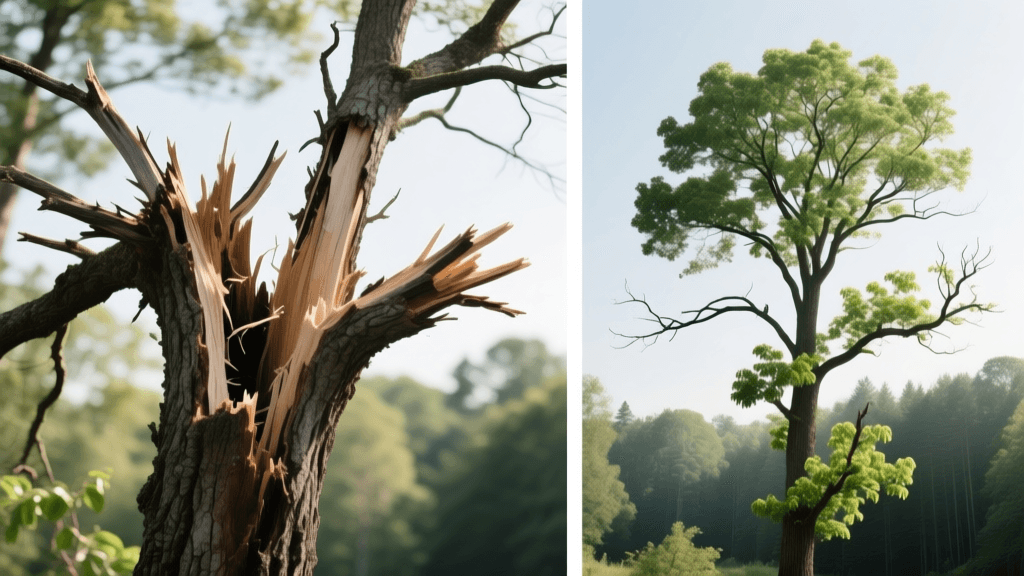
Storm-Damaged Tree Recovery: Before and After Crown Restoration
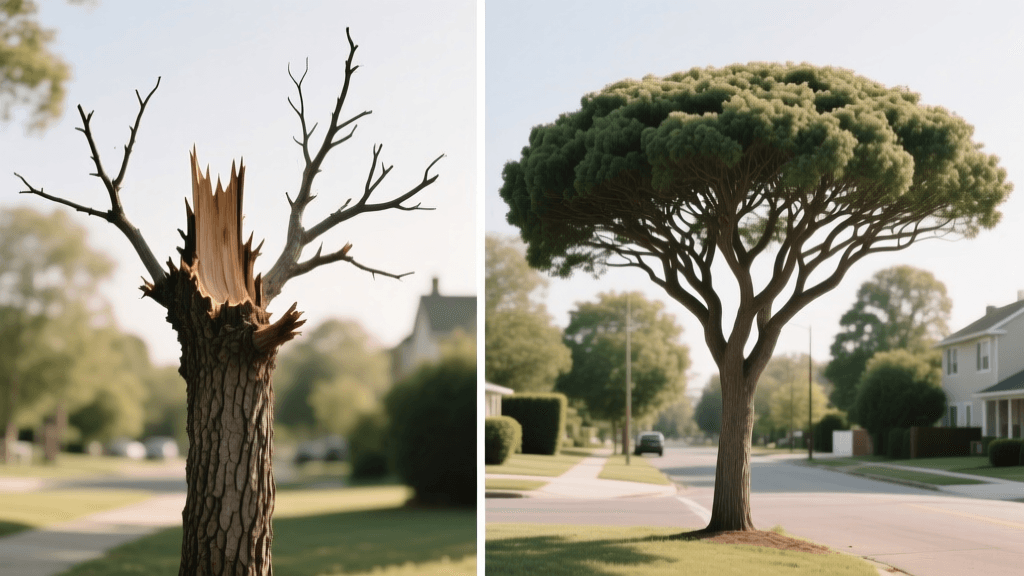
The Before and After of Storm-Damaged Tree Recovery
When a severe ice storm, microburst, or late-summer hurricane tears through your landscape, the immediate aftermath is often devastating. Mature shade trees that took decades to establish can be reduced to splintered trunks and jagged, hanging limbs in a matter of minutes. For many homeowners, the instinctive reaction to a mangled 60-year-old Red Oak or Silver Maple is complete removal. However, with a specialized pruning technique known as crown restoration, what looks like a total loss can undergo a remarkable before and after transformation.
Crown restoration is the systematic process of pruning a storm-damaged tree to encourage the development of a new, structurally sound canopy. In this guide, we will walk through the visual and structural transformation of a storm-damaged tree, from the initial triage assessment to the lush, recovered canopy five years later. We will also break down the exact costs, tools, and timelines involved in saving your most valuable landscape assets.
The 'Before' State: Assessing the Damage
Before any chainsaw is fired up, an ISA Certified Arborist will evaluate the 'before' state of the tree to determine if it is a viable candidate for restoration. Not every damaged tree can be saved. The general rule of thumb is the 50% rule: if at least 50% of the tree's original crown and root system remains intact, the tree has the biological reserves necessary to recover.
Signs Your Tree is a Restoration Candidate
- Major Limb Failure, Intact Trunk: The central leader or major scaffold branches are broken, but the main trunk is not split down to the root flare.
- Healthy Pre-Storm Condition: The tree showed no signs of severe decay, fungal conks, or systemic disease prior to the weather event.
- Species Vigor: Fast-growing, resilient species like Elms, Maples, and Sycamores respond aggressively to restorative pruning, whereas slow-growing conifers may not.
If the tree meets these criteria, the 'before' photo may look like a jagged, lopsided mess of torn bark and exposed heartwood, but the biological engine of the tree is still fully operational.
The Transformation Process: Step-by-Step Pruning
The transition from a hazardous eyesore to a recovering giant requires precise, scientifically backed pruning cuts. According to the University of Minnesota Extension, proper pruning must respect the tree's natural defense mechanisms, specifically the branch collar.
Step 1: Hazard Mitigation and Cleaning
The first step in the transformation is removing all hanging, broken, and deadwood. Arborists use the 'three-cut method' for heavy limbs to prevent bark tearing. For high limbs, a pole saw or Silky Zubat 270mm pruning saw is used to make clean cuts just outside the branch bark ridge. Ragged bark flaps are carefully traced and removed with a sterilized pruning knife to promote rapid callus tissue (woundwood) formation.
Step 2: Subordination and Leader Selection
When a central leader is lost, the tree will attempt to replace it by pushing out dozens of weak, vertical shoots known as epicormic growth (water sprouts). The arborist's job is to select one or two strong, well-angled lateral branches to become the new leaders. Competing upright shoots are pruned back or removed entirely to direct the tree's energy into the chosen new canopy structure.
Step 3: Crown Thinning and Balancing
To reduce wind resistance and prevent future storm damage, the remaining canopy is carefully thinned. The Penn State Extension advises never removing more than 25% of a tree's live foliage in a single growing season, as this can trigger severe stress and sunscald on the remaining inner branches.
The 'After' Timeline: A 5-Year Visual Transformation
Patience is the most critical tool in crown restoration. The after-results do not happen overnight. Here is what the transformation timeline looks like:
- Year 1 (The Ugly Duckling Phase): Immediately after pruning, the tree will look stubby and unbalanced. By mid-summer, the 'after' state shows an explosion of epicormic shoots along the pruned branches. The tree is actively trying to replace its lost solar panels.
- Year 3 (The Selection Phase): The arborist returns for a follow-up pruning. The weak, crowded water sprouts are thinned out, leaving only the strongest, best-attached branches. The canopy begins to round out, and the initial jagged wounds from the storm are visibly sealing over with rolled callus tissue.
- Year 5 (Canopy Closure): The final 'after' reveal. The tree has re-established a full, balanced, and structurally superior canopy. The storm damage is largely hidden beneath a new layer of foliage, and the tree is once again providing full shade and aesthetic value to the property.
'A properly restored mature tree not only recovers its aesthetic value but often develops a stronger, more wind-resistant branch architecture than it had before the storm.'
Cost Comparison: Restoration vs. Removal and Replacement
Many homeowners assume that removing a broken tree and planting a new one is the most logical path. However, a financial breakdown reveals the immense value of restoration. The Arbor Day Foundation frequently highlights that mature trees provide exponential ecological and property value benefits that saplings cannot match for decades.
| Metric | Removal & Replacement | Crown Restoration |
|---|---|---|
| Initial Service Cost | $1,500 - $3,500 (Removal) | $800 - $1,800 (Restoration Pruning) |
| Secondary Costs | $400 (Stump Grinding) + $600 (New 15-gal Tree & Planting) | $250 (Year 3 Follow-up Pruning) |
| Total 5-Year Cost | $2,500 - $4,500 | $1,050 - $2,050 |
| Canopy Shade Provided | Minimal (Sapling takes 15+ years) | Significant (Existing mature framework) |
| Property Value Impact | Net Loss (Loss of mature asset) | Net Gain (Preserved mature asset) |
Critical Mistakes to Avoid During the 'Before' Stage
When dealing with the emotional stress of storm damage, homeowners often fall victim to bad arboricultural practices that permanently ruin the 'after' potential of the tree.
1. Tree Topping
Never hire a 'tree service' that suggests topping the tree—cutting all broken branches back to arbitrary stubs. Topping destroys the tree's natural branching hierarchy, guarantees the growth of weakly attached, hazard-prone water sprouts, and initiates rapid internal decay. Crown restoration requires targeted, directional cuts, not indiscriminate hacking.
2. Applying Wound Paint or Sealants
In the past, it was common to paint over storm wounds with black tar or pruning sealer to 'keep out moisture and bugs.' Modern arboriculture has definitively proven that wound dressings actually trap moisture against the exposed wood, accelerating fungal rot and preventing the tree from forming its natural callus barrier. Always leave fresh pruning cuts exposed to the air to dry and heal naturally.
3. Over-Fertilizing Immediately After the Storm
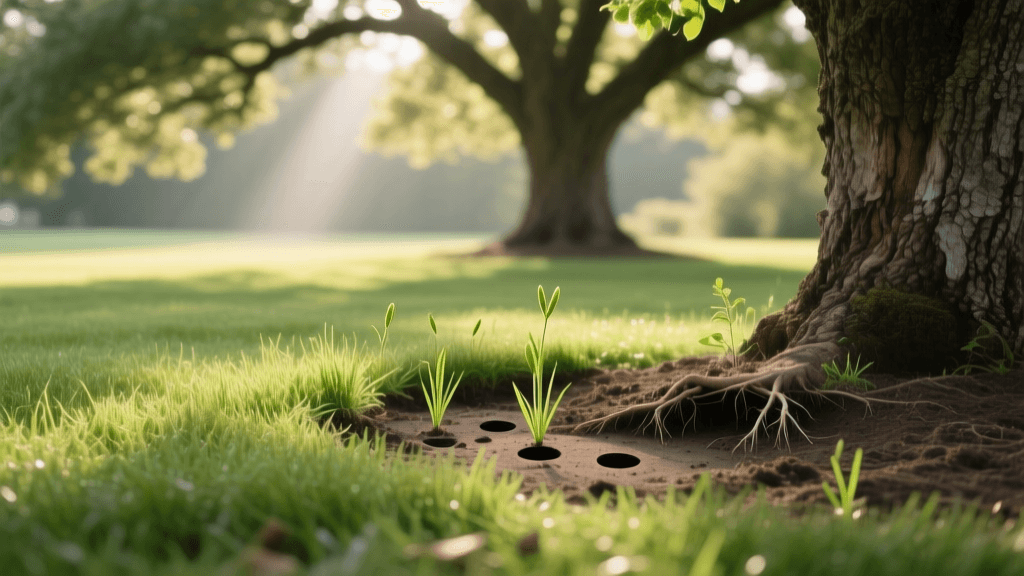
While it seems logical to feed a stressed tree, applying high-nitrogen synthetic fertilizers immediately after severe canopy loss forces the tree to push out weak, unsustainable growth that its compromised root system cannot support. Instead, focus on proper watering (1 inch per week) and applying a 3-inch layer of organic wood chip mulch out to the drip line to retain soil moisture and regulate root temperatures.
Conclusion: Trust the Transformation Process
The before and after transformation of a storm-damaged tree is one of the most rewarding processes in landscape management. By resisting the urge to immediately remove a damaged giant, and instead investing in professional crown restoration, you preserve the history, shade, and ecological benefits of your mature trees. Always consult with an ISA Certified Arborist to assess your specific situation, and remember that nature, when guided by proper science, possesses an incredible capacity to heal and rebuild.