
Lawn Care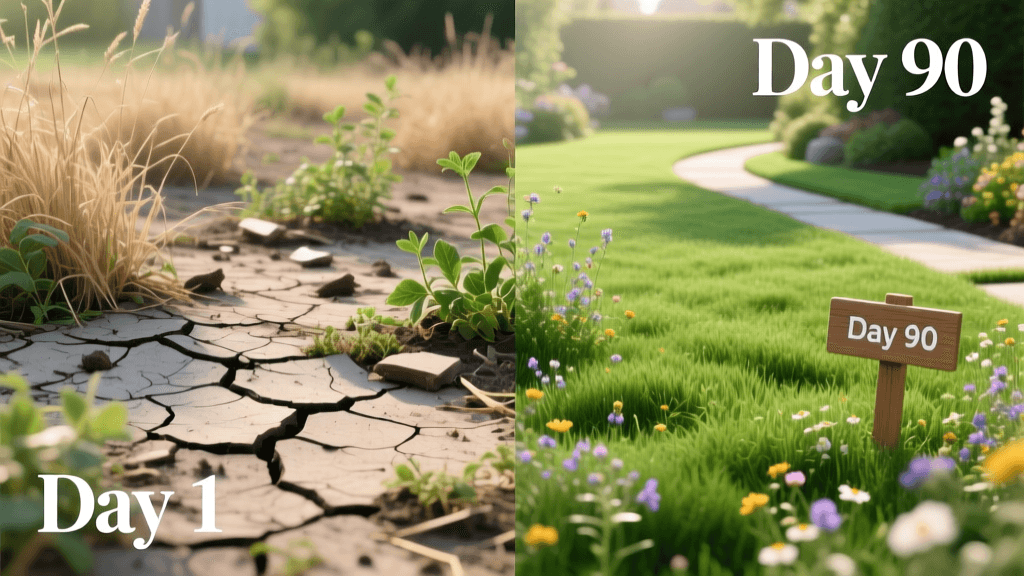
How to Transform a Dead Lawn: A 90-Day Before & After Guide
The Ugly Truth: Assessing the 'Before' State
We have all seen it, and some of us are currently living with it: the neglected, patchy, weed-choked lawn that crunches underfoot and turns a dull, lifeless yellow by mid-July. A lawn in this 'before' state is not just an eyesore; it is a symptom of severe soil compaction, nutrient deficiency, and a complete failure of the root zone. But here is the good news: turfgrass is incredibly resilient. With a strategic, science-backed approach, you can completely transform a dead lawn into a thick, vibrant, carpet-like oasis in just 90 days.
This before-and-after transformation guide focuses on the complete renovation of a cool-season lawn (such as Tall Fescue or Kentucky Bluegrass) using core aeration, aggressive overseeding, and precise moisture management. By the end of this 90-day timeline, your yard will be unrecognizable. Let us break down the exact steps, products, measurements, and costs required to achieve a stunning lawn renovation.
Phase 1: Demolition and Soil Prep (Days 1–14)
You cannot build a masterpiece on a crumbling foundation. The 'before' lawn is likely dominated by invasive weeds like crabgrass, dandelions, and spurge, growing in hardpan soil. Your first step is eradication and soil analysis.
Step 1: Soil Testing
Before buying a single bag of seed, you must understand your soil's pH and nutrient profile. According to Penn State Extension, a soil test removes the guesswork from fertilization, preventing nutrient lockout. If your soil pH is below 6.0, grass cannot absorb the nitrogen you apply. Apply pelletized lime based on your test results to bring the pH into the optimal 6.5 to 7.0 range.
Step 2: The Reset Button
If your lawn is more than 50% weeds and dead patches, do not waste time spot-treating. Mow the existing vegetation as low as your mower will go (around 1.5 inches) and bag the clippings. Next, apply a non-selective herbicide containing glyphosate to kill off the remaining weeds and weak grass. Wait 7 to 10 days for the vegetation to brown out completely. This 'scorched earth' approach is the most jarring part of the before-and-after process, but it is necessary for a clean slate.
Phase 2: Aeration and Seeding (Days 15–30)
With the dead vegetation cleared, it is time to address the soil compaction that likely caused the lawn to fail in the first place. The University of Minnesota Extension notes that core aeration is essential for breaking up compacted soil, allowing oxygen, water, and nutrients to reach the root zone.
Step 3: Core Aeration
Rent a walk-behind core aerator from your local hardware store. Make at least two passes over the lawn in perpendicular directions. You want to pull out soil plugs that are 2 to 3 inches deep, spaced about 2 to 3 inches apart. Leave the plugs on the lawn; they will break down and return beneficial microbes to the surface.
Step 4: Overseeding and Starter Fertilizer
Immediately after aerating, broadcast your seed. For a durable, drought-tolerant 'after' lawn, we recommend a premium Tall Fescue blend (such as Jonathan Green Black Beauty or a local university-recommended mix). Apply the seed at a heavy renovation rate of 8 to 10 lbs per 1,000 square feet. Follow this immediately with a high-phosphorus starter fertilizer (e.g., a 24-25-4 NPK ratio) to promote rapid root development.
Pro Tip: If you are worried about new weeds germinating alongside your grass, apply a herbicide containing mesotrione (brand name Tenacity). Unlike traditional pre-emergents that stop all seed germination, mesotrione safely prevents weeds while allowing your new turfgrass to grow.
Phase 3: The Germination Grind (Days 31–60)
This is the 'ugly duckling' phase of the transformation. The lawn will look messy, patchy, and uneven. Your only job during this window is moisture management.
Step 5: Precision Watering
New grass seed will die if it dries out for even a few hours during the first three weeks. You must water lightly but frequently. Set your irrigation system or sprinklers to apply about 1/4 inch of water two to three times a day (morning, noon, and mid-afternoon). The goal is to keep the top inch of soil constantly damp, not soggy. Once the seeds germinate and reach about 1.5 inches tall, reduce watering to once a day, but increase the volume to encourage deeper root growth.
Step 6: The First Mow
When the new grass reaches about 3.5 to 4 inches in height, it is time for the first mow. Ensure your mower blade is razor-sharp to avoid tearing the tender young blades. Cut the grass down to 3 inches, and never remove more than one-third of the blade height at a single time.
Phase 4: The 'After' Reveal (Days 61–90)
By day 60, the transformation becomes undeniable. The patchy brown dirt is now covered in a dense, vibrant green canopy. The roots are diving deep into the aerated soil channels, accessing moisture reserves that the old, compacted lawn could never reach.
Step 7: Transition to Deep Watering
As you approach the 90-day mark, transition your watering schedule to the standard 'after' maintenance routine: 1 to 1.5 inches of water per week, applied in one or two deep sessions. This trains the roots to grow 4 to 6 inches deep, making your new lawn highly drought-resistant.
Step 8: The First Post-Renovation Fertilization
At day 90, apply a balanced, slow-release nitrogen fertilizer (such as a 32-0-4 with 50% slow-release nitrogen). This will trigger a massive surge in lateral growth, causing the turf to thicken up and choke out any late-arriving weeds. According to renovation guidelines from the University of Minnesota Extension, proper follow-up fertilization is the key to ensuring the newly established turf survives its first harsh winter or summer.
Cost and Timeline Breakdown
Transforming a lawn is an investment in your property's curb appeal and your own outdoor enjoyment. Below is a realistic breakdown of the costs and timeline for a standard 5,000 square foot lawn renovation.
| Phase / Item | Action / Product | Estimated Cost (5k sq ft) | Timeline |
|---|---|---|---|
| Prep & Eradication | Glyphosate, Soil Test Kit, Lime | $60 - $90 | Days 1–14 |
| Aeration | Walk-behind Core Aerator Rental | $100 - $150 | Day 15 |
| Seed | Premium Tall Fescue (50 lbs) | $75 - $120 | Day 15 |
| Fertilizer & Weed Control | Starter Fertilizer, Mesotrione | $60 - $85 | Day 15 |
| Watering / Utilities | Increased water usage for 30 days | $40 - $70 | Days 15–60 |
| Total Estimated Cost | Complete DIY Renovation | $335 - $515 | 90 Days |
Conclusion: Enjoying the 'After'
The journey from a dead, weed-infested yard to a lush, green lawn requires patience, physical labor, and strict adherence to watering schedules. However, the before-and-after results speak for themselves. By investing 90 days and roughly $400 into core aeration, premium seed, and proper soil management, you will completely revitalize your outdoor space. Your new lawn will not only look spectacular but will also be fundamentally healthier, more drought-tolerant, and better equipped to resist future weed invasions.

